This is just another interesting piece from the Gun Lab reference collection. This is just one of the weapons used by the Royal Hong Kong Police prior to being disbanded in 1997 when the British turn over Hong Kong to the Chinese. The pistol I am talking about is a Smith and Wesson model 10-7 revolver.
The pistol is a standard Smith and Wesson model 10-7 in 38 special.
 Right side view
 An interesting mark, G20, on the yolk
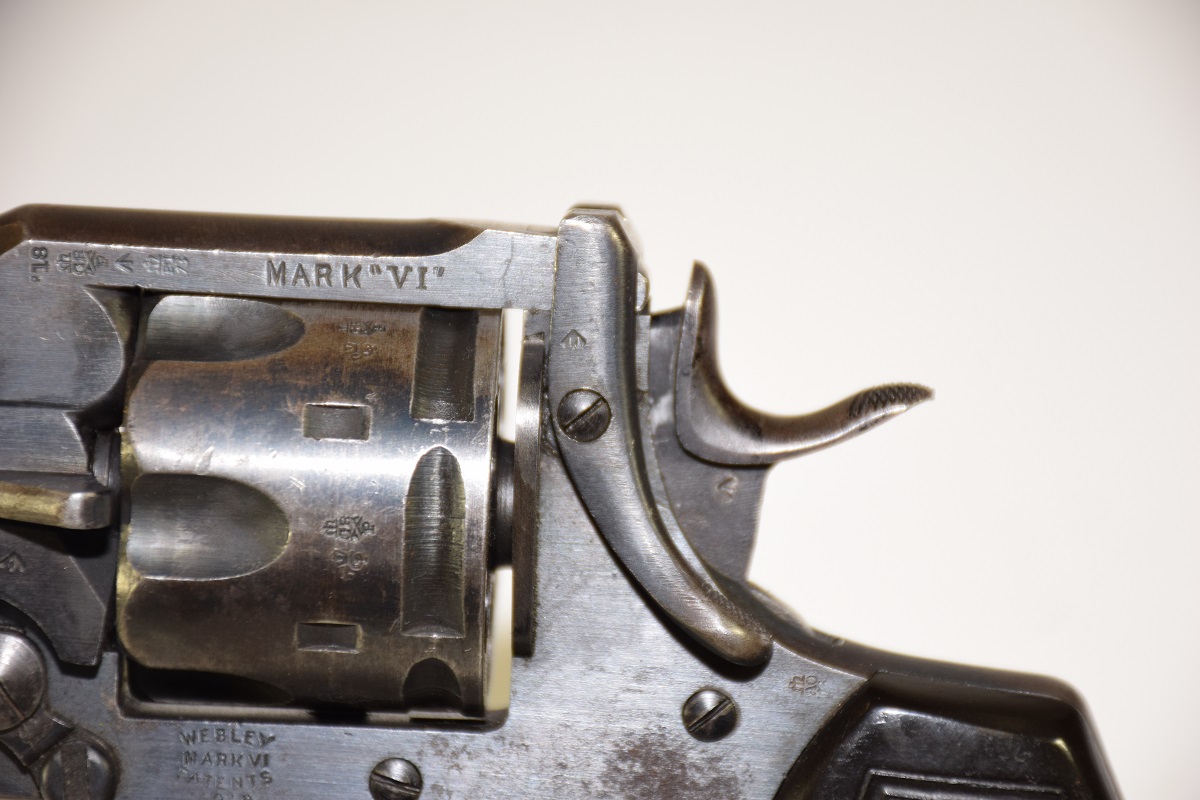
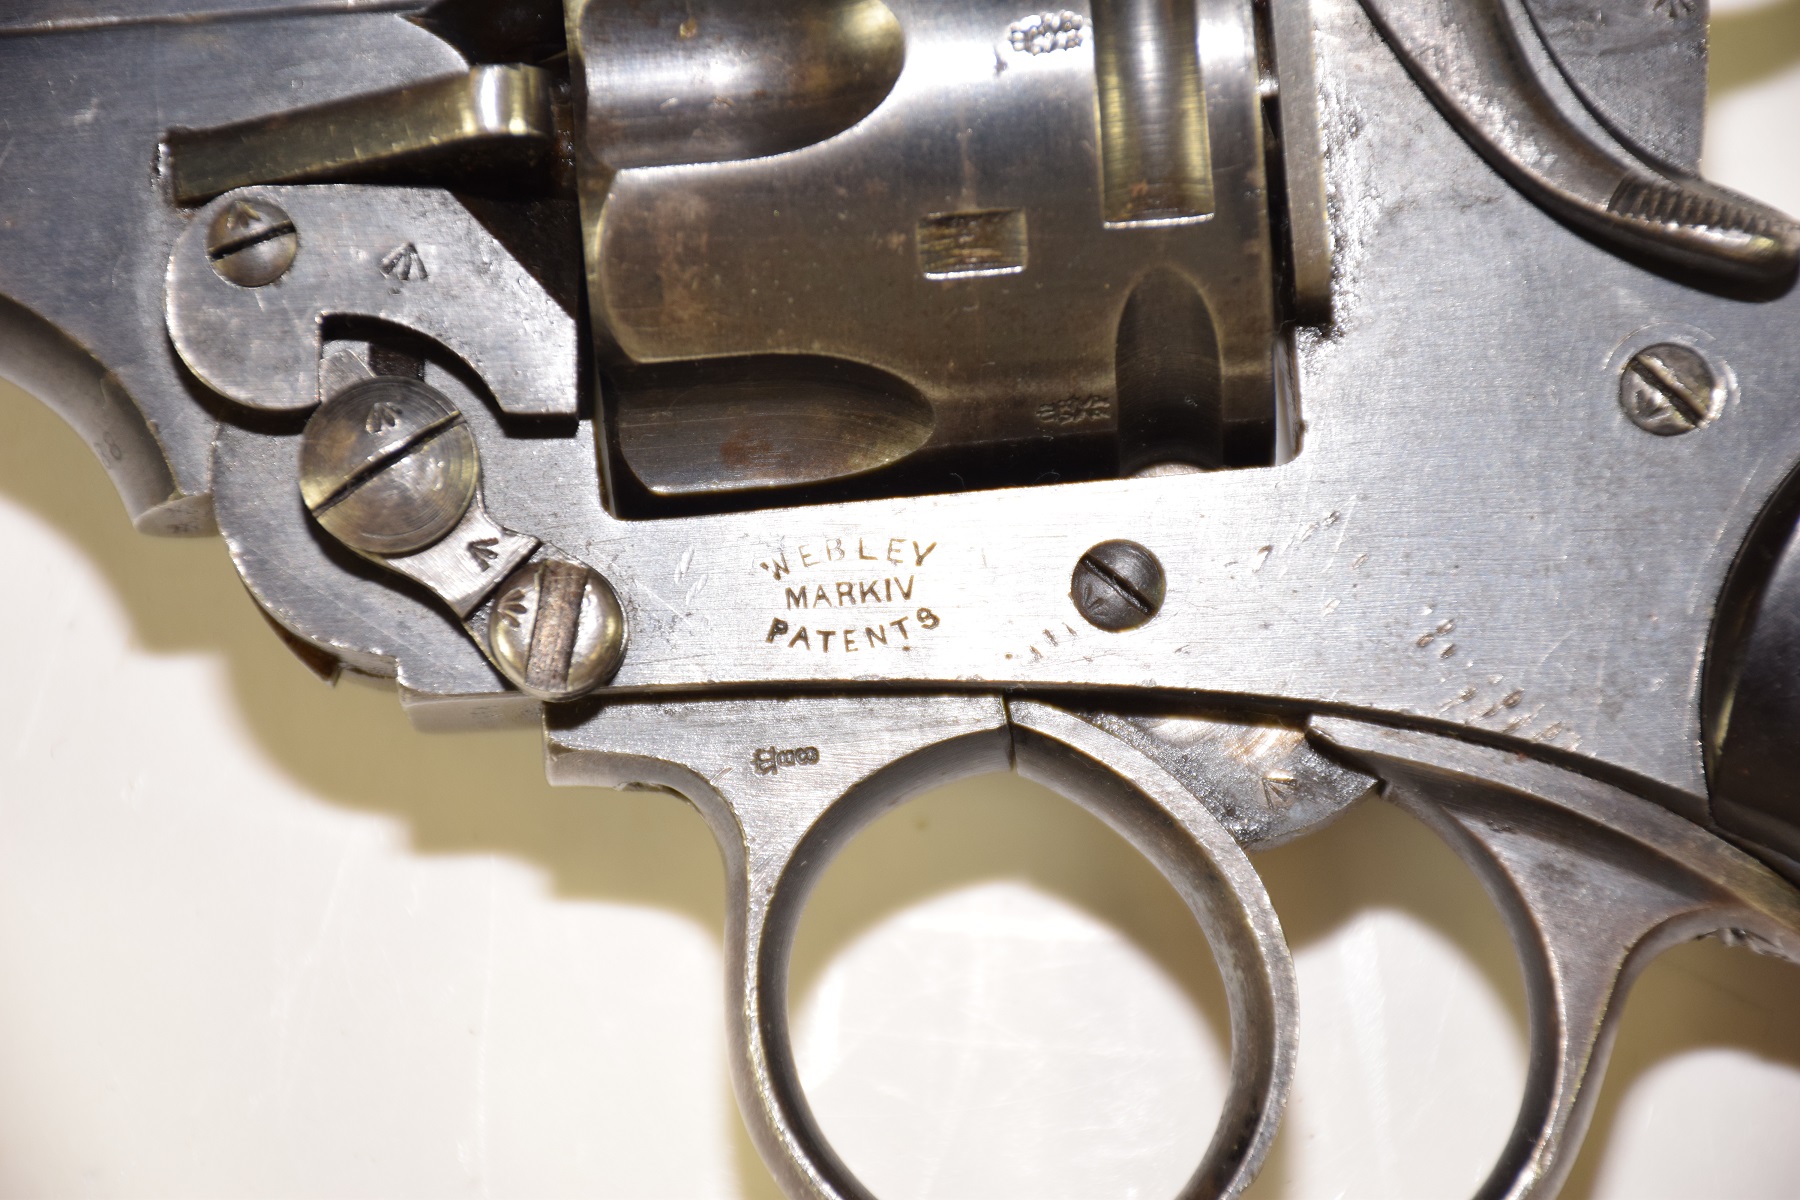
 You can see the model markings on the frame
 The marking on the back strap showing the RHKP stamping and there number
 Nothing super special about the pistol just an interesting foot note in history