With the wood shop checked and fixed it was time to look at the hardware and well room. It was just as bad if not worse.
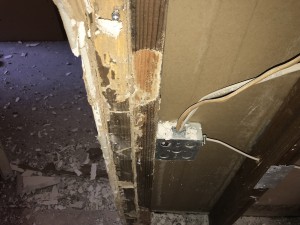
The bearing support wall and beam was just destroyed by the termites.

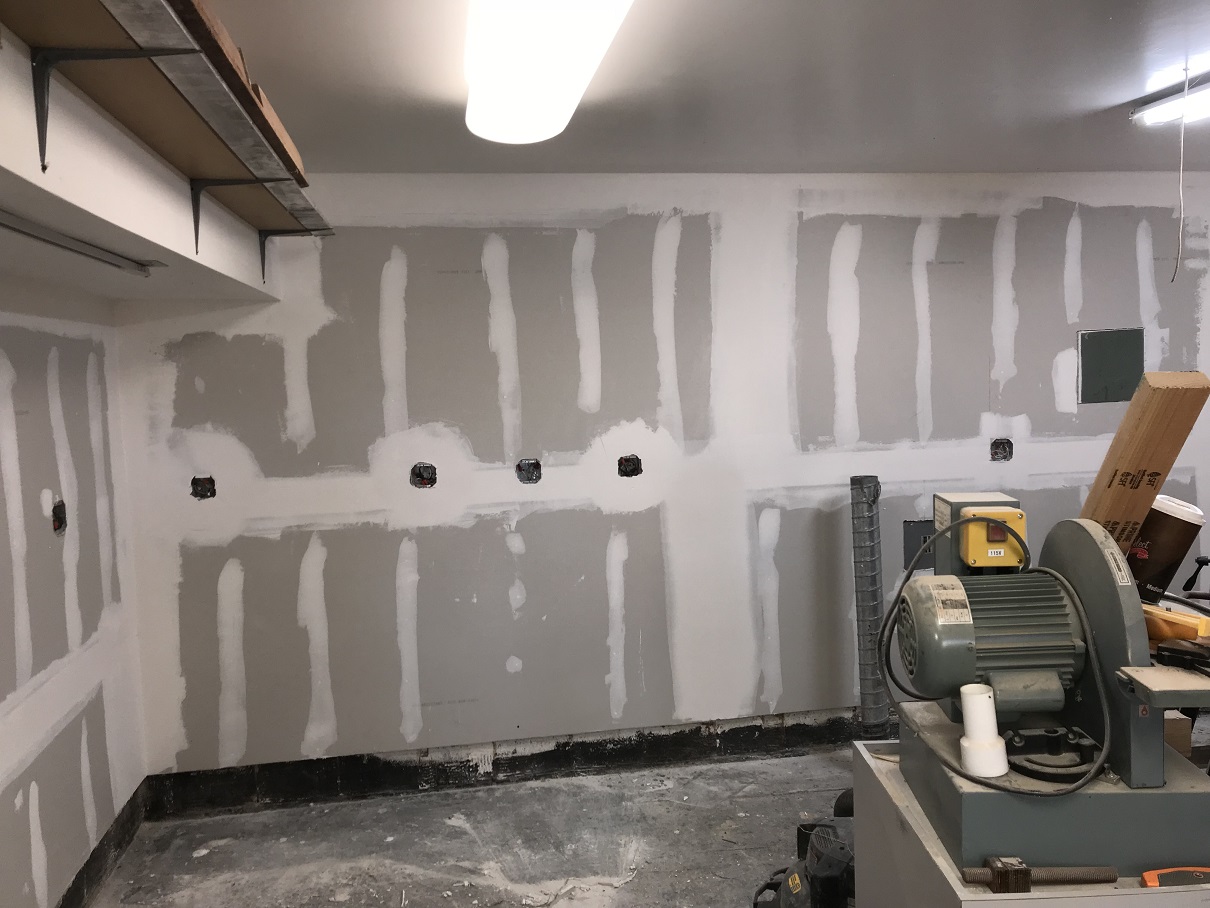
 All the sheet rock was removed from the walls and ceiling.
 Temporary walls were built to support the second floor guest house.
 And the center wall was removed.
 It is at this point that I have to give out a special thank you to a friend of Gun Lab, John U. It was with his help and knowledge that we were able to come up with the material and design for the new support for the second story guest house.
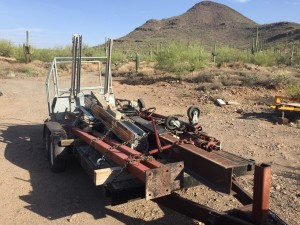
I had gotten a call late in the day with John saying he was stranded on I-10 and could I get a truck to help him move a trailer of stuff coming to my house. I borrowed a friends F-250 truck, which is a very nice truck, and headed out on a rescue journey.
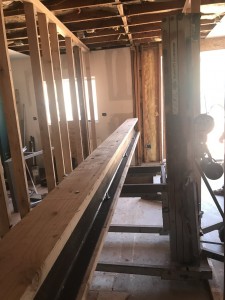
In the truck and trailer was a steel I beam and all the jacks and rigging equipment to get the beam up and supported.

 Now we were back in the game. First hole had to be dug and the beam moved in and prepped.

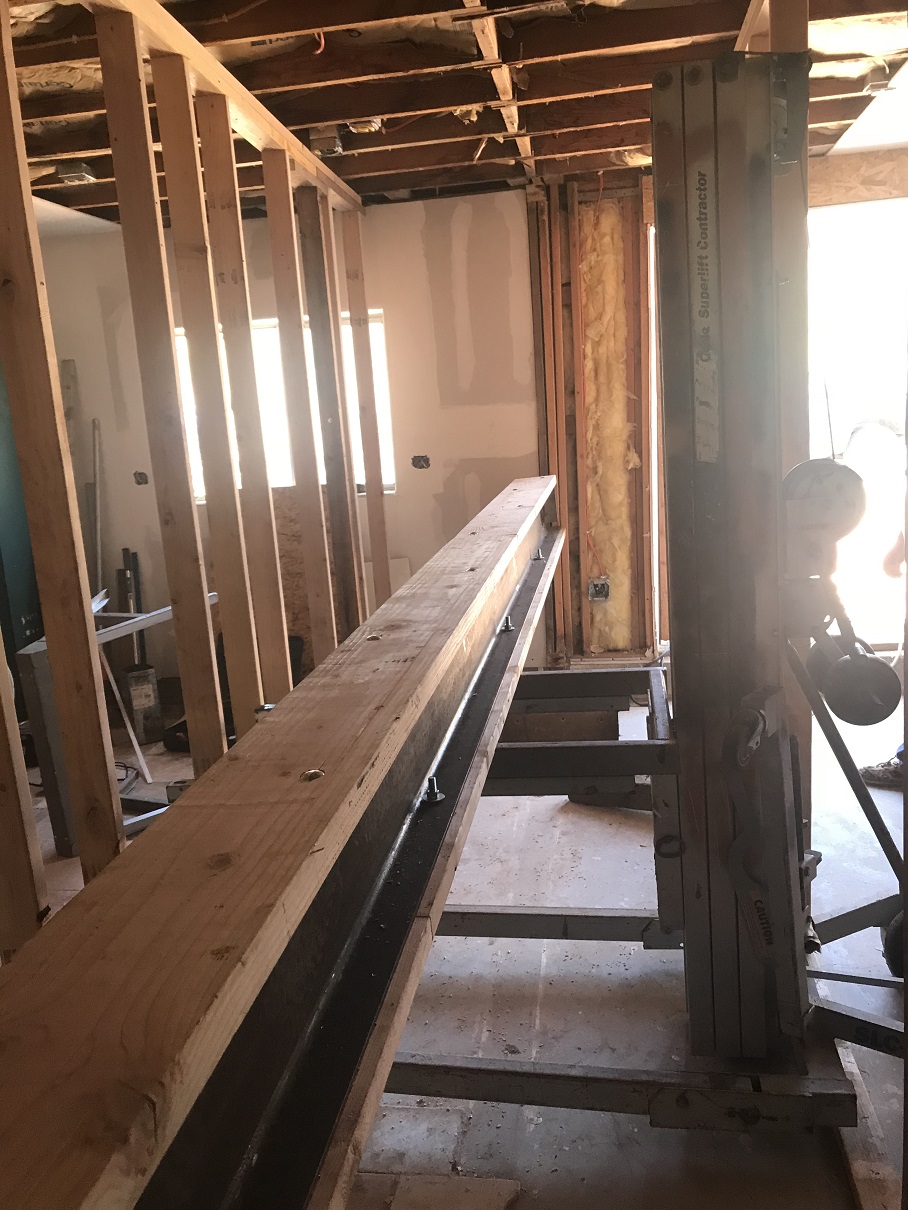
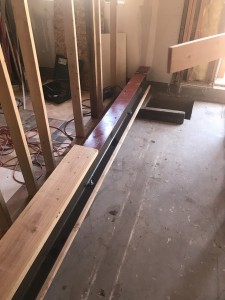
 The beam was painted and then the wood 2×8’s attached.

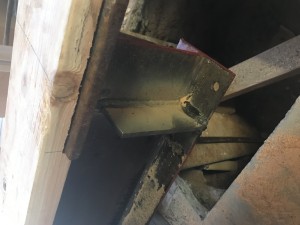
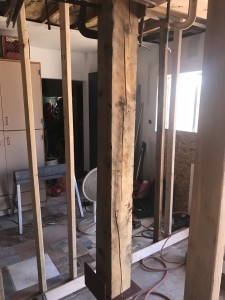
 Holes were drilled and supports welded into place. Again thanks to John for his help and expertise.
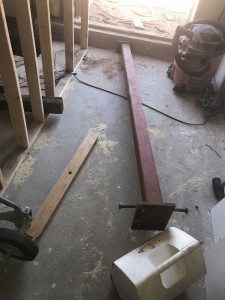
 The columns were made up and ready for installation.
 The beam was now rigged into place.
 With the beam up it was now time to use the screw jacks to place the beam into place and set the columns in.


 Six columns were used to put pressure on the I beam. The columns were attached and then concreted into the floor.

 Now on the part 5.

 Mix and match. It works for me
 Parts storage and a charging station for the battery operated drills
 Still not enough storage but a lot of stuff has now found a new home and it is off the work benches.