In the last post I talked about the new fluting tool and press. This post is about the actual process.
This is a short video showing the speed and ease of fluting with the new system.
|
In the last post I talked about the new fluting tool and press. This post is about the actual process. This is a short video showing the speed and ease of fluting with the new system.
The better part of this last year has been spent on the VG1-5 barrel fluting system. A great deal of work has been spent coming up with new designs for the fluting press. A number of prototypes have been made and abandon. In addition the actual fluting tool has been redesign more times then I would care to count. In a previous post I talked about the final design for the fluting tool, http://gunlab.net/wp-admin/post.php?post=7435&action=edit. Here is the design for the final design for the actual machine. This is a series of pictures showing the components as they were being made.
I need to give a special thanks to the people that help with this project. First is John C. who idea and basic design we used. Second is to John D. for helping with the tool material and heat treating specs. Last but not least is to Gordey for coming up with the new press concept. They are all friends of Gun Lab and much appreciated. Wally, a friend of gun lab, has spent a great deal of time trying to sort out all the issues between Mach 4, the smooth stepper board, and windows 10. To say that it has been a challenge would be a major understatement. There have been 214 upgrades to the smooth stepper board alone plus the upgrades to Mack 4. In addition the lap top computer I obtained needed to be seriously gone through. Well he stopped by on Saturday and we were able to run the cnc router with a basic program for the first time. There is no router in it, just testing and calibrating the machine. A few things still let to do. The limit switches need to be set up as do the homing switches.
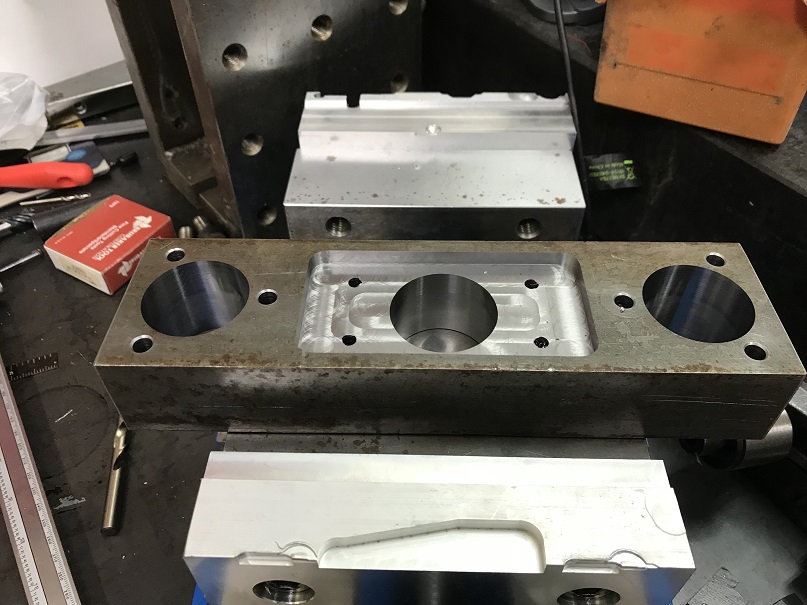
With the completion of the mechanical portions of the cnc router it the computer portions have been being worked on. The router original used a Mach 3 operating system with an older style break out board. We upgraded the computer systems and well as the mechanical systems and have a real issue ever since. Wally, a friend of gun lab, has been working on the issue. He has made some head way, but for every step forward he hits another issue. So while he fights his way through this we are back making the hand guards the manual way. Starting with the sized wooden blocks and a drawing.
It is put on the manual mill and machined.
The final out come is the holes machined for the washer and the internals machined.
A number of projects have been worked on this weekend. I took a number of pictures and videos but I just wanted to share this with you instead. The work for the weekend is done and my wife and I are setting on our patio enjoying this beautiful Arizona evening.
This was a weekend of building and equipment repair. The air system went out on the Sharps machining center. So out with the old and a completely new regulator, filter and oiler went on.
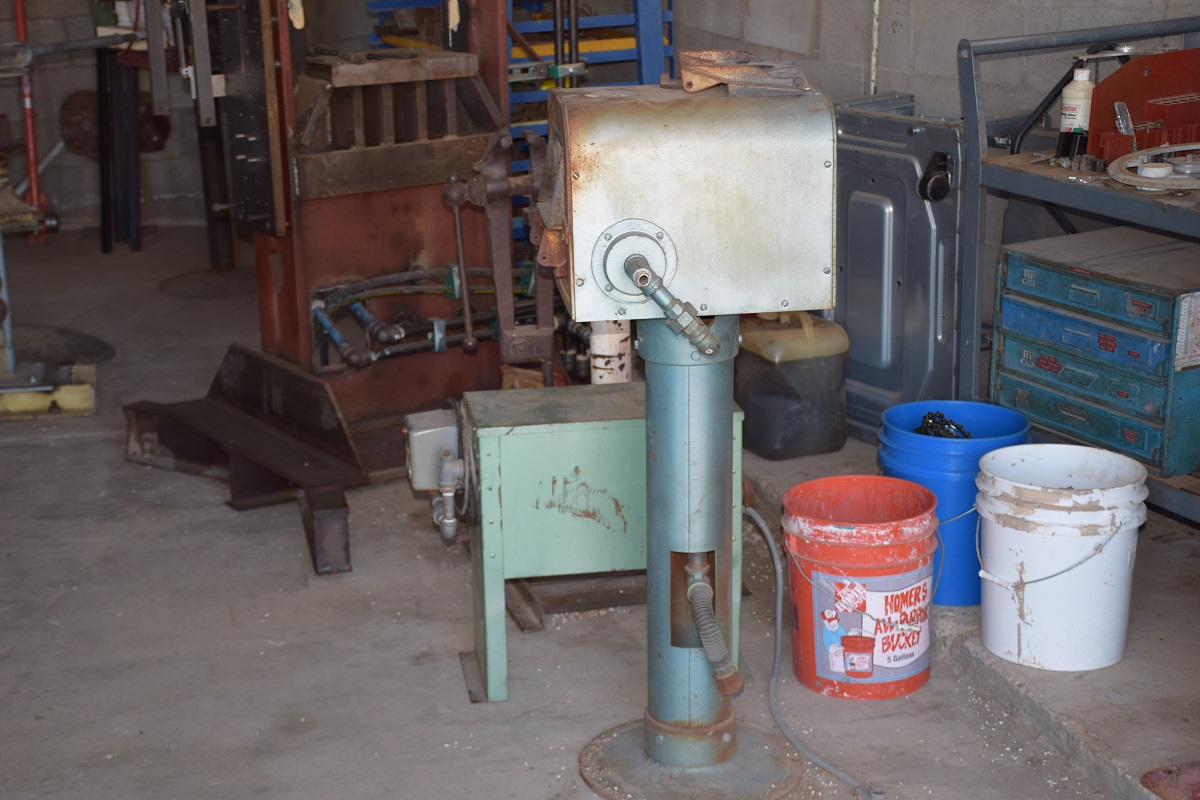
The switch went out on the grinder, new switch time. To attach it to the pedestal, the previous owner used bolts with square nut. He attached the grinder to the plate and then another set of bolts to hold the plate to the stand. With everything rusted it took a little longer then I would have liked. So a new switch, new wiring and re-drilled and taped the holes for cap screws.
Not exciting , but things that have to be done.
I spent Saturday out at the shooting area testing the 3 Gerat 06 prototypes.
Starting at the top is the 2nd prototype.
2nd down is the STG 45
3rd down is the MP-44 4th is the 1st model prototype
5th down is the 3rd model prototype
Here is a video of the shoot.
The majority of the mechanical work on the router is completed. Now comes the aggravating part, and that is getting the computer to correctly operate it. Wally, a friend of gun lab, just spent part of his Sunday helping to get it operational. There are a number of issues that have to be addressed. Starting with windows 7 talking to Mach 4. That is the easy issue. Then getting Mach 4 to talk to the smooth step board. This is providing to be a little more aggravating. Then getting the smooth stepper to actually do what it is suppose to do with the drivers and switches. This is Wally’s second attempt and I really think he now wishes he had not volunteered to help. Today he made great strides toward getting things working. Here is the video of the router operating and running a basic program.
Started on the new fluting tool design. We have had some issues with the fluting of the chambers. Some of the issues have been narrowed down to our original tool design. To correct the flute issue we went back to the design. Starting with the thickness of the flutes and the length of the flutes, these were changed to closer match the original German design. Here are some solid models showing the changes.
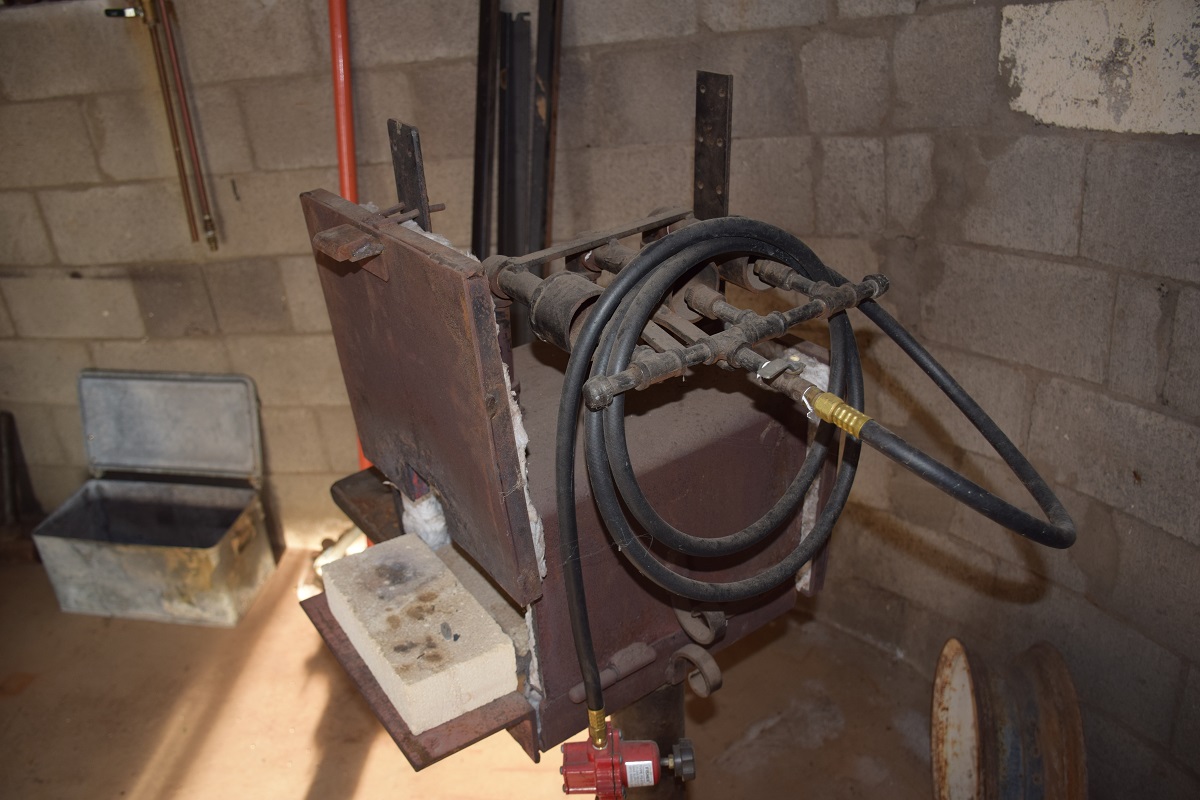
Most of this summer has been working on projects that have been hanging around and needed to be finished. We took in a number of outside jobs to pay the bills. The cash flow issue allowed only the projects that required no money to be accomplished. This lead to a number of items being completed that I really wanted to do. This is one of the projects. Getting the 3 burner forge running. This story actually started long before this last summer. It started with wanting a forge to do some blacksmithing. A number of years ago I started to build a propane gas forge using a freon bottle and a home made gas burner.
Then rick, a friend of gun lab wanted to know if I wanted this one.
Being the scrounge that I an I said yes, It is at this point in the story that I must point out that my wife constantly reminds me that I have a problem. Taking it from natural gas to propane was next. The piping removed.
At least now the three burner forge is up and running. A quick video of it working.
|
||
|
Copyright © 2026 GunLab (KnownHost) - All Rights Reserved Powered by WordPress & Atahualpa |
||