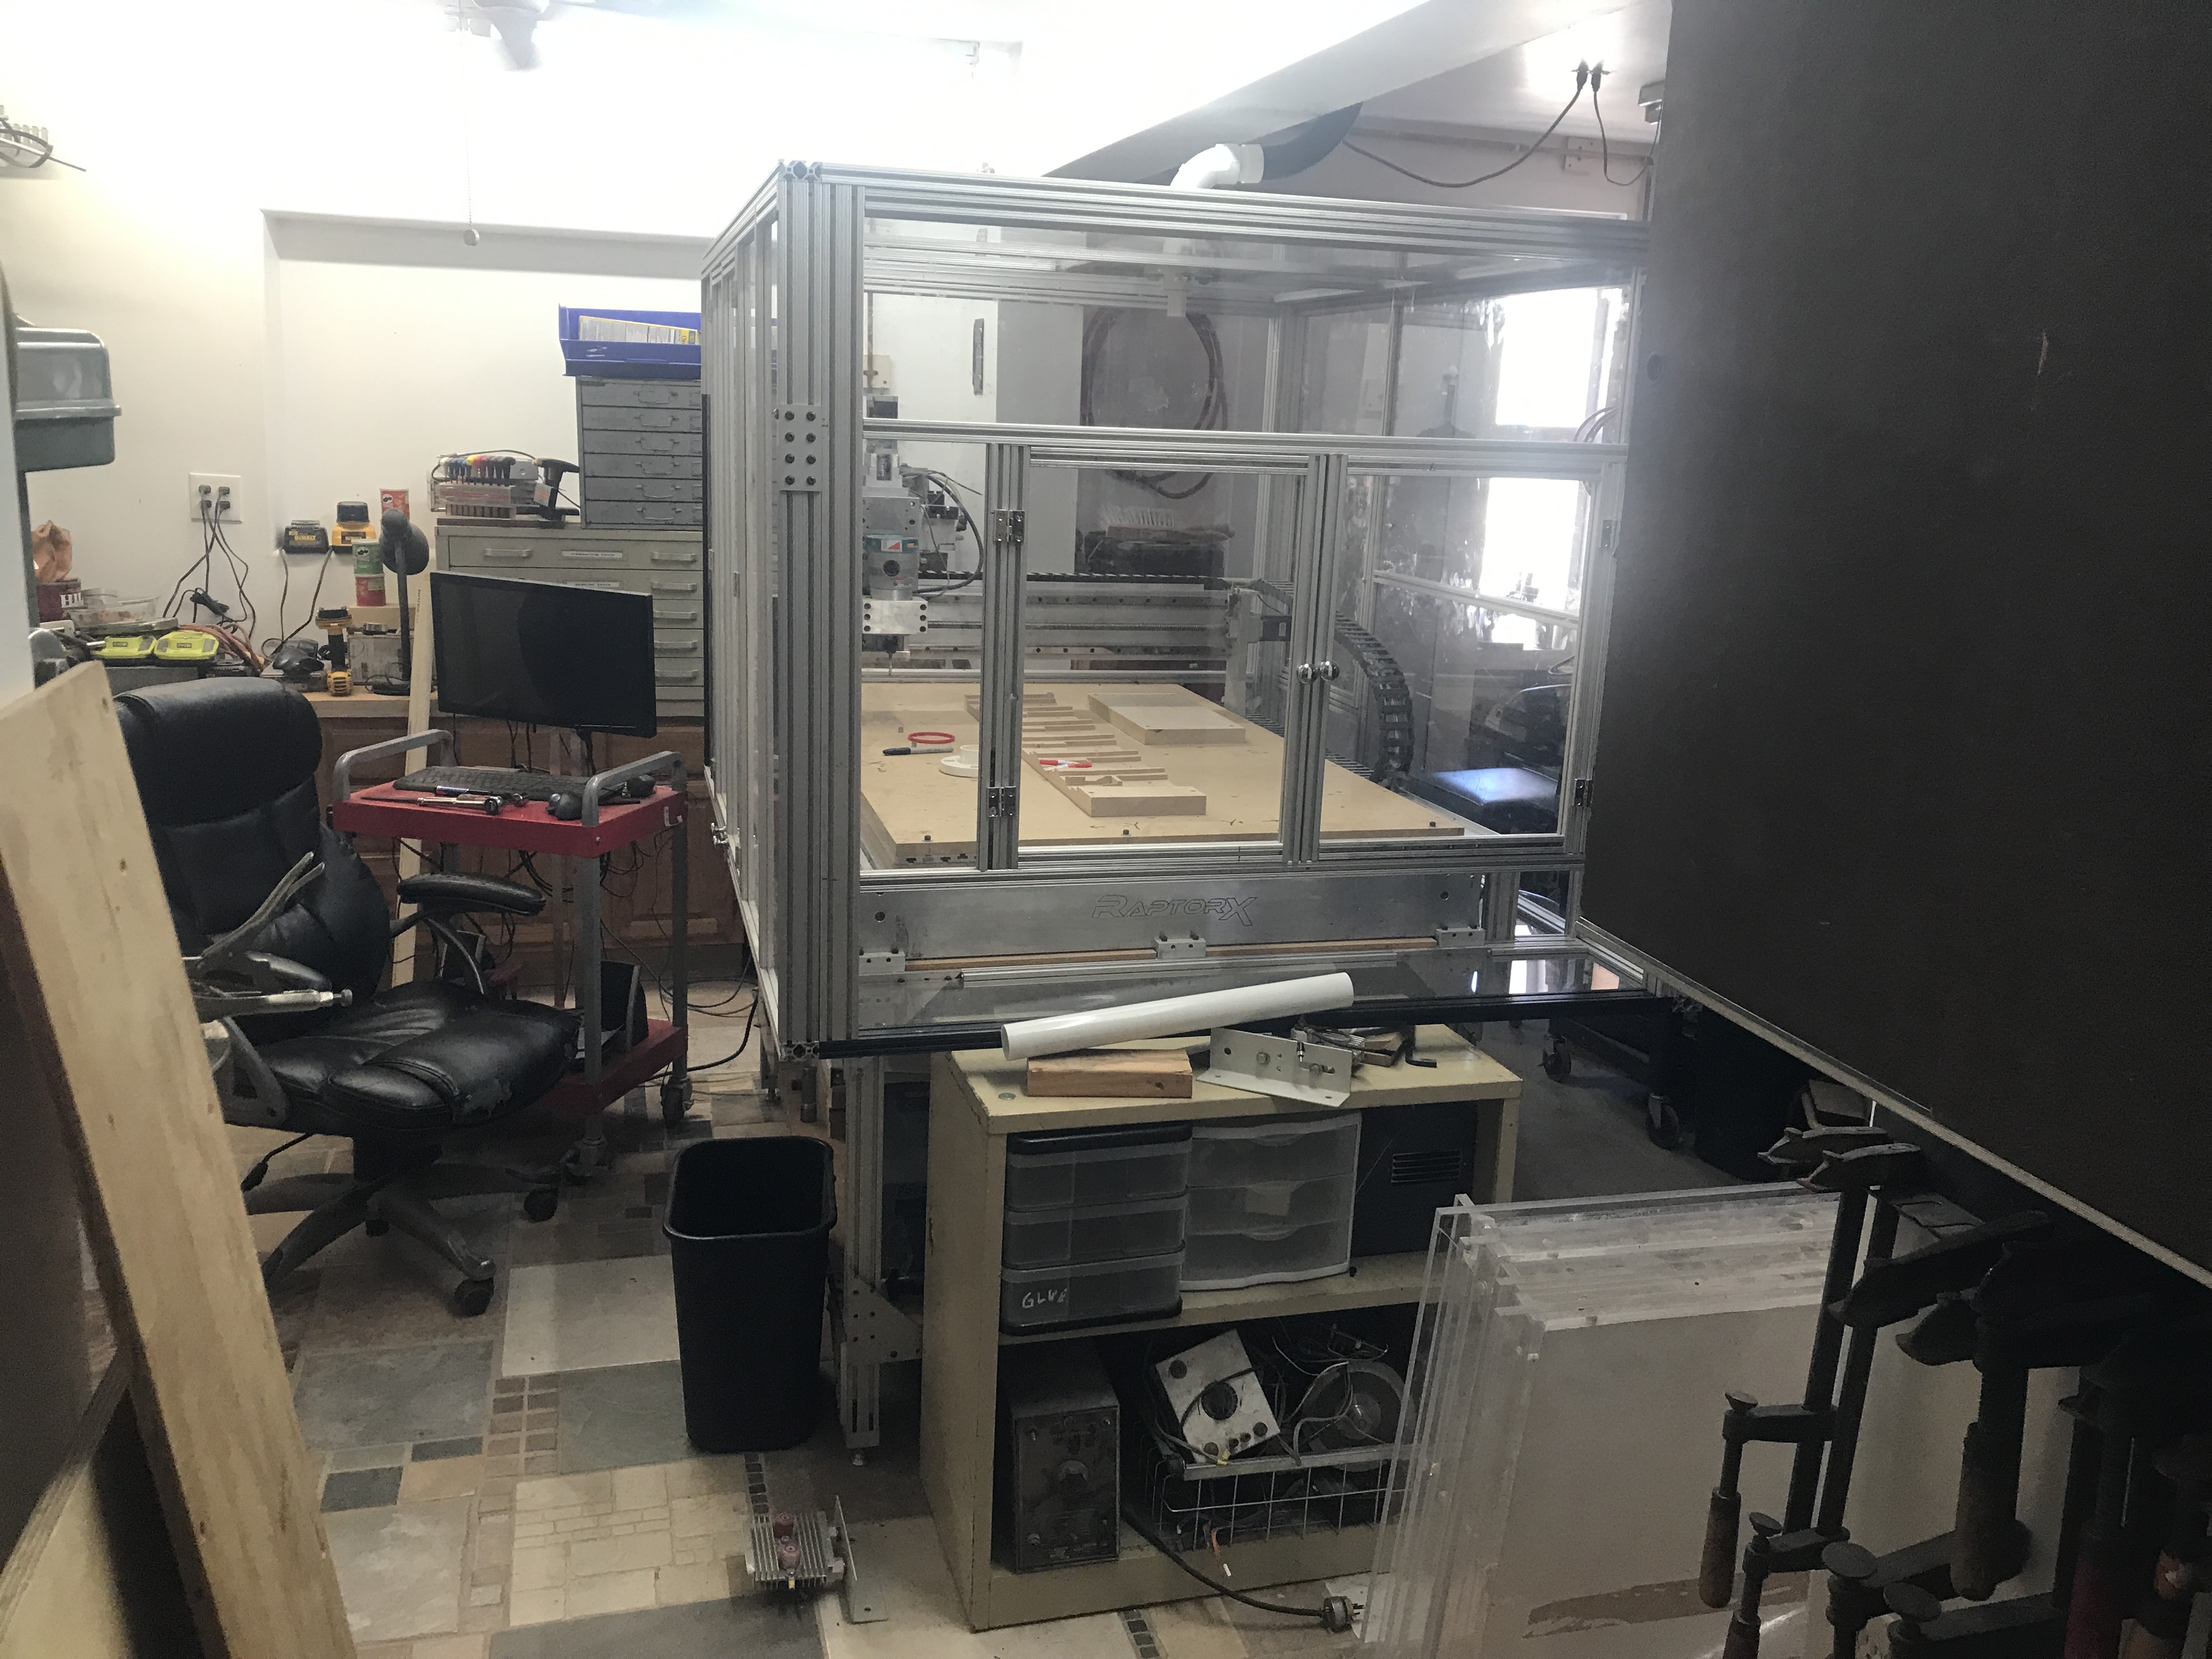
The cnc router is finally almost finished. The discharge piping is in and going outside to the dust collector. all the adapters are made for the inside of the cabinet and the piping inside of the building. 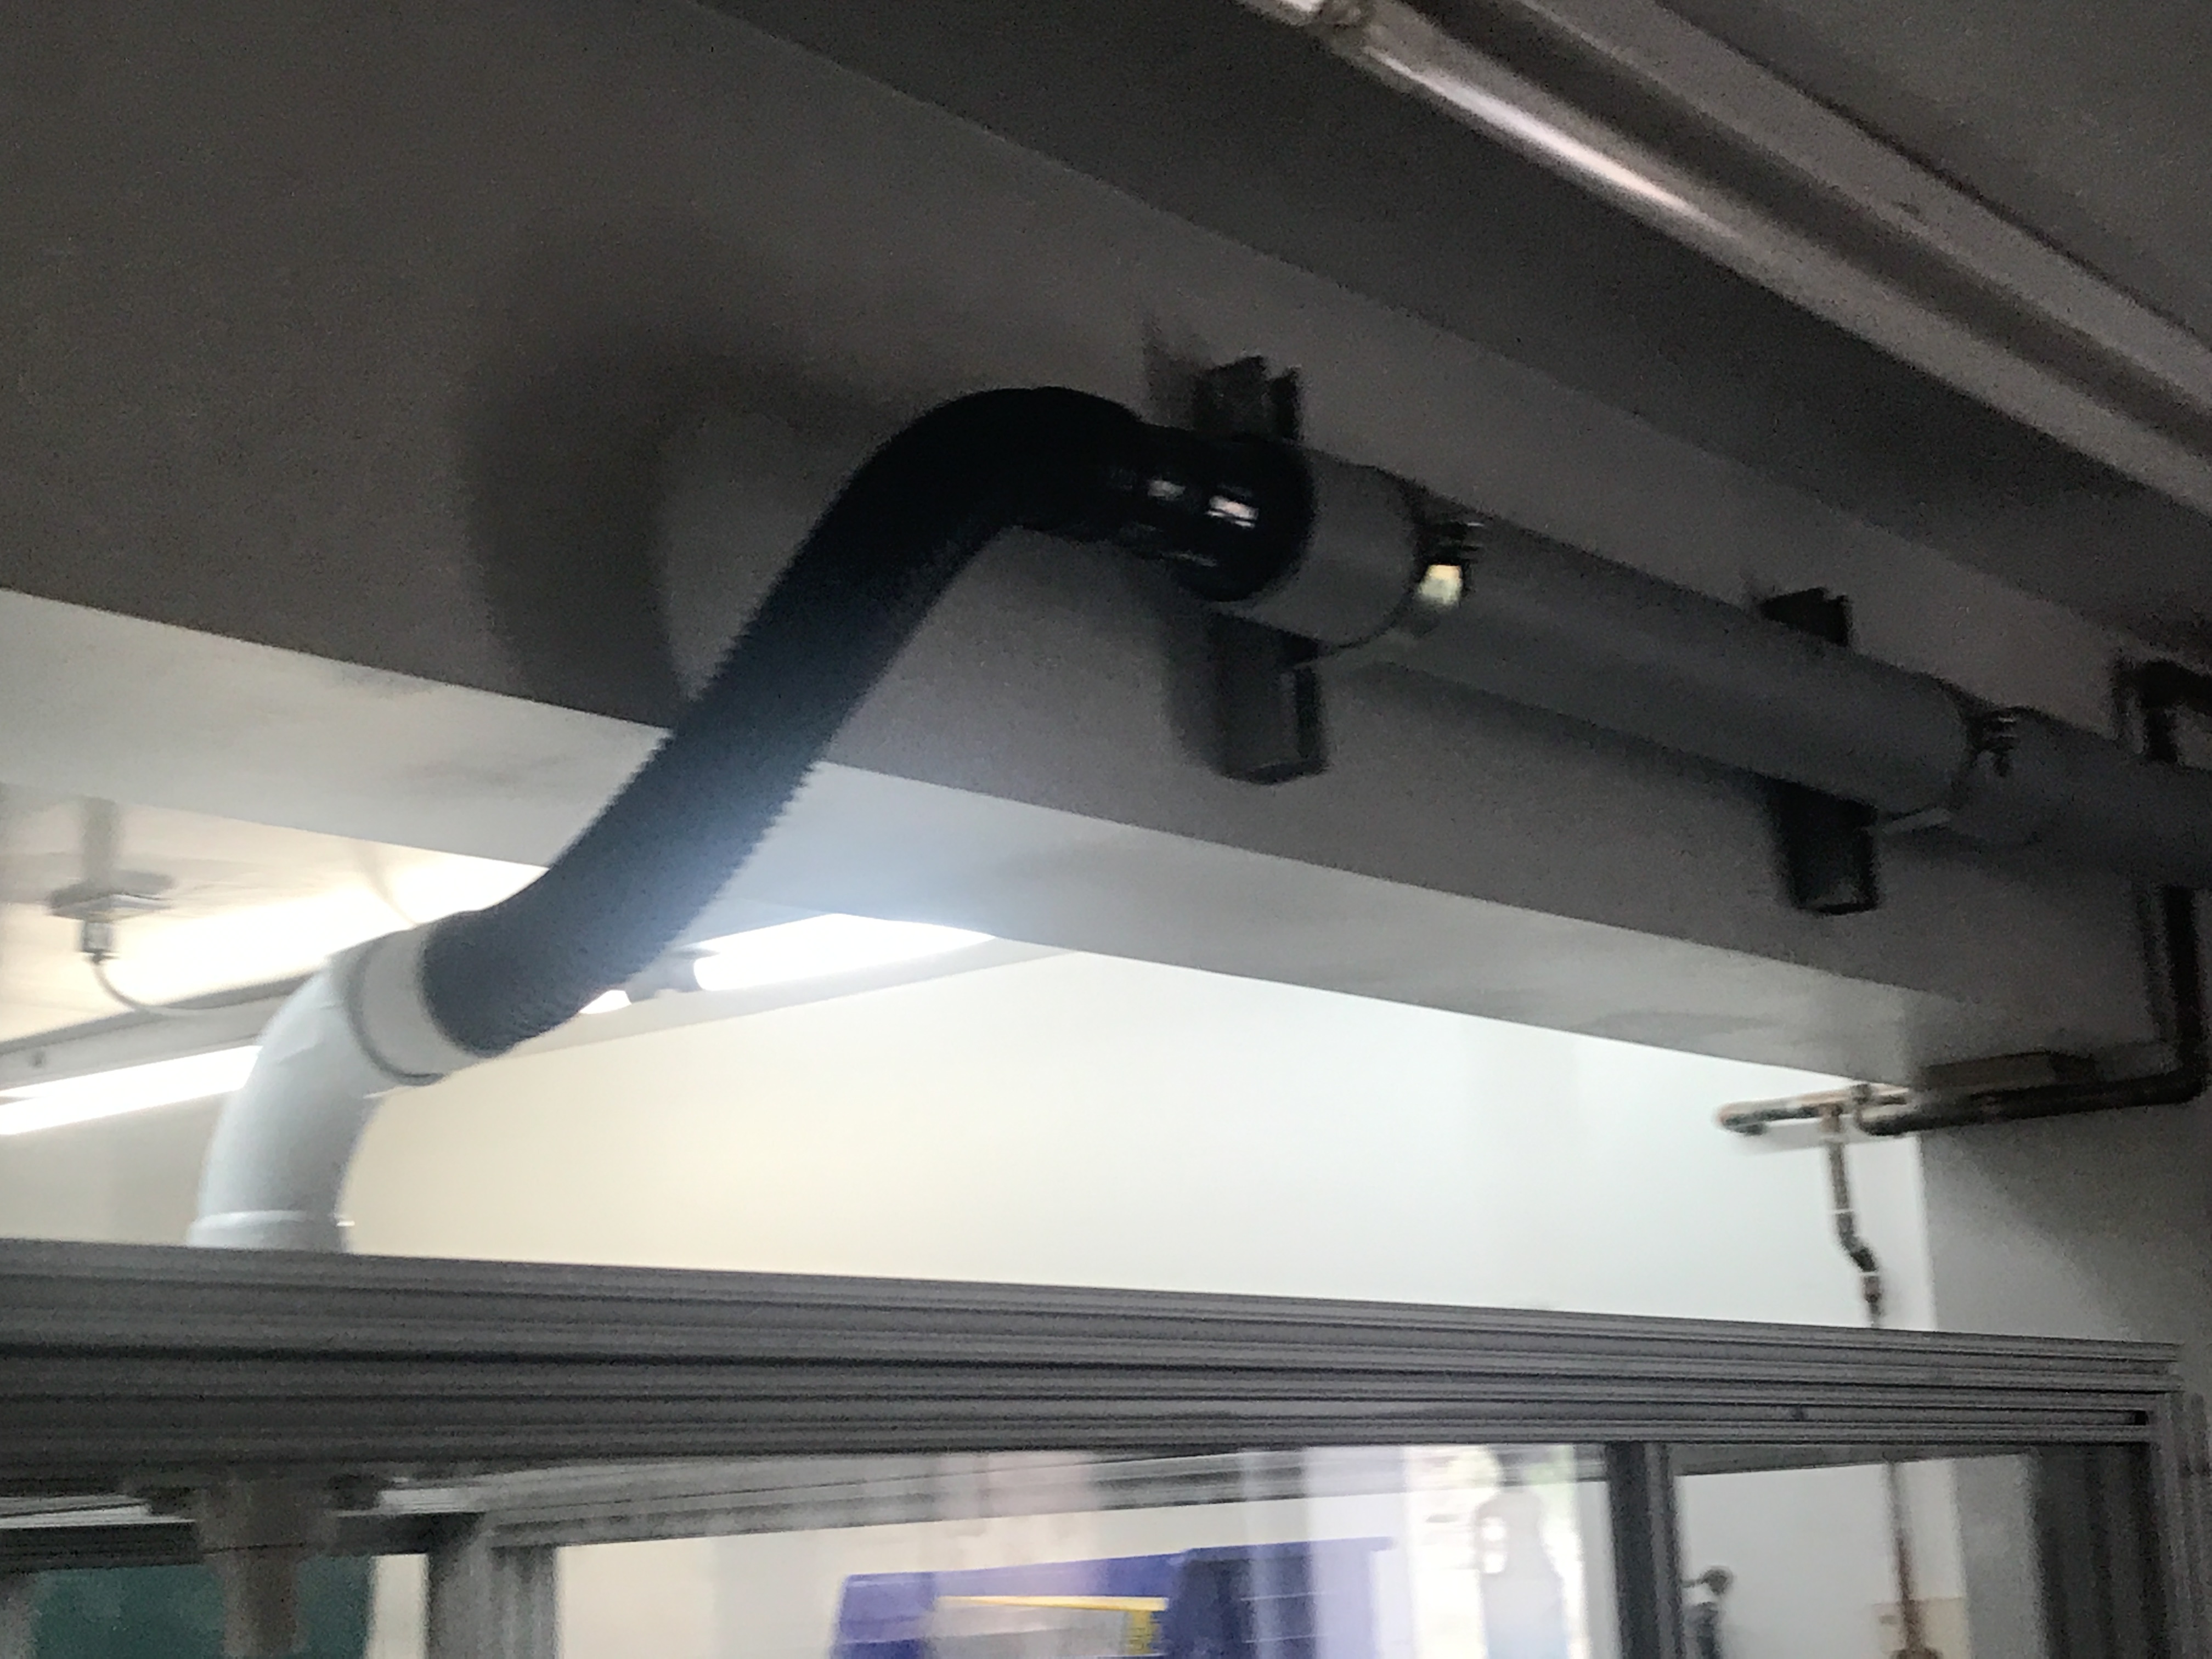
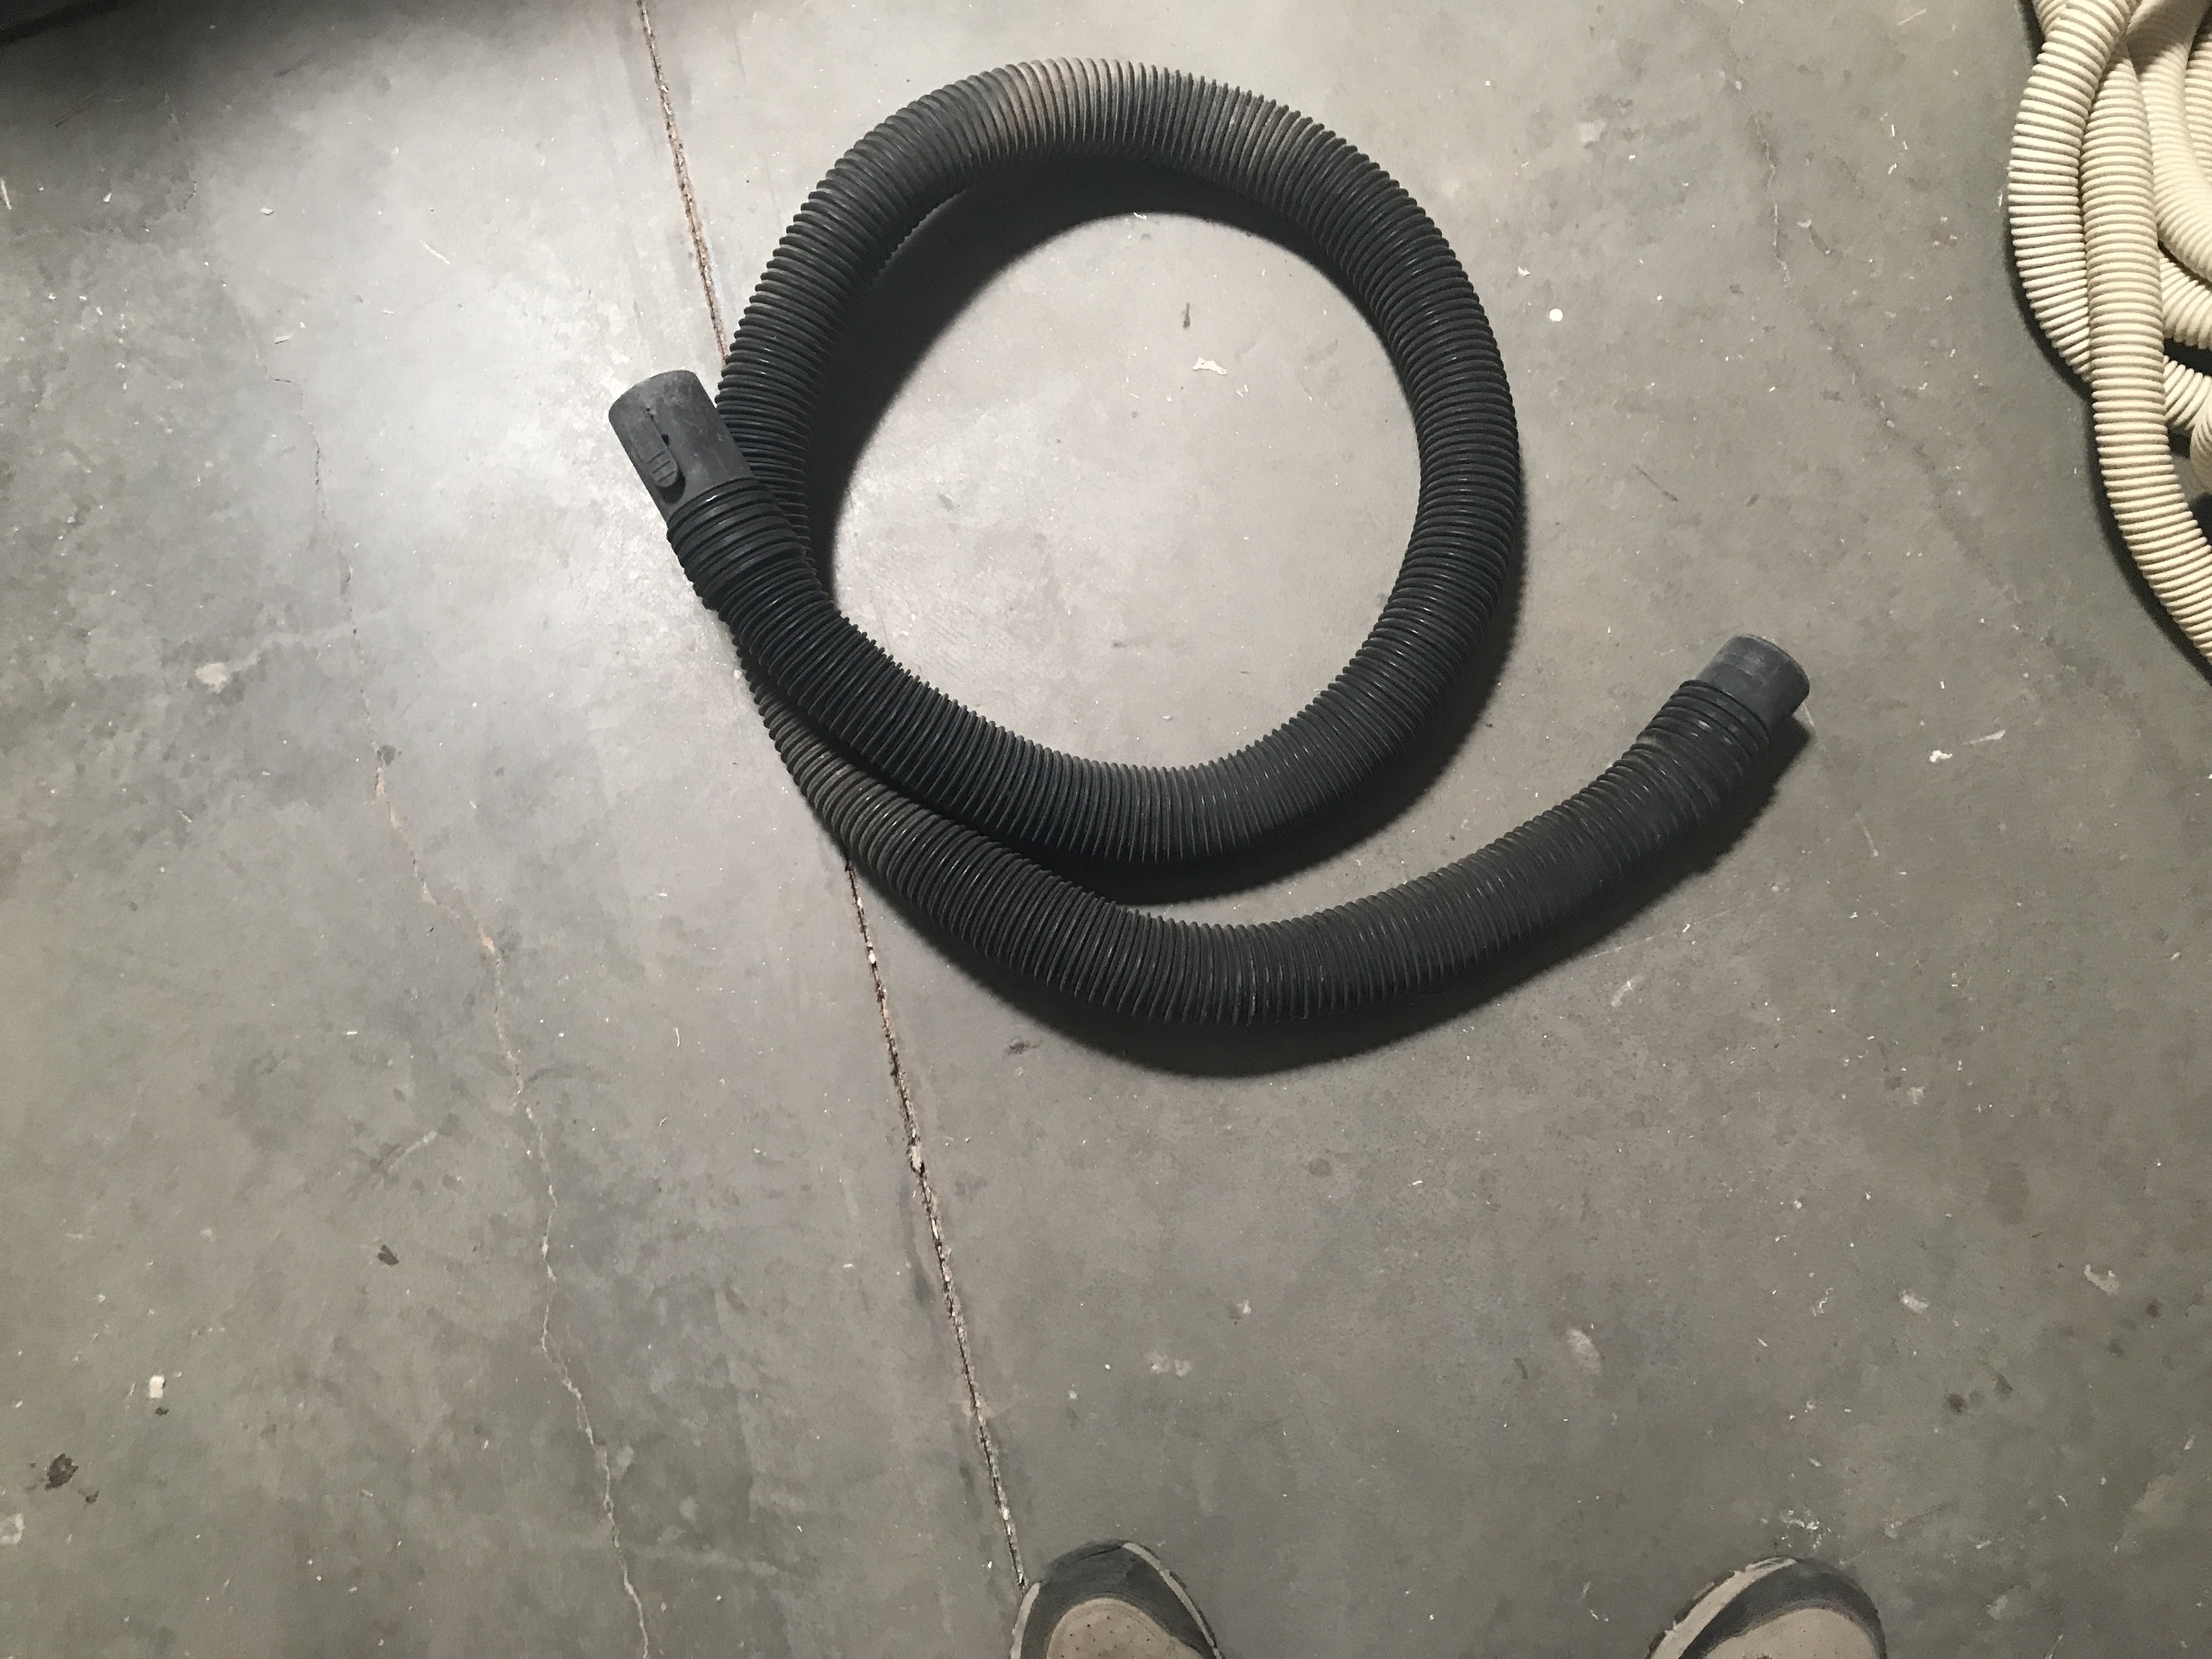
 The dust collector boot has been modeled and is currently set up for the hose that I used when the house vacuum was installed.
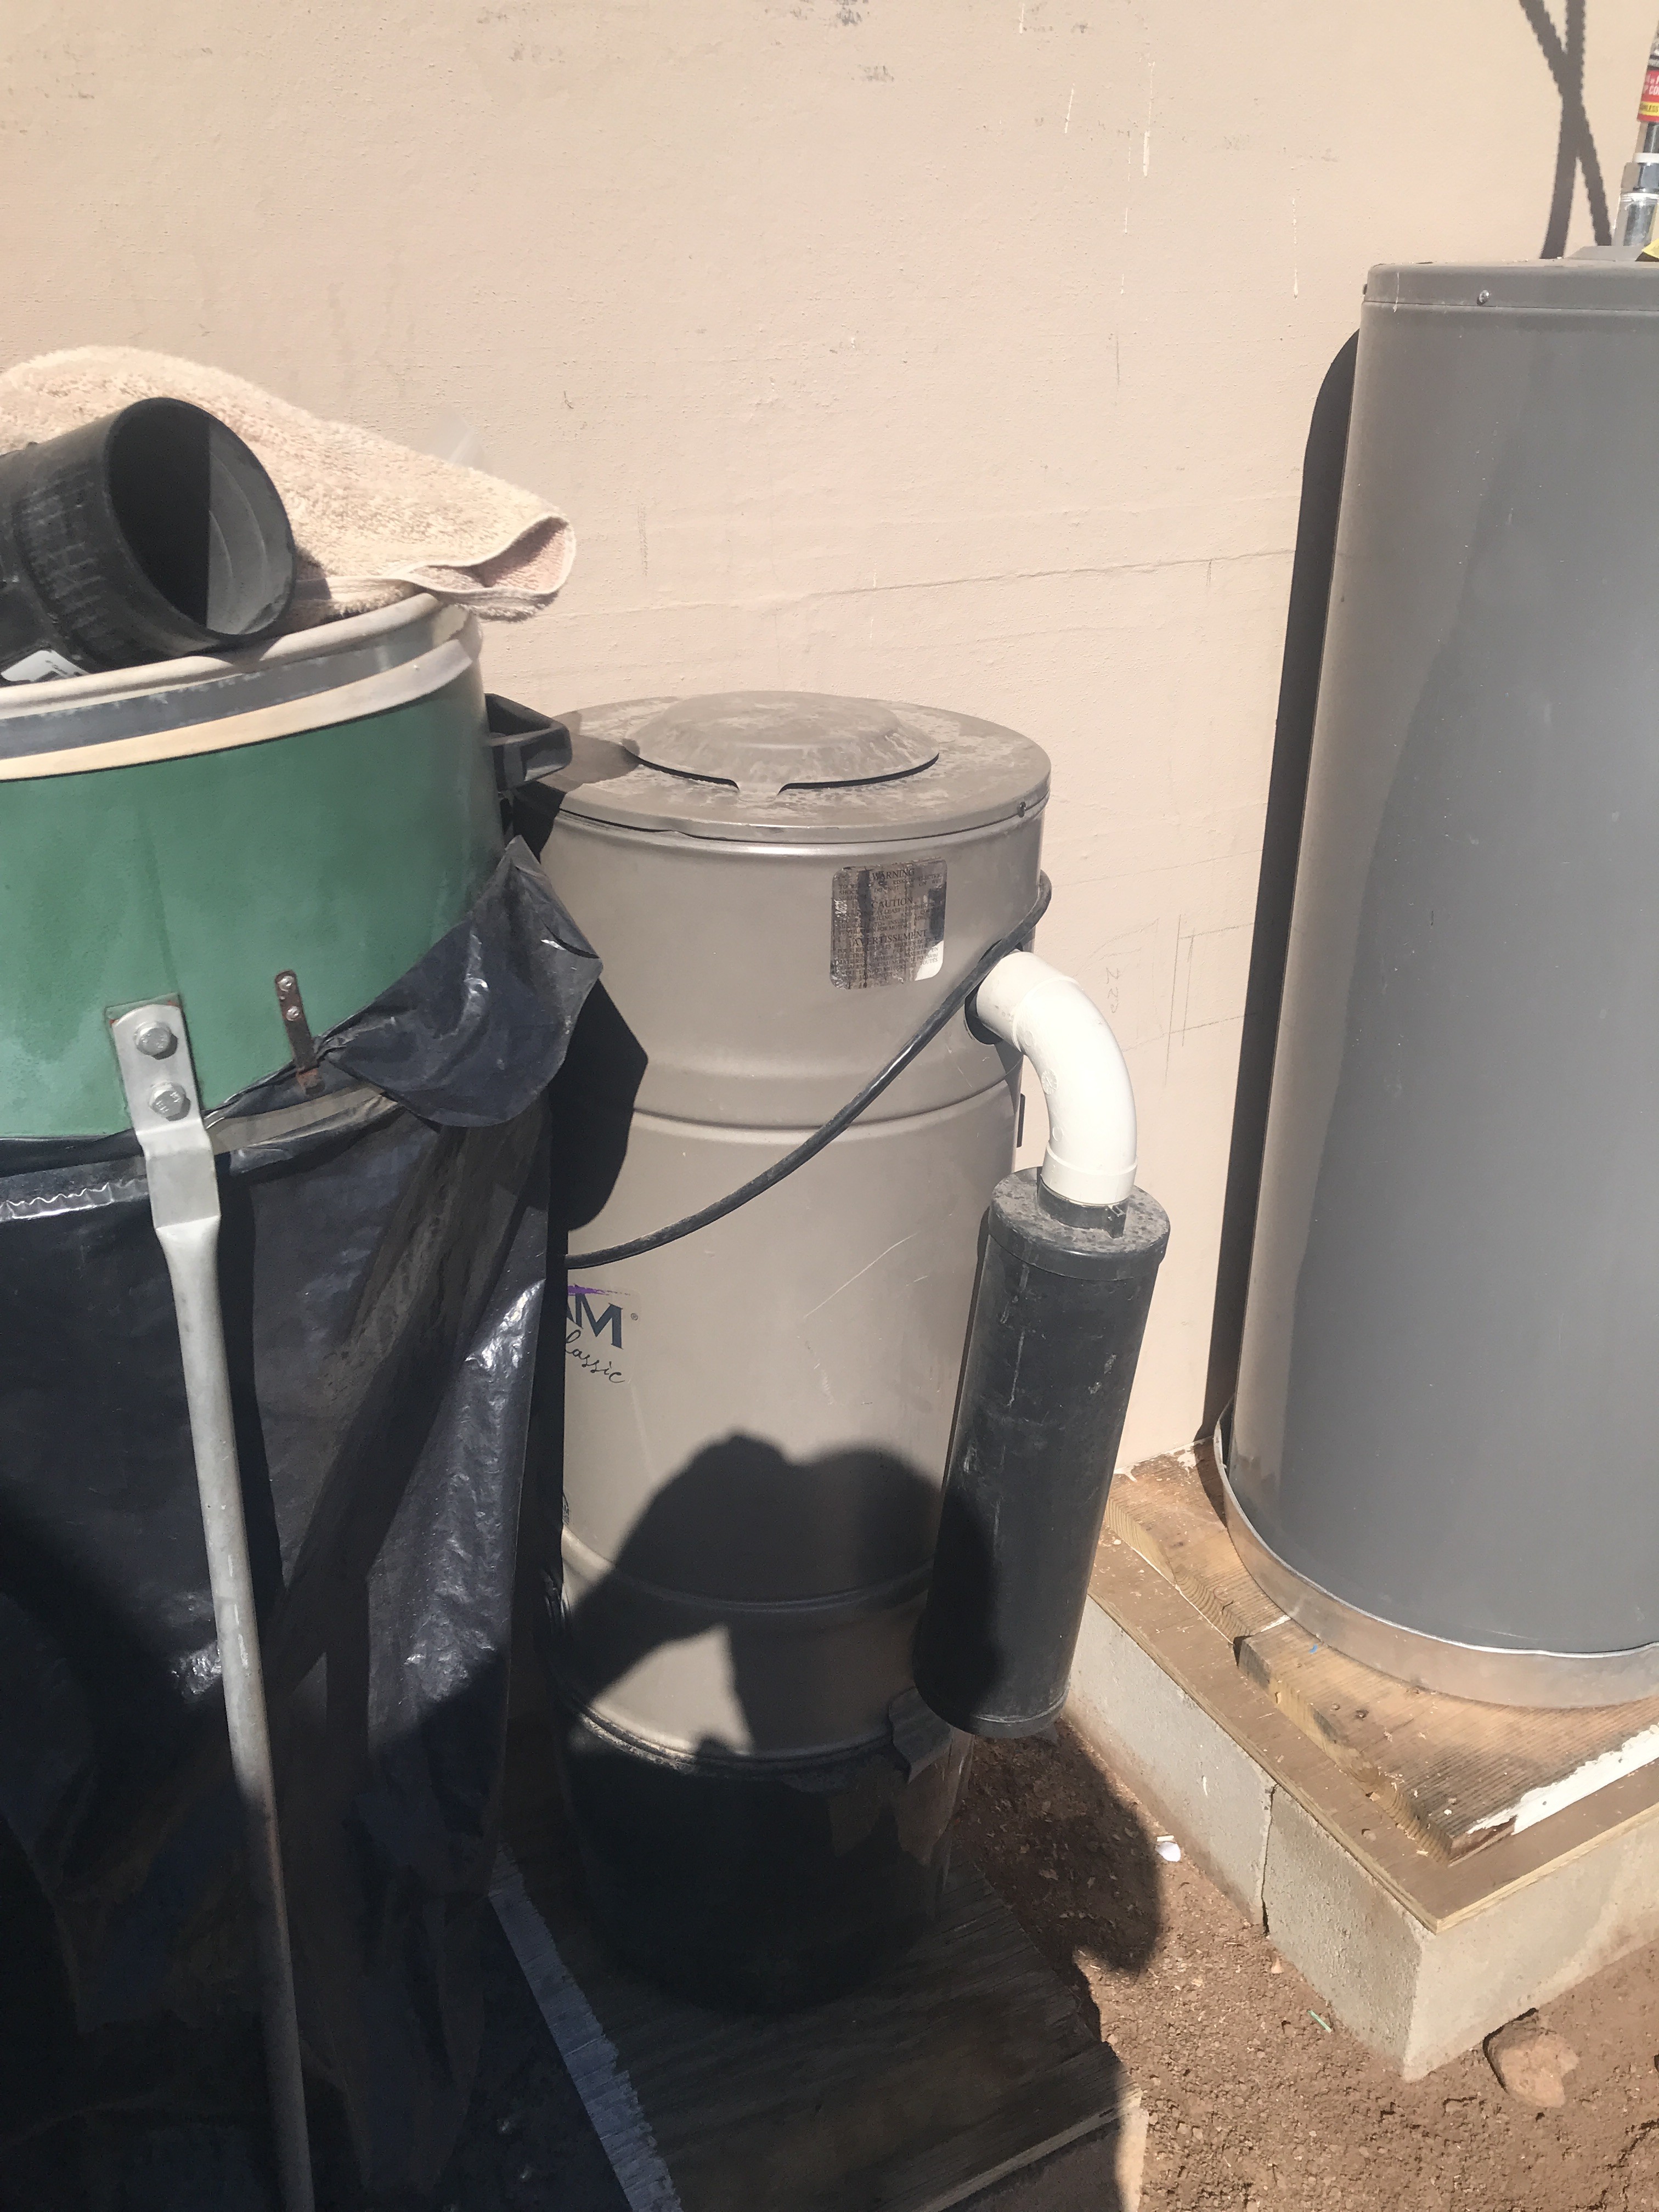
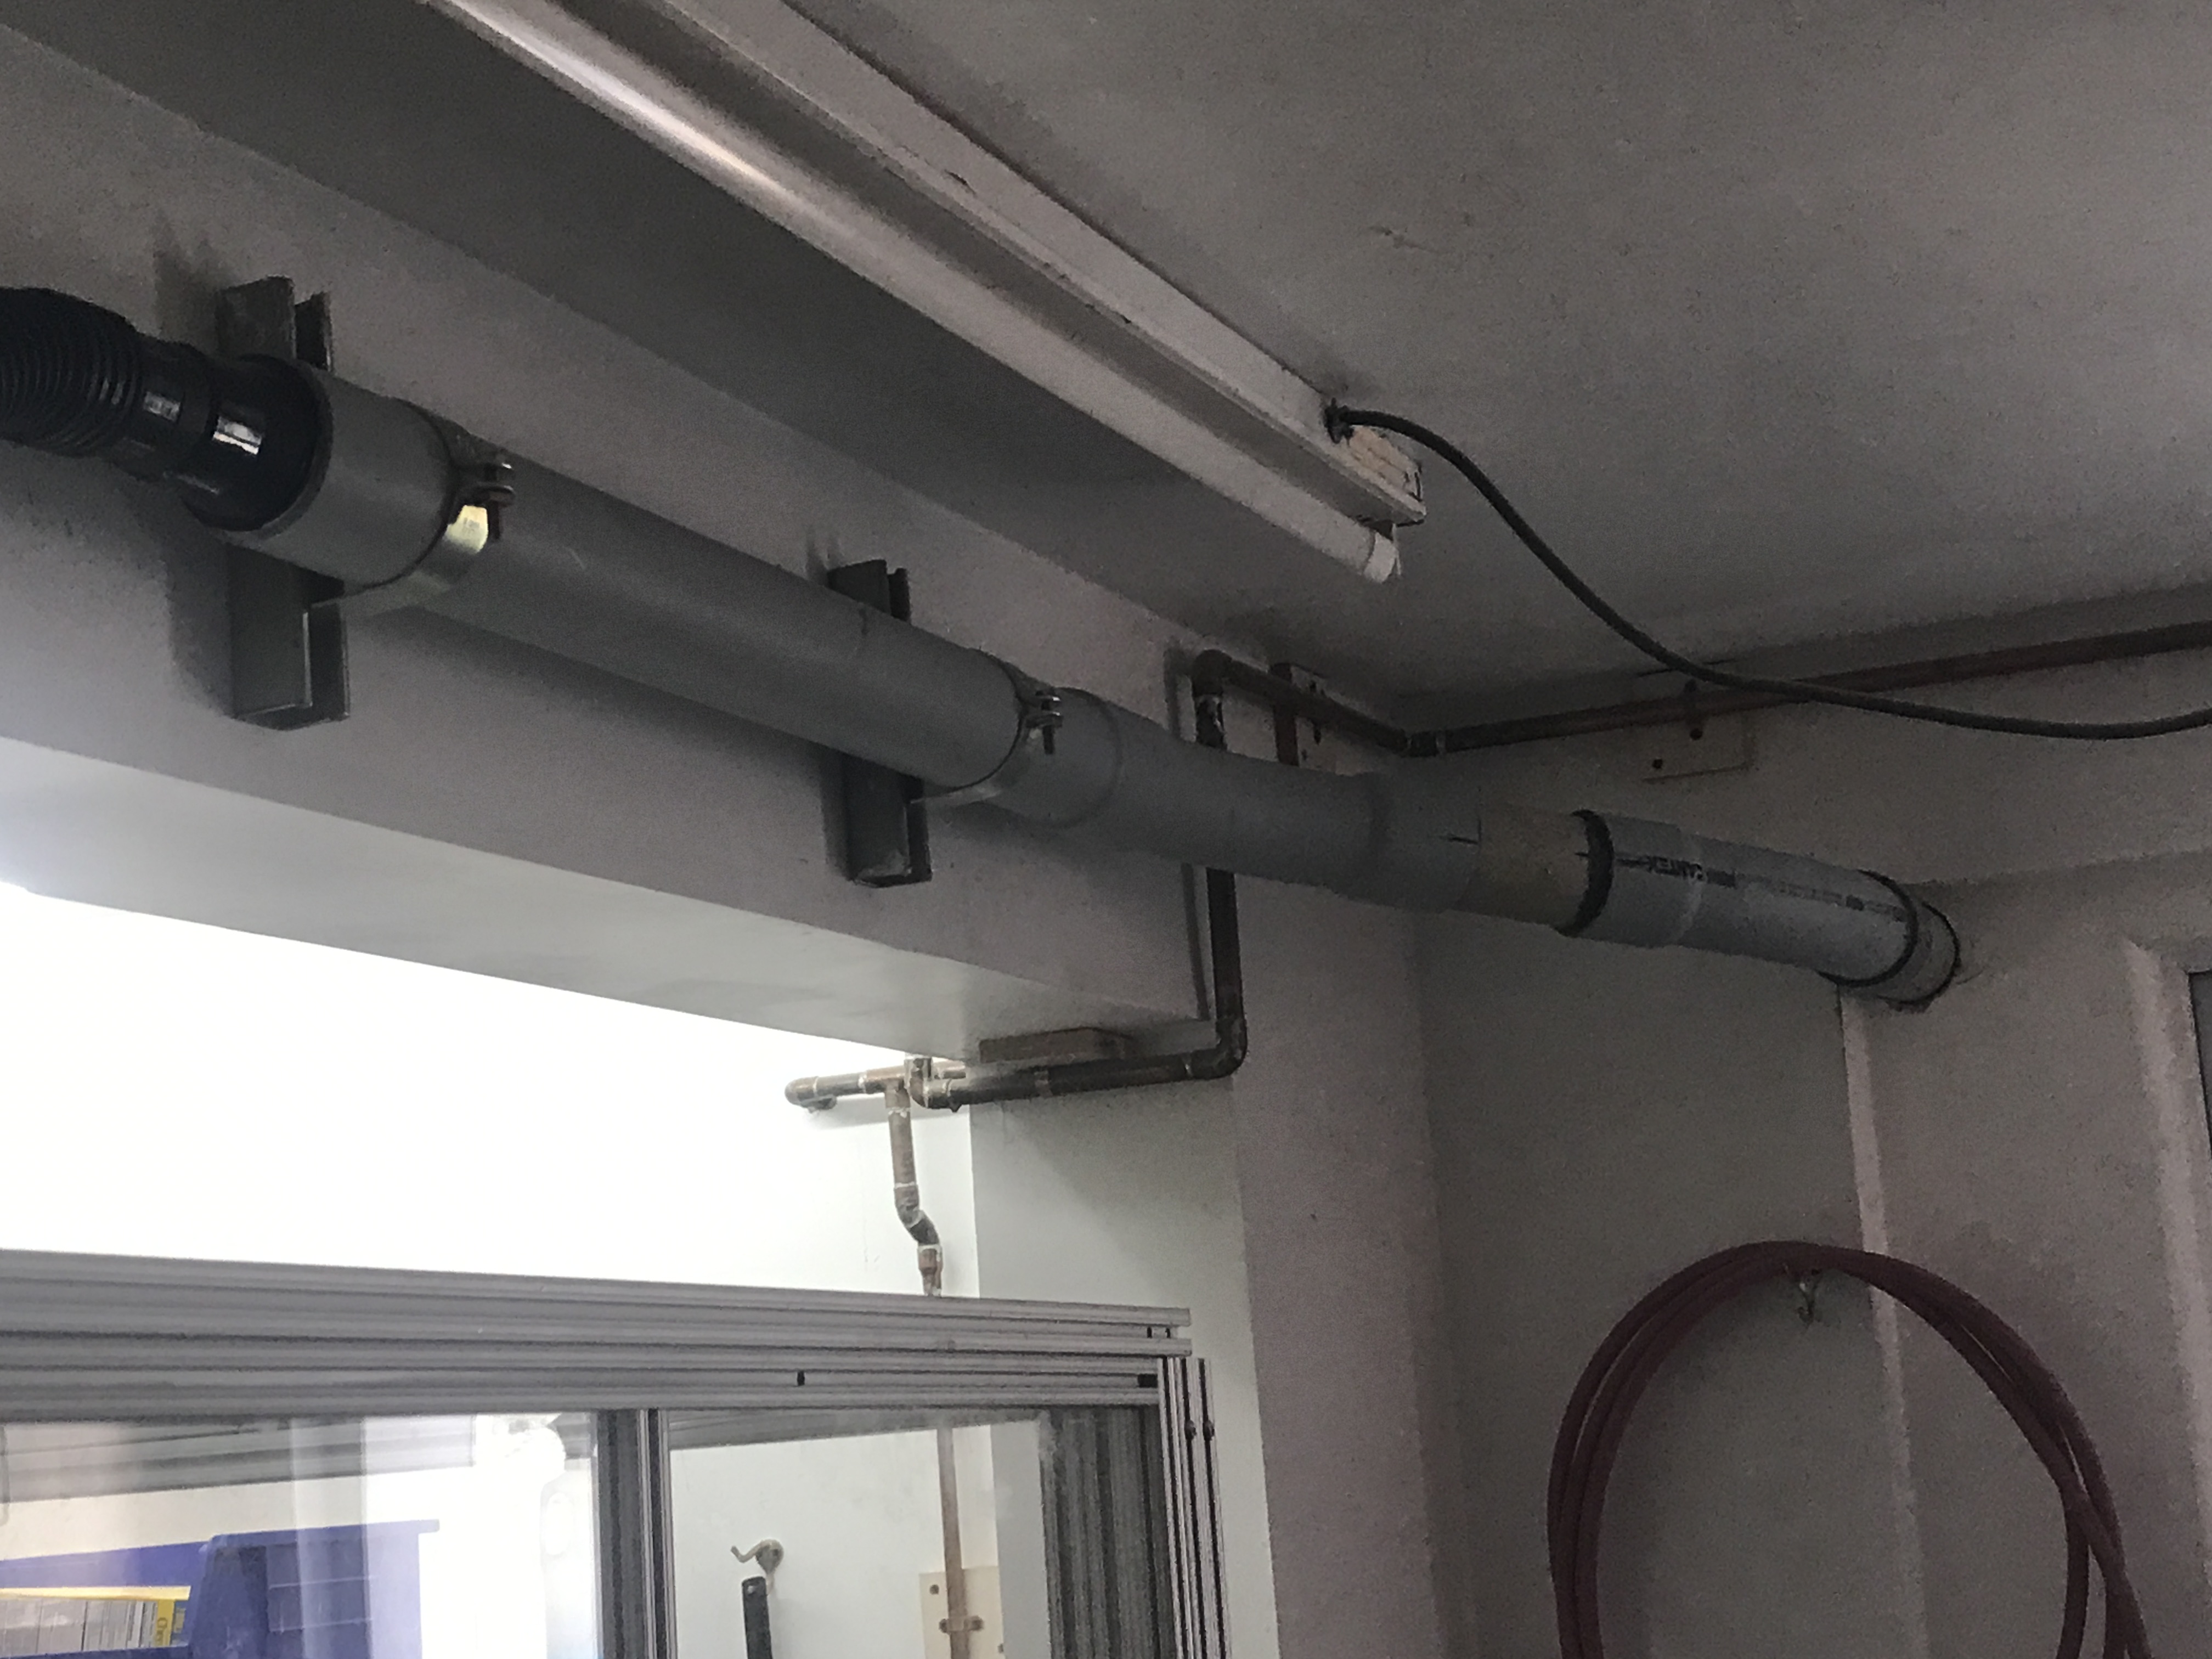
The noise was awful so I changed it out to large dust collector that I had setting around that is next to the house one. As with everything else none of the dust collector system matched up with the standard piping that is available at Home Depot. Adapters were printed out on my Bambu P2S 3D printer.
The cabinet has been enlarged so now nothing hits the cabinet while I operate the cnc router.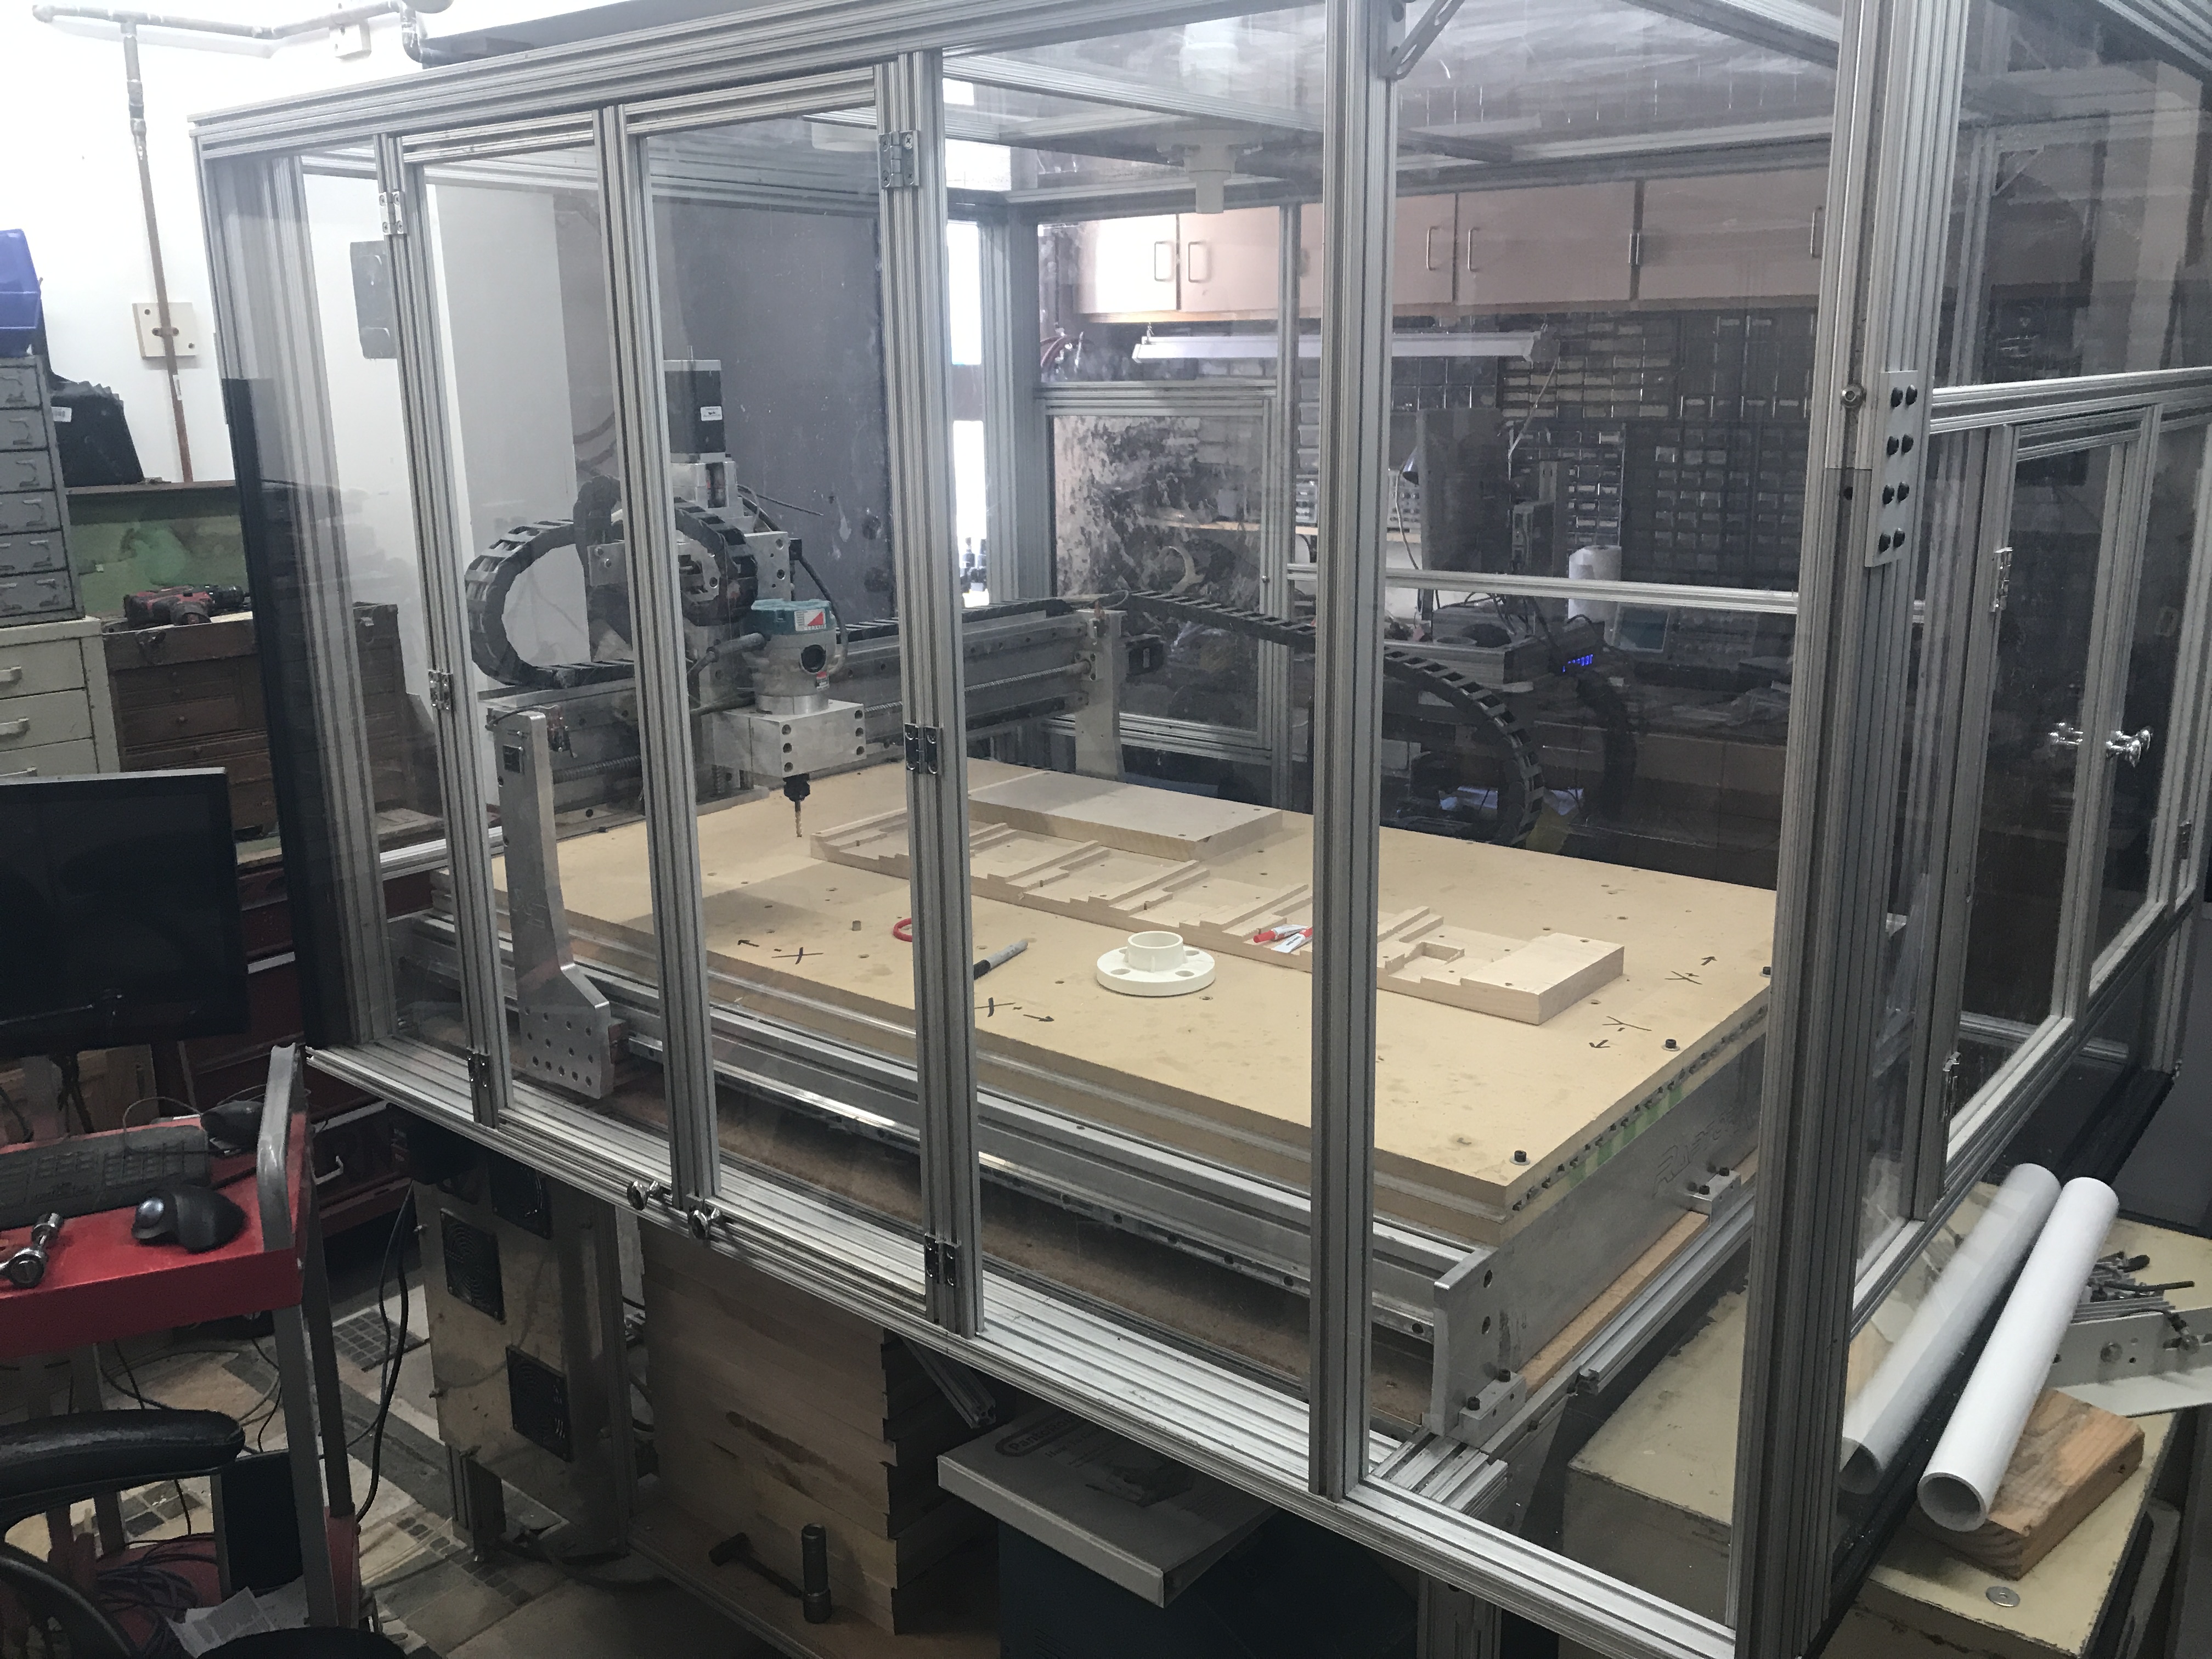
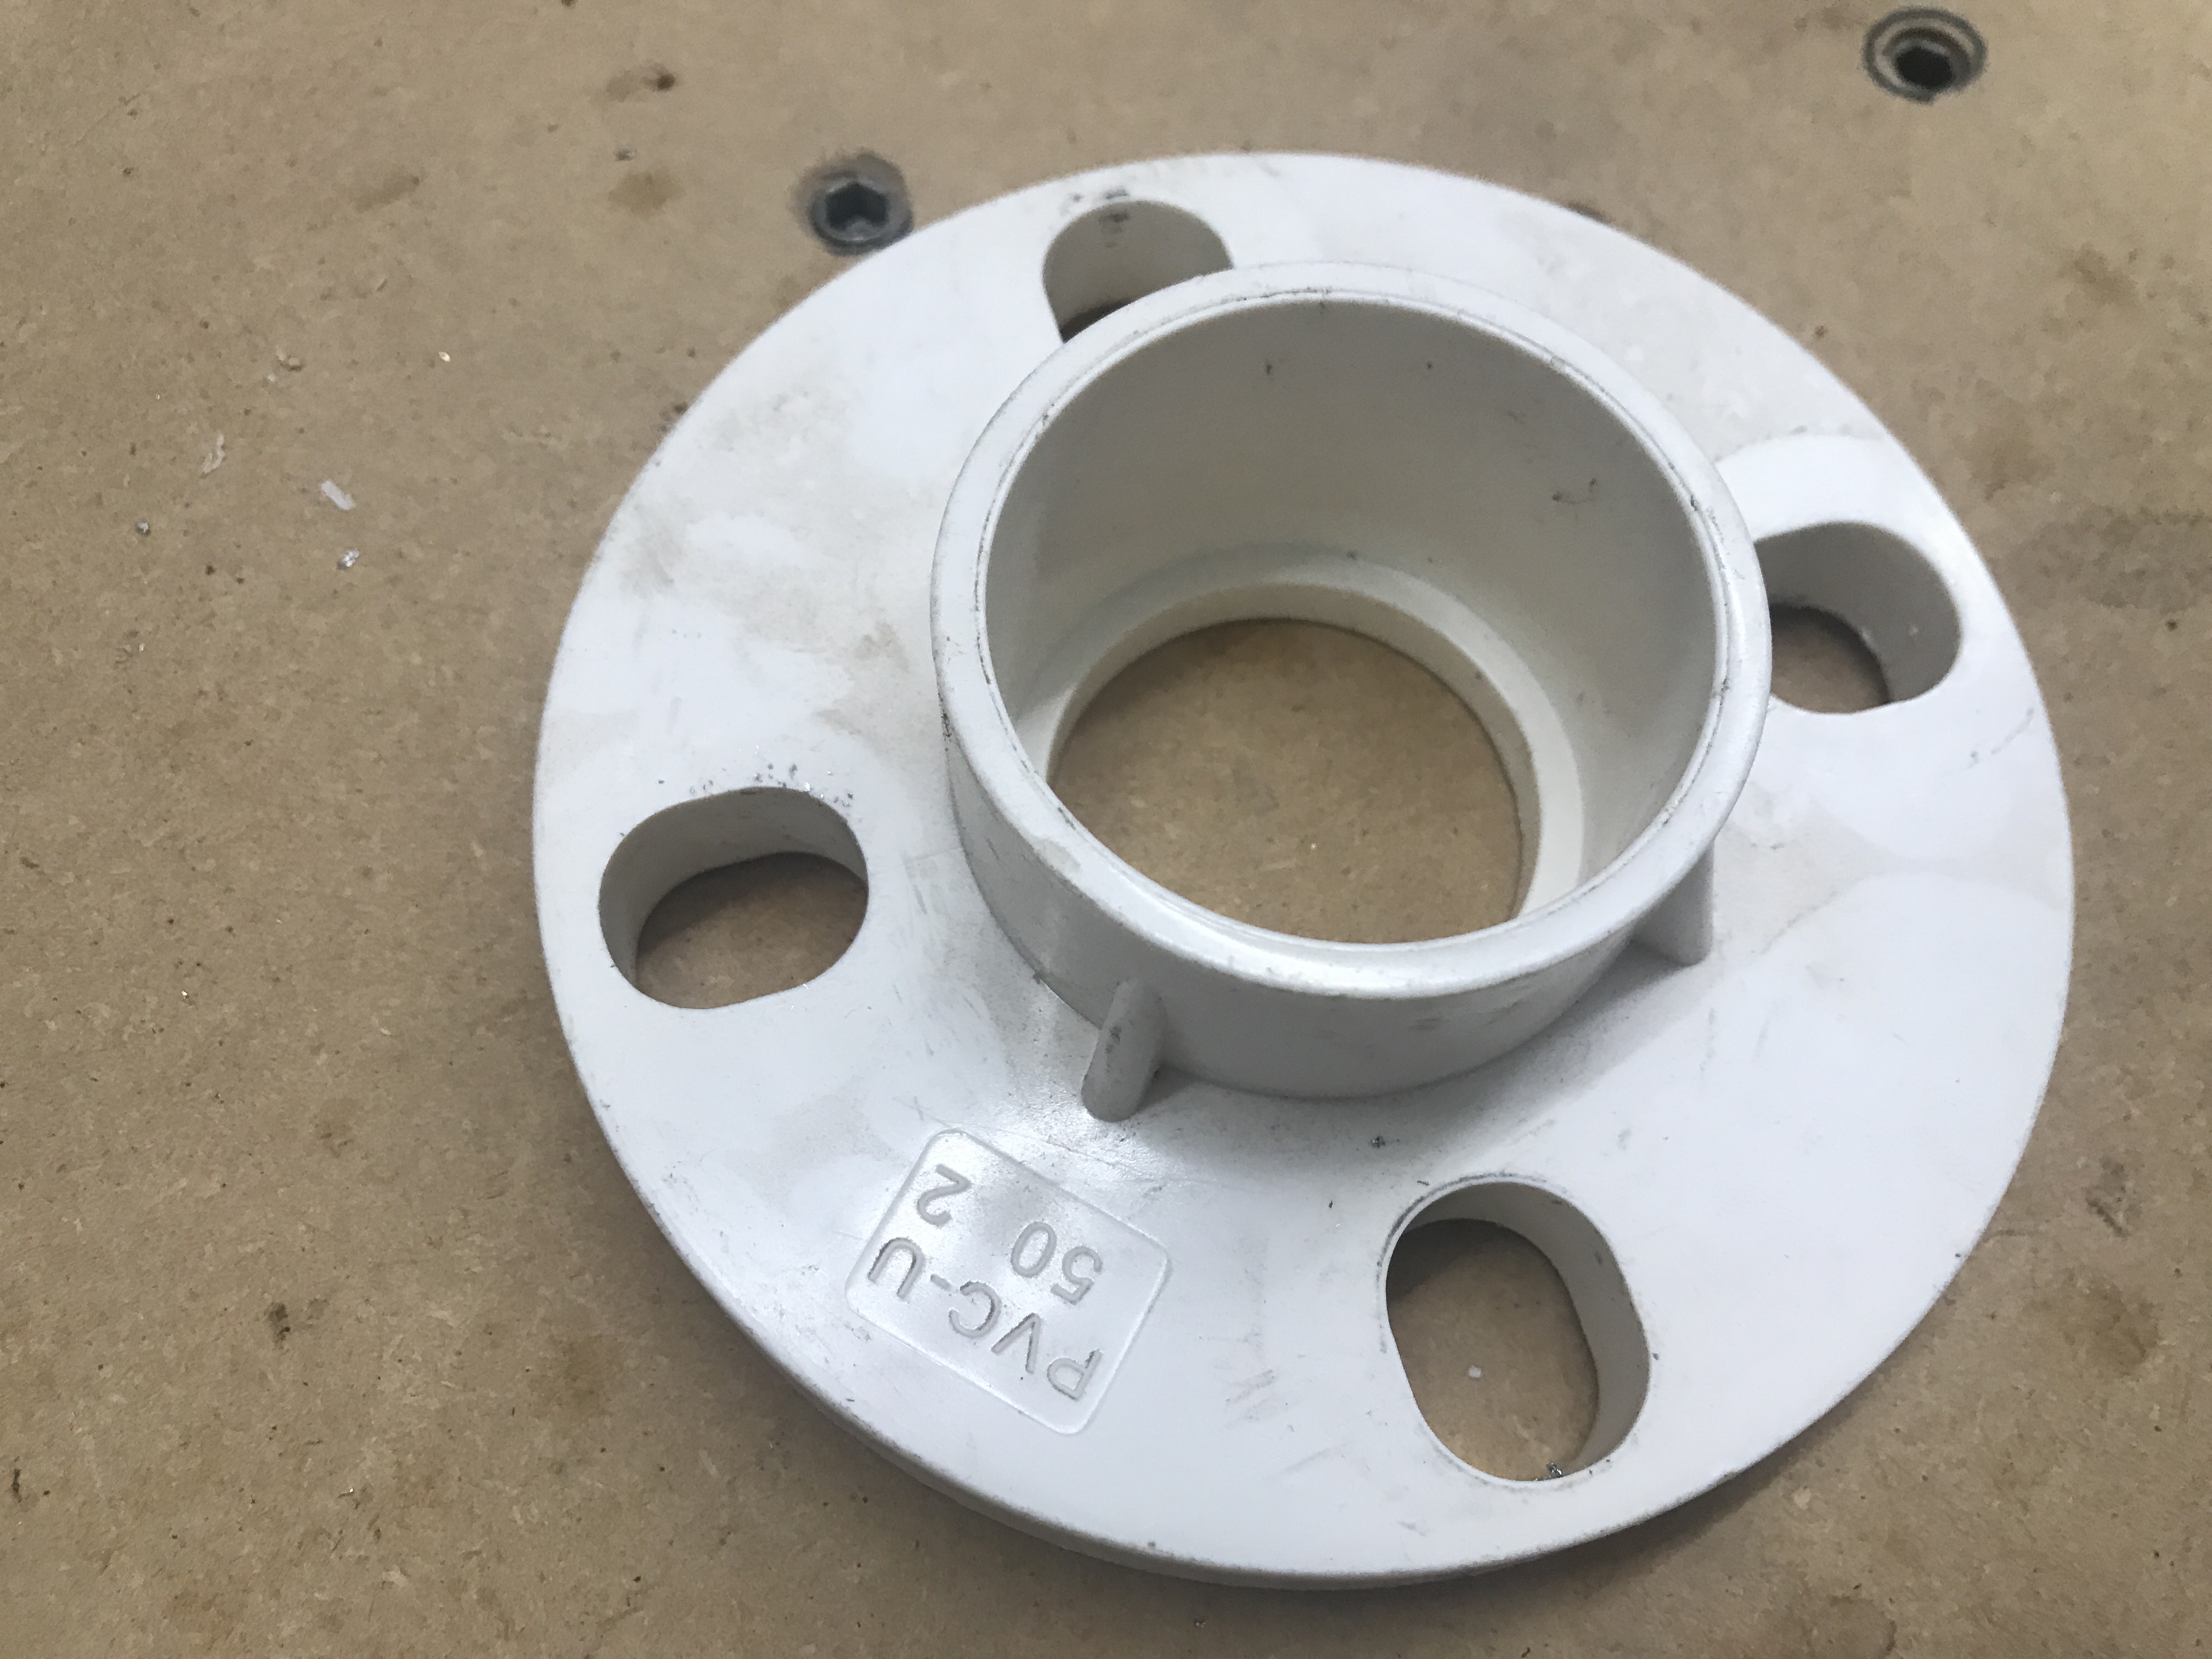
 The coupling through the cabinet is with a 2″ pipe flange, which is actually not 2″ so another adapter had to be made.
 the old hose is just 1″ in diameter.
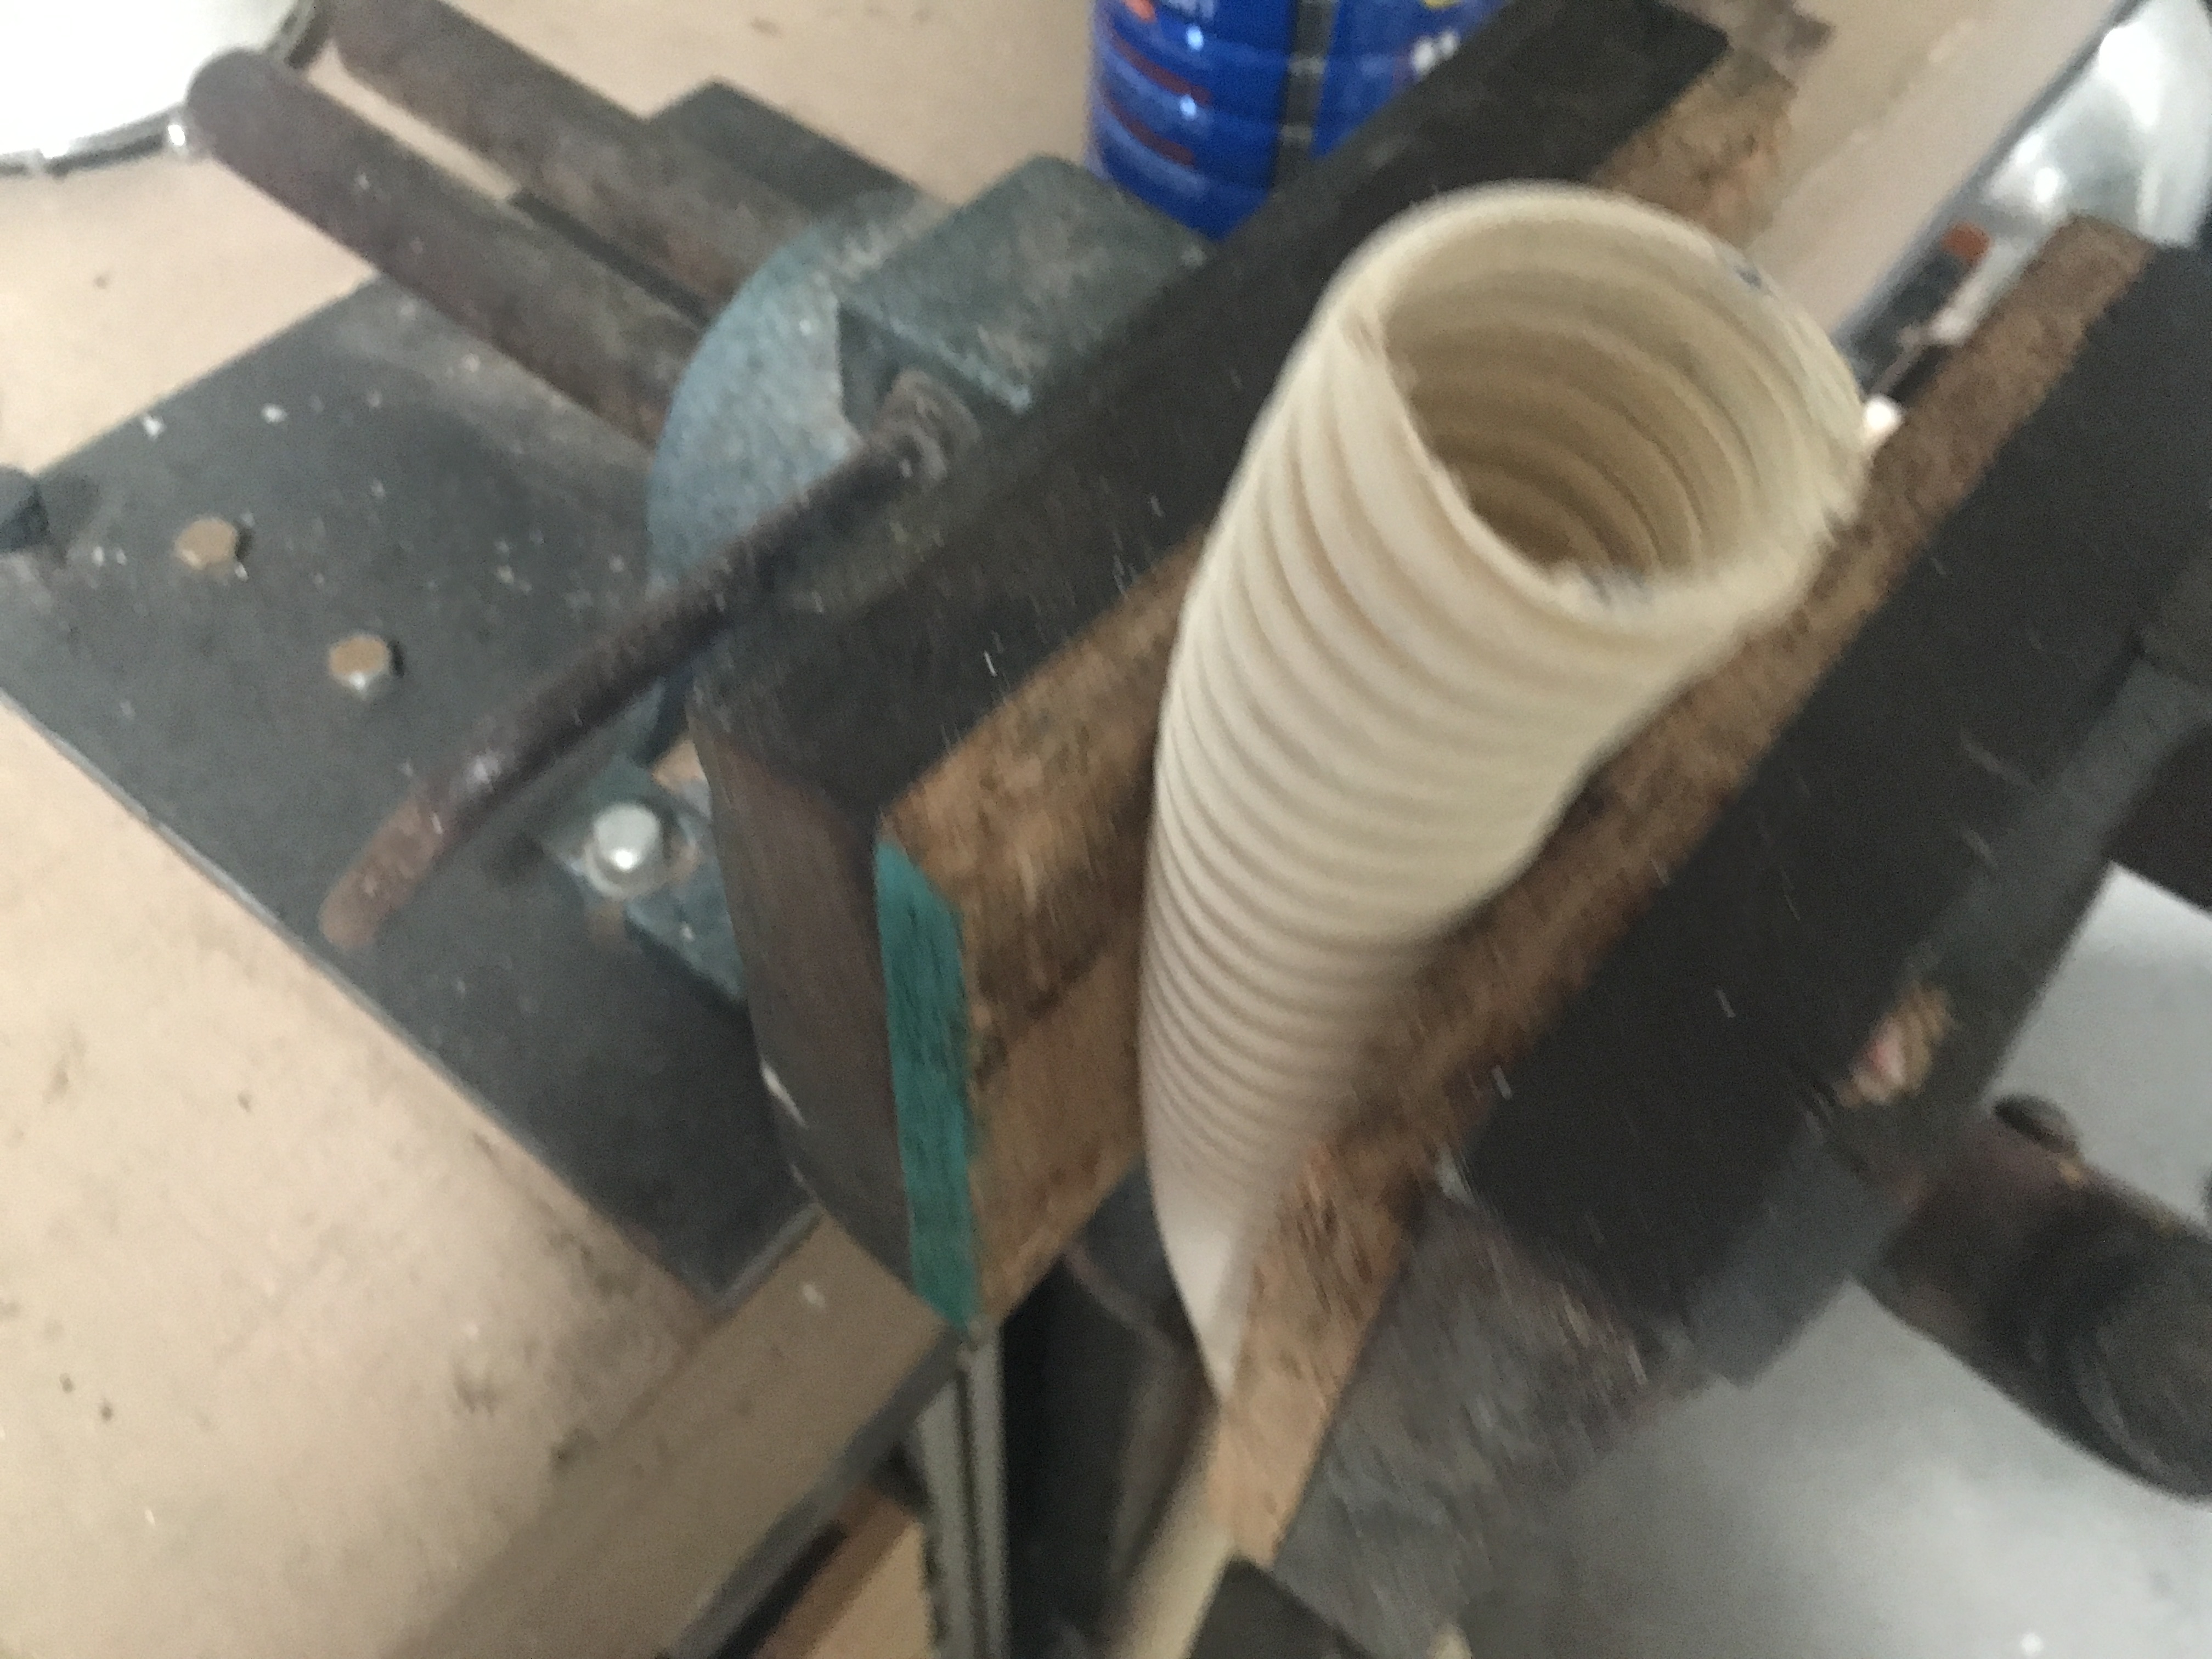
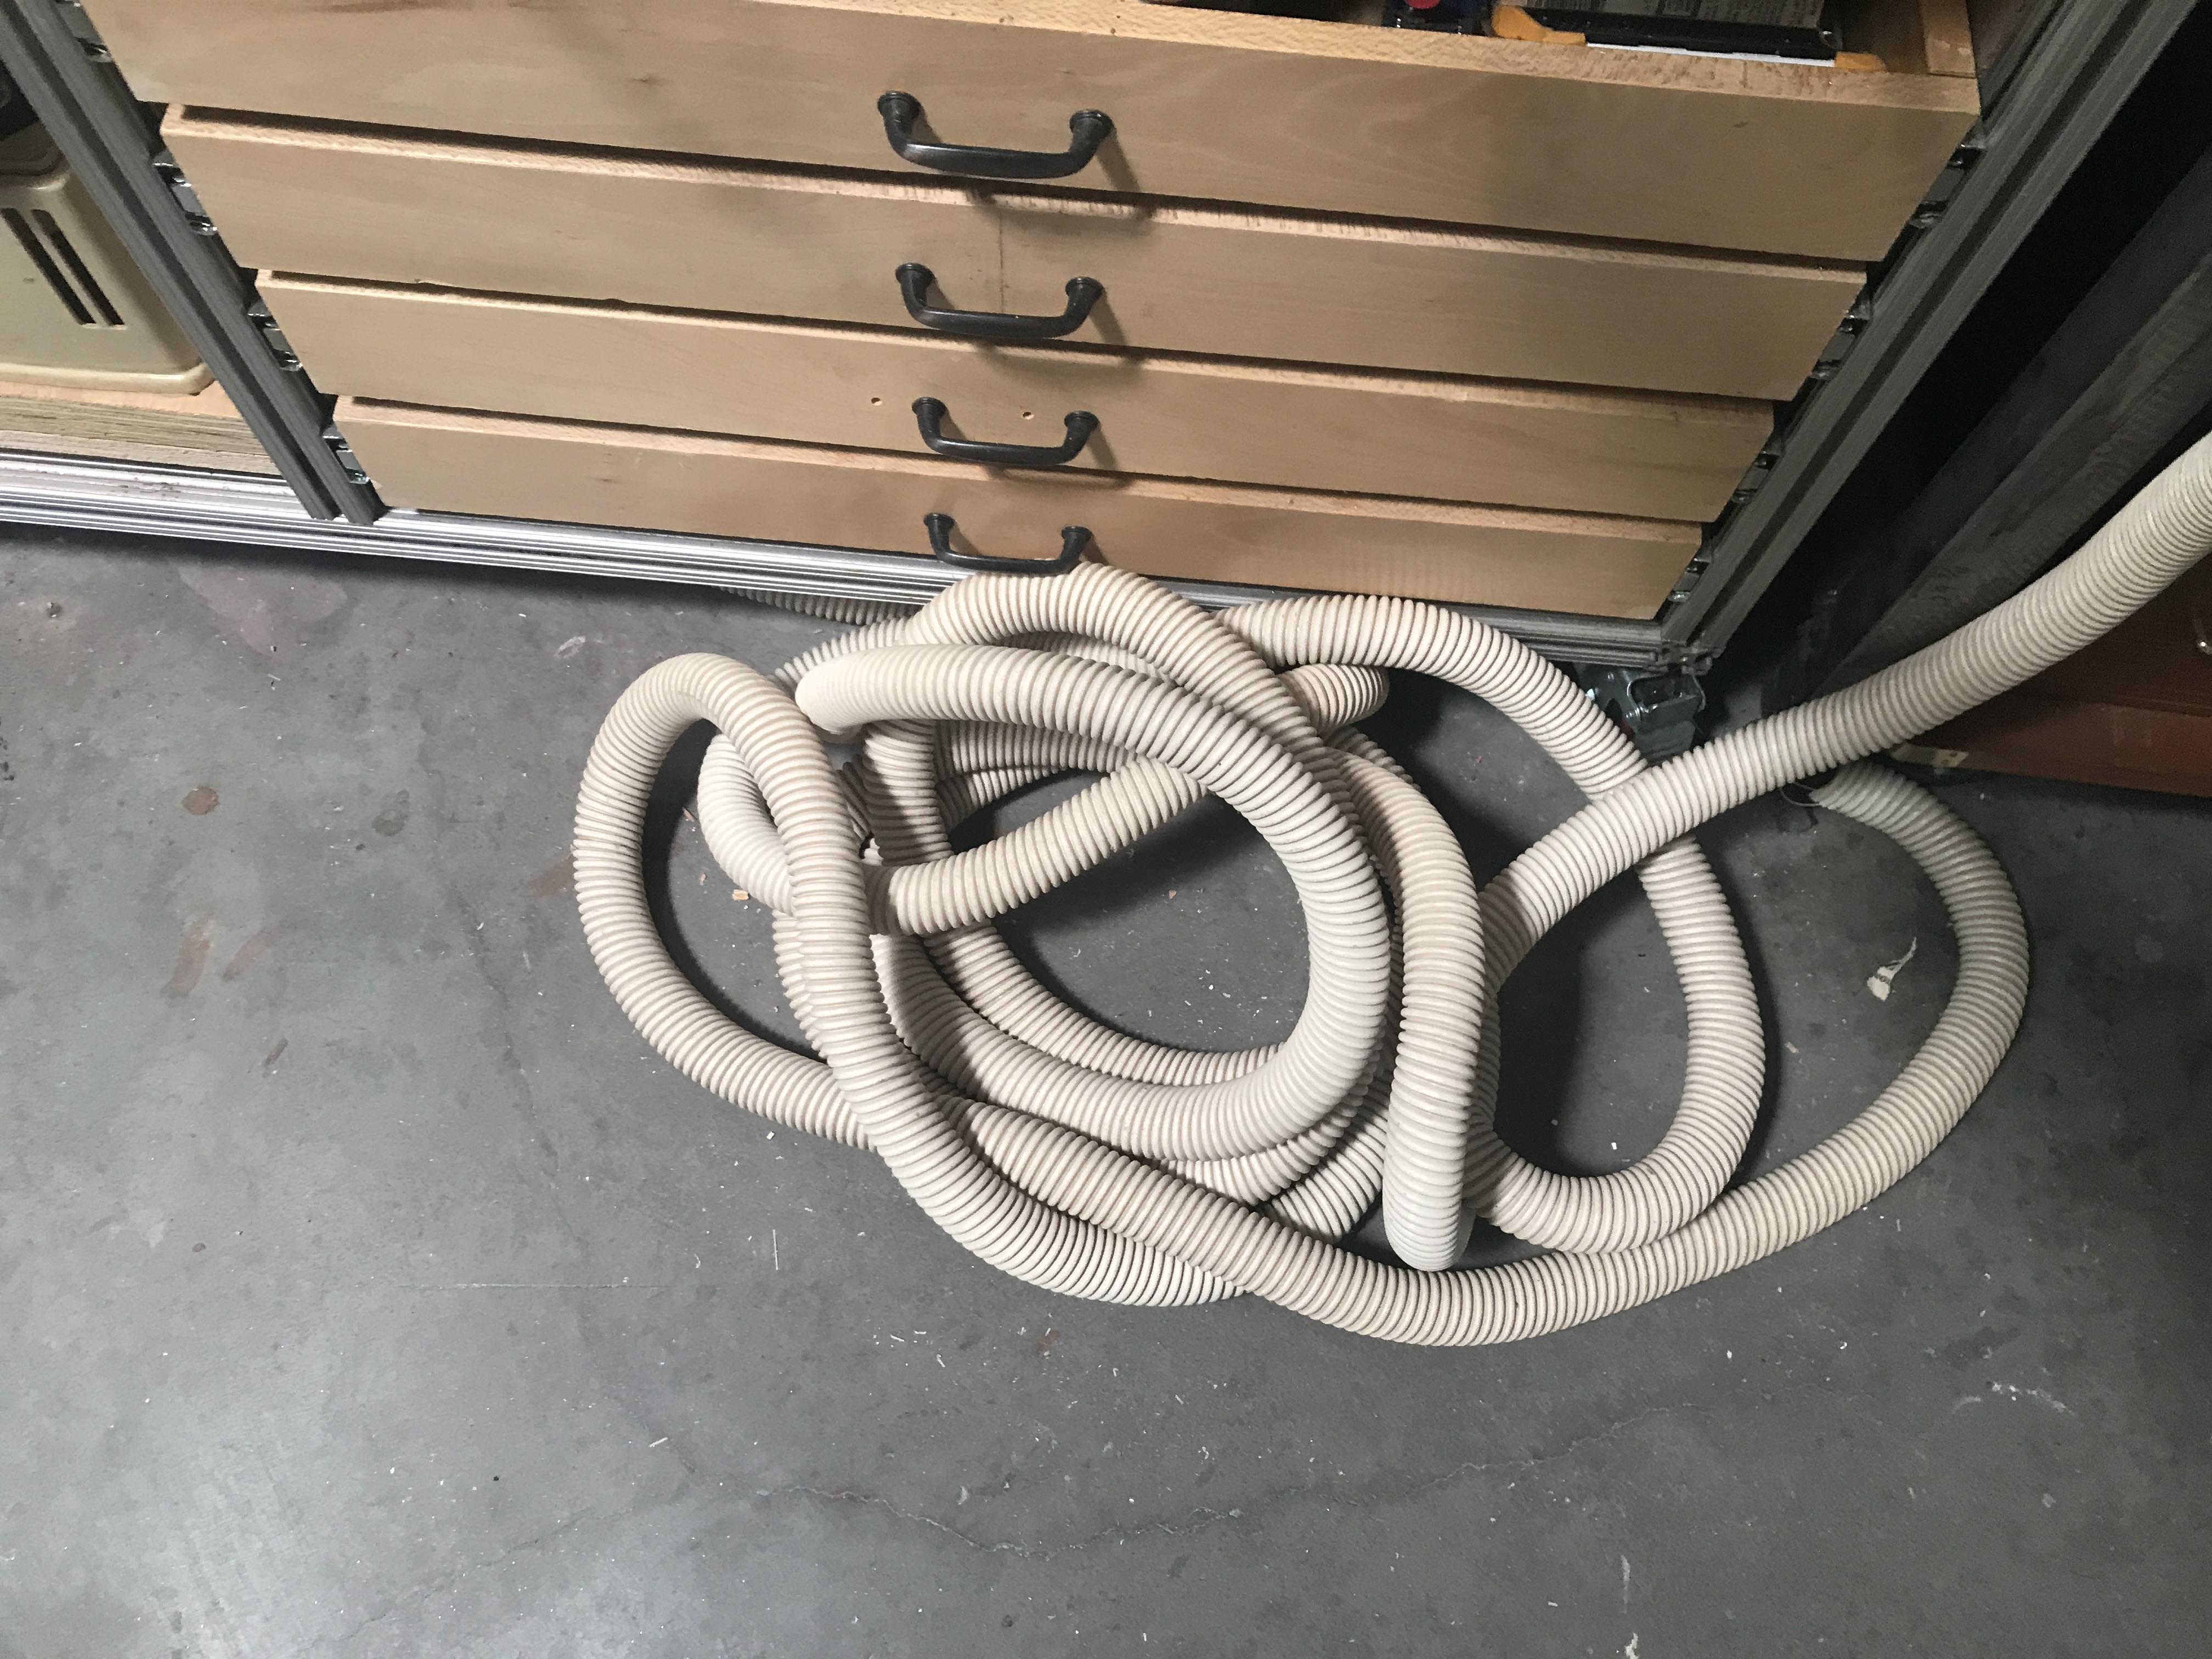 However, if the hose will not work I can always use a larger vacuum hose.
 All I have to do is print out a new boot and change the flange on the cabinet.
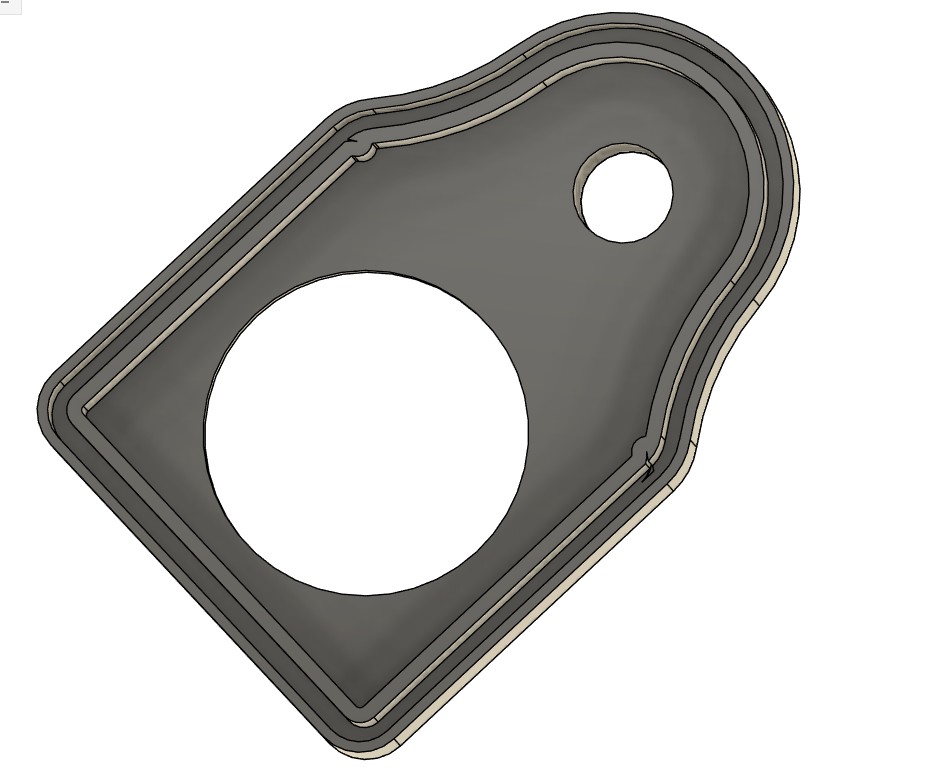
I started designing the boot with a couple of test design pieces,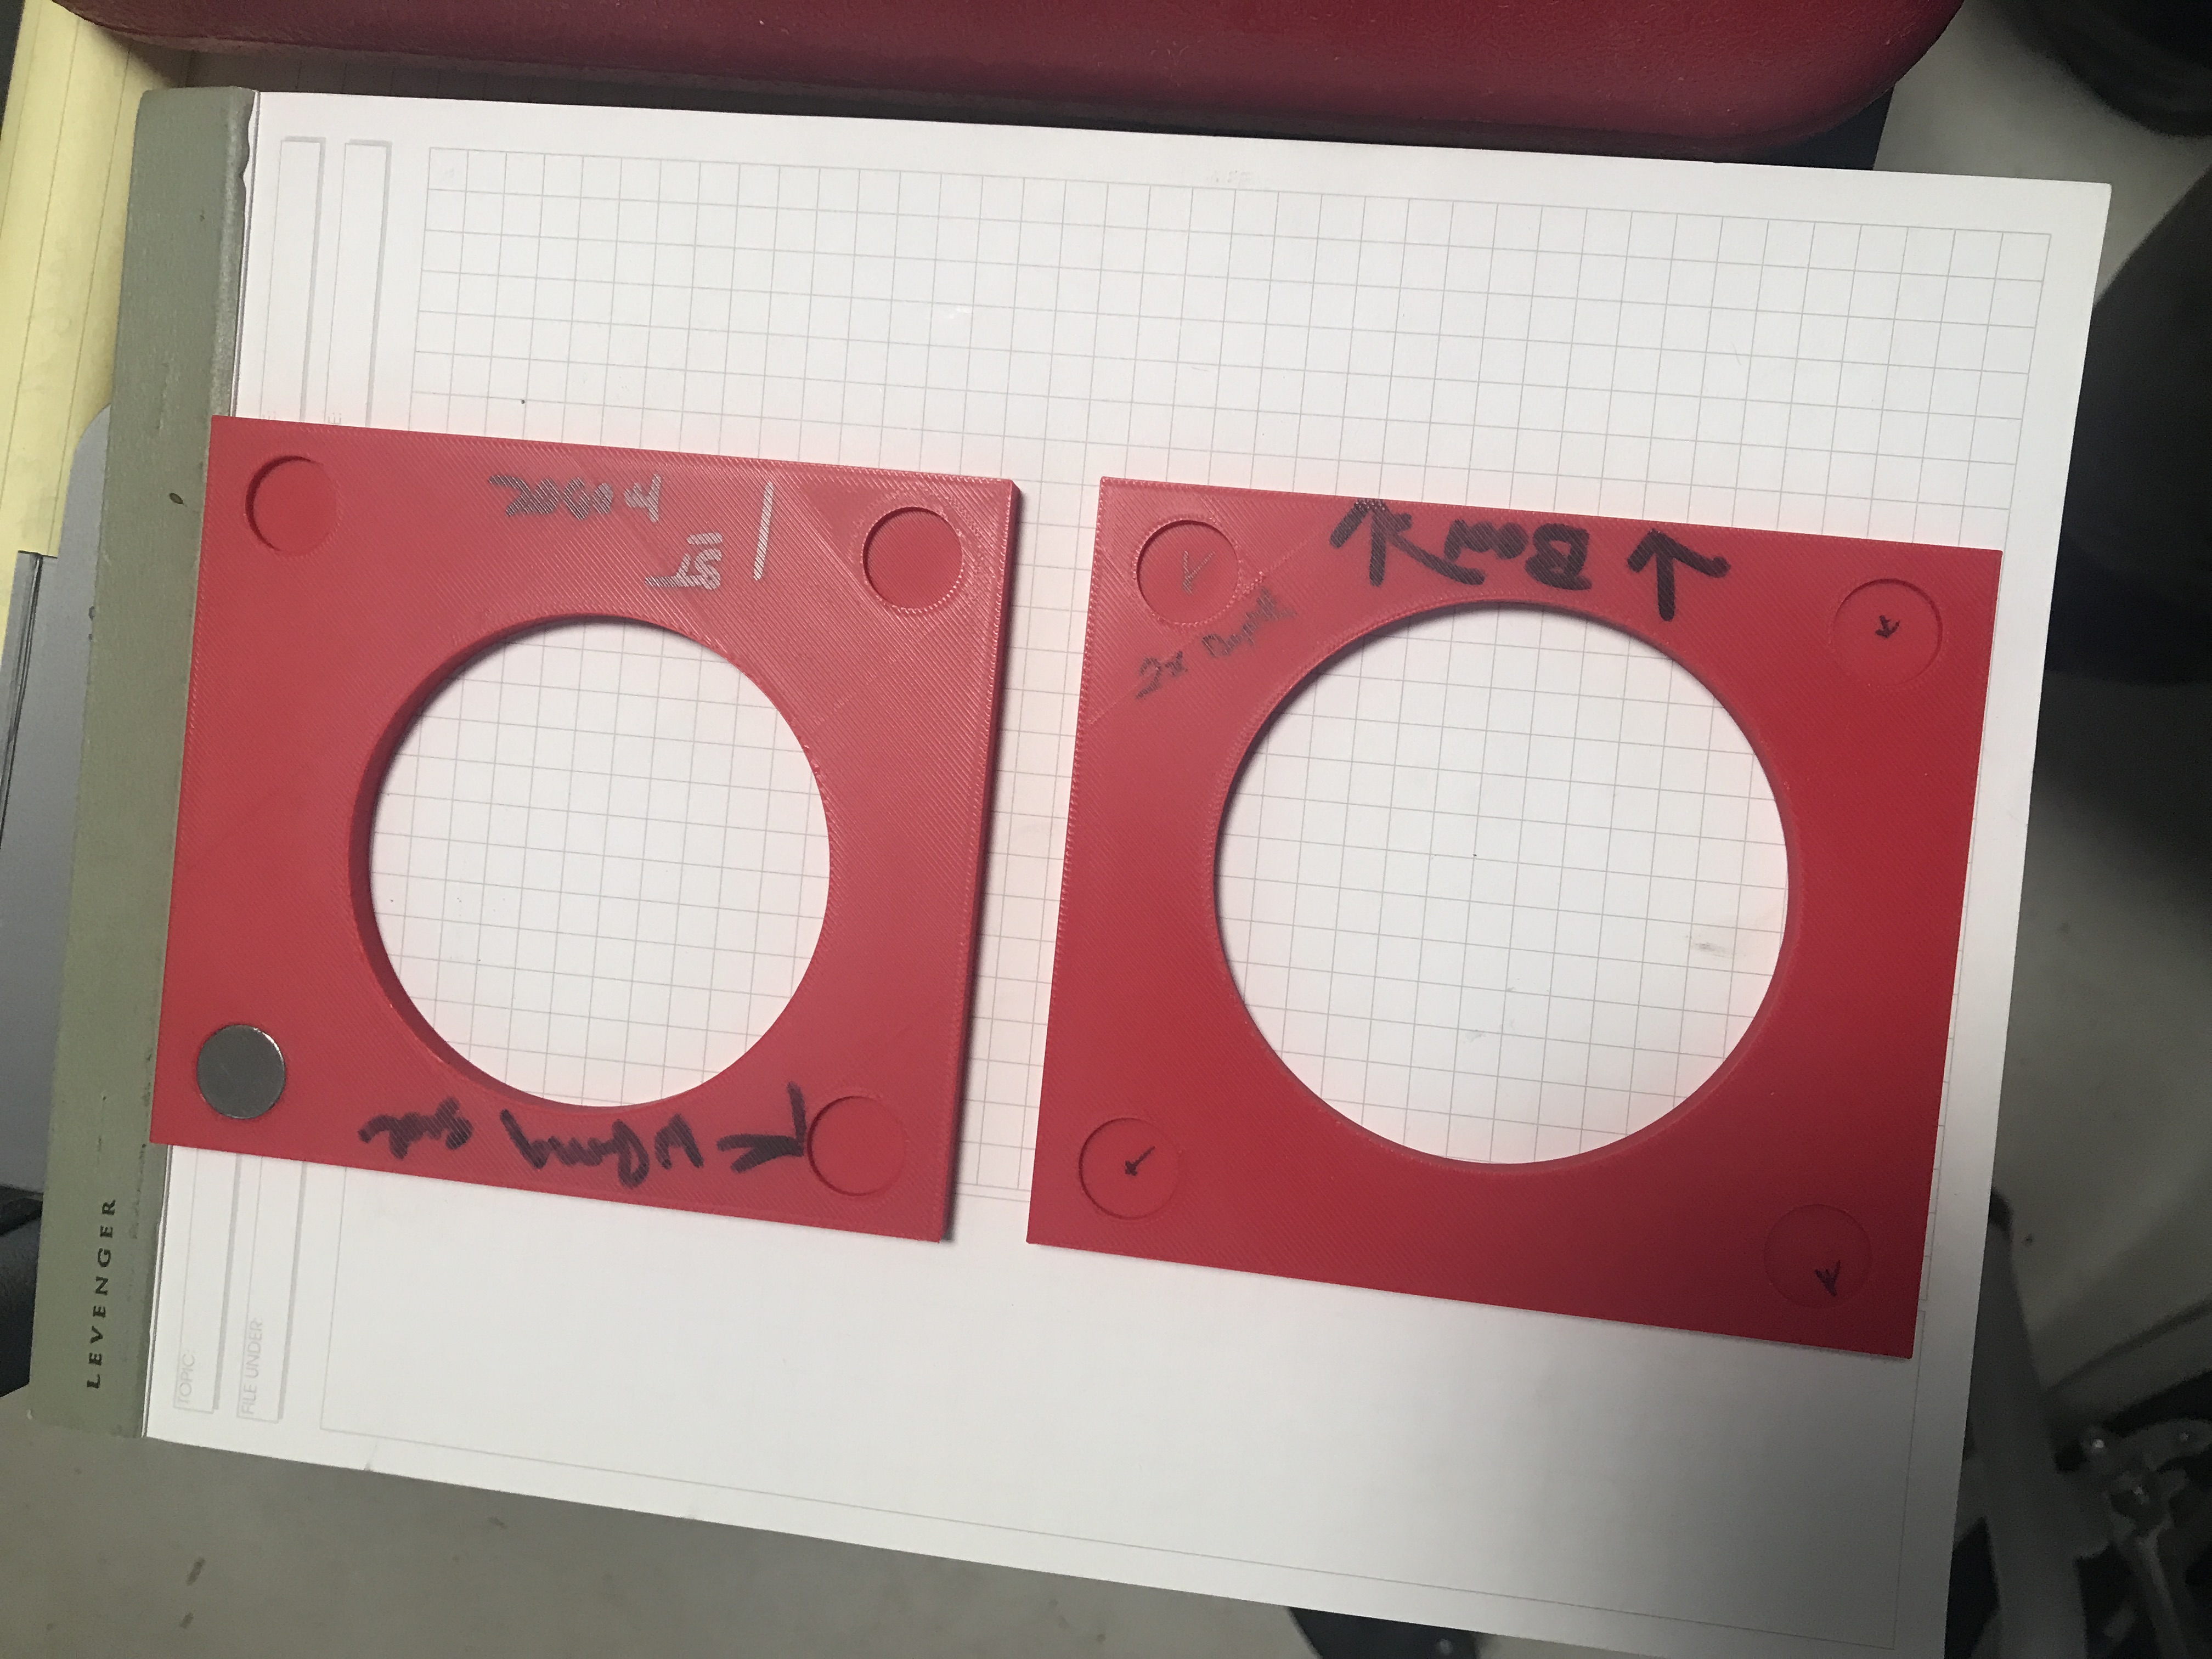
I was able to make change the design to allow for proper magnet placement and fit the router perfectly. This is the new design.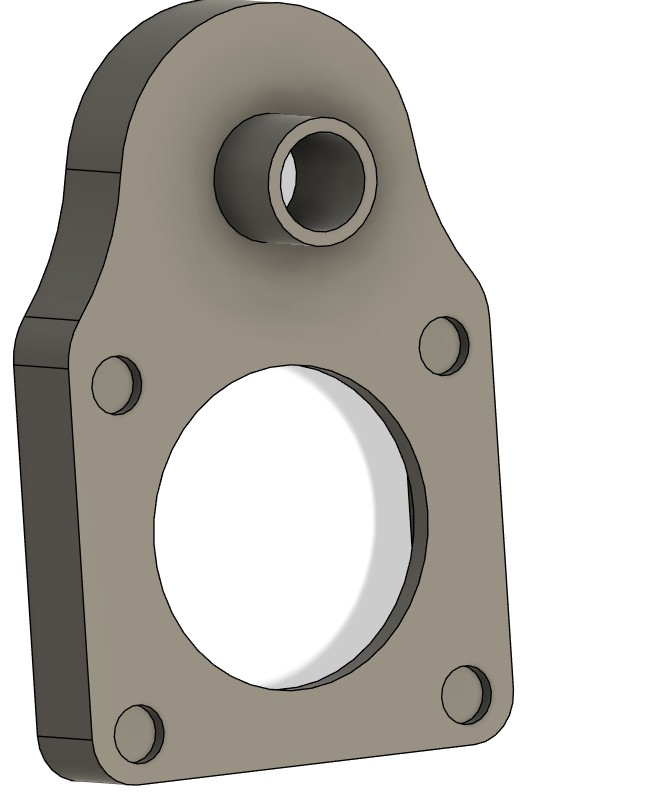
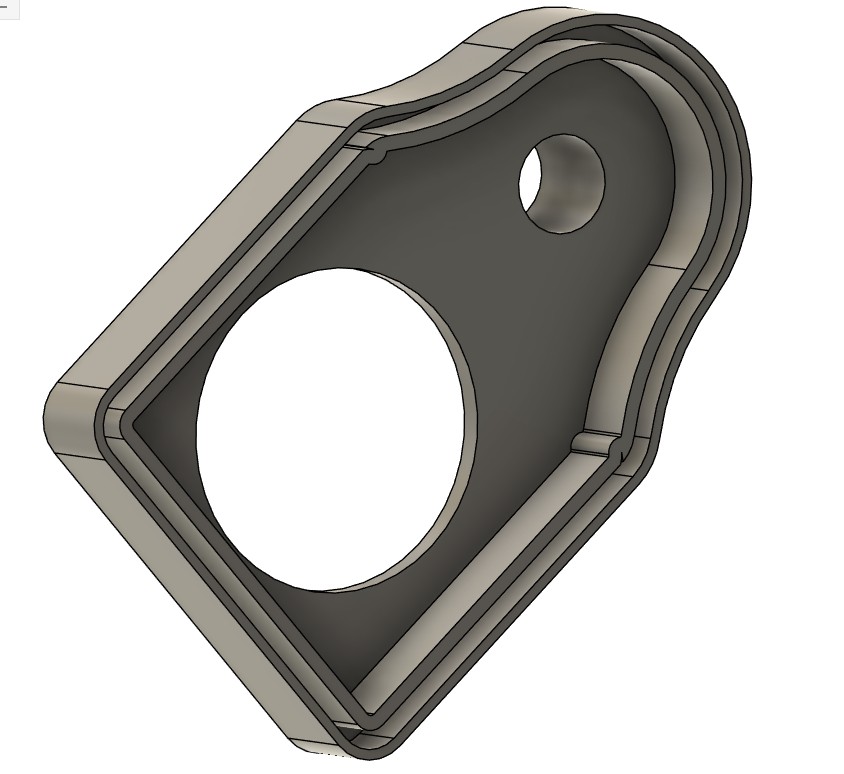 The slot around the bottom is for the brushes an the magnet holes are twice the depth. This so when a set of magnets are epoxied on the aluminum router head housing the boot will set flush. The depth of the boot will still allow for a tool change and if necessary the boot can easily be removed.
Getting closer to finally getting the cnc router back on line.
Leave a Reply