Not that we have finished running the parts on the machining centers it is time to do the final fit up. Using the 1018 trunions that we made a hole was drilled in it to allow alignment with the button pressed into the receiver. Then the blocks were tested to see if the fit up was correct.
This is how the trunion looks away from the receiver.
As it sets into the receiver
An angle view at the rear of the trunion for proper fit up there.
A look at the front
Another at a slight angle.
Some de-buring still needs to take place and we still have a few cuts to do on the manual mill. If you are interested in any new MP-44 trunions please drop me a note and I will get the request to Pete.
It has been a while for a MP-44 trunion update. The next couple of posts will get us back up to date with the trunion project.
The new op 5 was to cut a slot and rough magazine opening to allow coolant flow and chip removal and still allow us to high speed machine.
Well it did not work as well as we had hoped. The chip load was so great as it was not removed as fast as it needed to be so we still had problems with the end mill chipping. So back to the drawing board. The answer was to put the trunion on the manual mill and drill the hole much larger but still under size.
With the trunion on the lower left we did just that. What a difference that made. So now with all the trunions drilled with a larger hole we were back on track.
We were able to then finish machine the inside hole to meet specs. with a great finish as well.
A close up of the finish of the inside bore.
The new process worked great. No chattering or broken end mills.
After the last machine gun shoot with the Hotchkiss I made a decision that what was really needed for this gun is a tri-pod. I did a post a while back about ideas for the tri-pod, http://gunlab.net/hotchkiss-portative-tri-pod-ideas/, but now I am on to the project, in my spare time of course.
I was down on a job a week ago in Tucson and when I finished I stopped by Omega, Don Bell’s shop, to say high and check in on him. While I was there I came across this little beauty that Don offered to me at a really good price,free, for the project.
The pintle support prior to cleaning.
With a basic set that was with in my price range I could not say no. It is a Chinese tri-pod for a recoiless rifle.
The first step in the process was to clean all the rust off and paint a coating of primer on it.
With the tri-pod back together for a quick photo op. I kind of like the look.
It will require a yoke and cradle of some type.
I wanted to paint it the same color as my Vickers, a Syrian desert brown.
A close up of the color.
I lost out to my wife and went with basic black.
This is after the first coat. A couple of more coats this coming weekend
The first part to solid model is the pintle support’
with this part complete I could start working on the basic pintle design.
This is all that I have left after the new computer ate the rest of the solid models. Actual it is not much of a loss as I was going to change the basic design from what I started with.
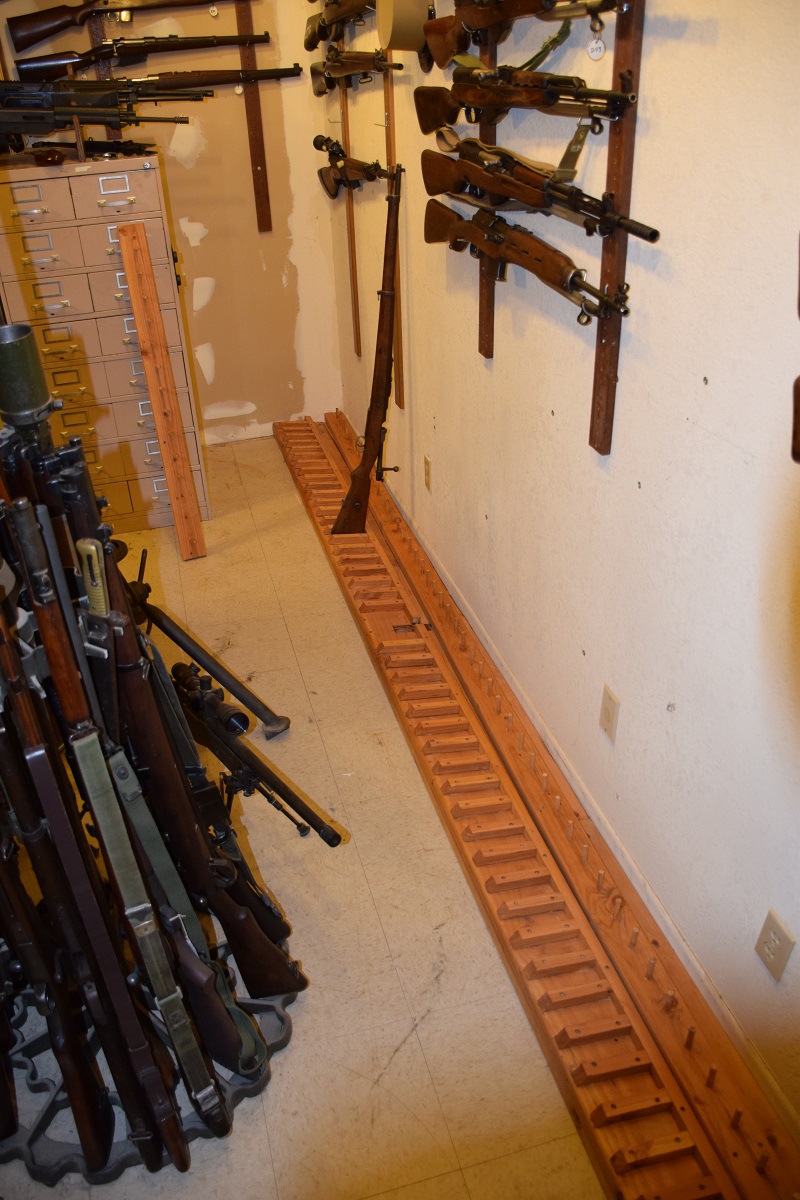
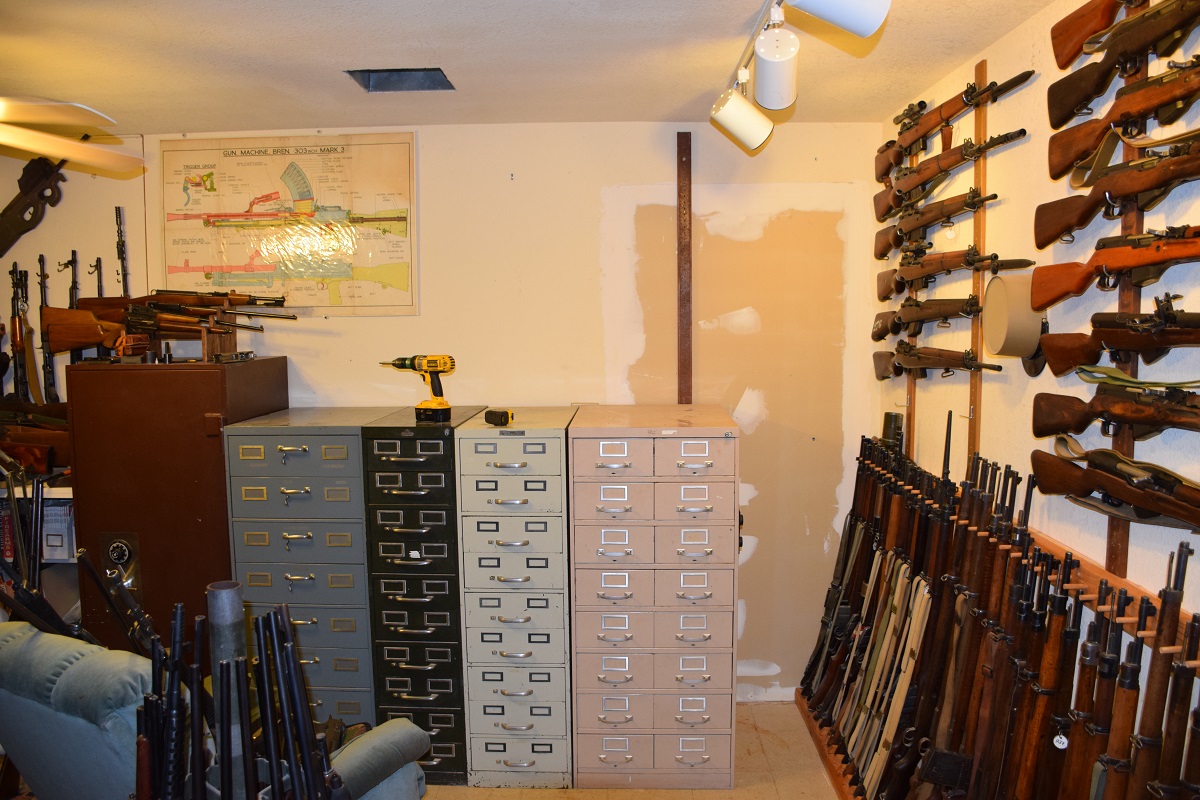
A friend of mine recently lost his house. By this time he had already sold most of his collection and had no need for his gun racks. While not exactly designed for my gun room they were at least a start and the material was free, my price range. It took me all day Saturday to take down and remove the racks piece by piece to get them out the door. So Sunday was build new racks for my room. I am still not done and have at least three more racks to build. That will be next weekends project. As with all gun rooms there is never enough room. This was what my room looked like on a couple of walls before I started.
Not much space and guns stacked upon guns.
The first project was to take the guns from the south wall out so I could work. The only place to store them was of course the kitchen.
This freed up the space to start the first rack.
The base was first.Then I made spacers between the hanging racks to support the upper part.
With all the spacers installed.
The upper portion was hung and the first set of small arms brought back in.
Next the space above the cabinets was cleared off and a new rack made there.
Then the rifles were put back there.
The next wall was attacked and cleared out so new racks could be installed. This time we made them two high instead of a single level.
A smaller rack was made and installed next to the cabinets to hold shorter Mauser rifles.
The 34 and 42 were move and new racks built and installed.
Again a double rack design was used.
So at the end of the weekend I was able to remove two of the round racks built 5 new ones. Next weekend I will finish the rest as I am fairly sure my wife wants the kitchen back and the rest of the guns and swords removed from there.
There is still a bunch of wood left to use up for the remaining racks.
My guess is that she will want me working on them every night this next week.
At the last machine gun shoot I spent a great deal of time playing with my Hotchkiss light machine gun. I enjoy it like I enjoy my Lewis gun. That is to say a lot of things are going on to make the gun work. It is just a fun gun. There are a few quirks about this machine gun.
The first is you really need to be careful when loading the feed strip.
Both of these strips were damaged when I tried to load them without looking at the position of the feed strip in relation to the stripping bar. They would go in but it jammed the gun and damaged the feed strips. Effectively making it a two man weapon or a very slowly loading one man weapon.
The next major concern is the tri-pod that was used with the gun. While shooting it off the table if you were not holding the tri-pod while firing the weapon it would tip over. I tried shooting it with the tri-pod in the forward position as well as the rear position and the same problem occurred.
The stock was the next issue that I had. There is no check weld of any kind. There was a weapon used by the light horse in WW1 that had a wooden stock. This one was hand made by the owner of this weapon.He did really nice work
internet pictures
This stock at least attempted to solve this problem. The two stocks that I have are the metal types. With and with out a wood wrap and should support.
Another thing that you will have to get used to while shooting the Hotchkiss is the weight of a full feed strip hanging off the right side of the gun.
With all this said I really enjoy shooting it. It is just a fun gun to shoot and with the availability of spare parts, http://www.ima-usa.com/original-british-wwi-303-cal-hotchkiss-portable-machine-gun-mk-i-parts-set.html, I don’t feel bad if something breaks.
IMA photo
As if anything could break. Now that there are spare barrels and bolts people are doing conversions to 7.62x54r.
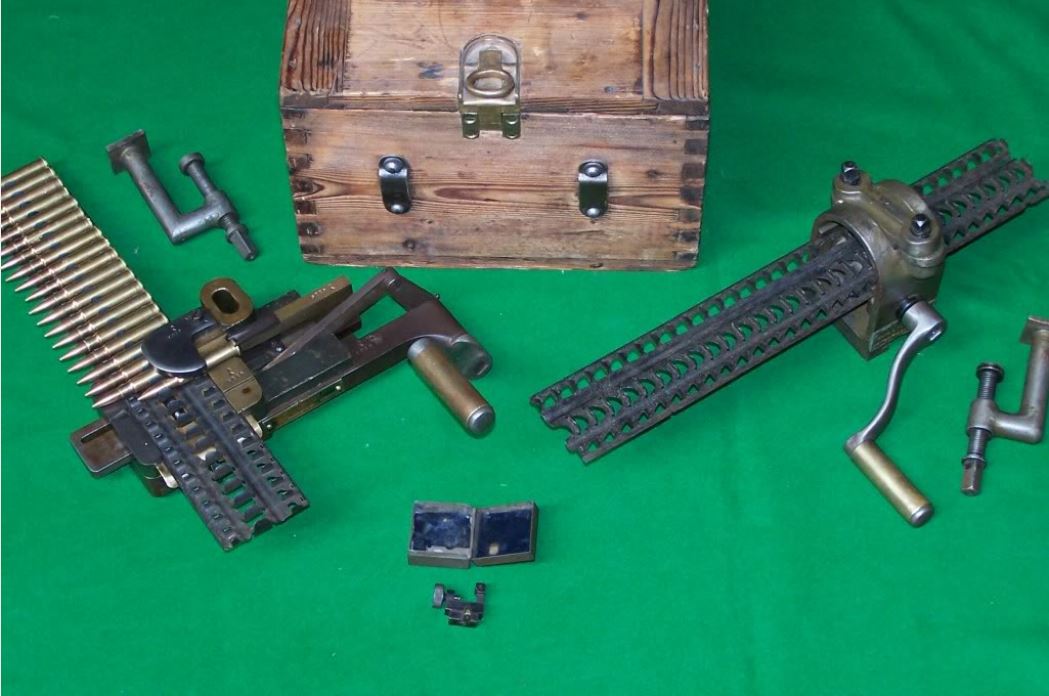
This also one of those weapons that has really cool accessories.
There are Strip loaders in both 303 for the British guns
internet photos
and 8×57 for the Turkish guns, this one will also work for the 7×57 guns as well.
A view of the box
A complete strip loader
A close up of the loader
The fun is in the shooting. Here is a slow motion video that we took at the last shoot.
Here are a couple of interesting drawings of the gun as well.
I would love to post a video of shooting a Hotchkiss machine gun, or the post dealing with the VG1-5. How about a post on the new Hotchkiss tri pod I have been working on. There is also the post on the MP-44 trunion and where we are on finishing them out. There are also 2 book reviews that I wanted to post. I could also write about the Vickers feed block conversion to use MG34/42 belts. I had a really nice video and post on boy’s rifles.
However, instead of writing about these thing I am going to write about the new computer I bought. It is a top of the line HP. It has a very fast processor, a great video car and one terabit of memory. The most interesting thing about it is that it is a piece of SHIT. The damn thing dropped the hard drive connection and then lost data so all the post and editing has to be done again. It would lock up for no reason and may start up again if I turn it off and then on again or it may not come back for hours for no reason. The last straw was when I just finished a long and grueling day and when I went to make copies of all the videos and pictures I did for the client to just crashed the hard drive. So let this be a warning. DO NOT BUY an HP piece of crap with windows 10 on. You would be better served buying the cheapest piece of Walmart junk then an HP.
The hunt is on for a new computer that is not HP or dell. That was 1700.00 down the toilet.
This is kind of an after action report on the 1919A6 barrel that was involved in the accident. The last post on the damage to the 1919A4 due to some Turkish ammo showed a barrel that had a case stuck in it that the base was sheared off.
With the cost of everything these days there was no way to not try and get that barrel back into operation.
The first step was to use a broken shell extractor. I have one or two of them
The ones we tried that acted like they might work.They did in small way. I was able to remove the neck and shoulder of the case with them.
With the neck removed I used my chambering reamer to slowly remove the brass case. After about 20 minutes of running the reamer in then cleaning it I was able to remove the remaining part of the brass case.
The barrel is as good as new and ready to be used again.
My least favorite machine gun is, drum role please, The MG-34. I like the way they look. I fine the accessories interesting.Like this fortress box.
Or saddle drums.
The history of the weapon is fascinating. However, after owning three of them over the years I can say with certainty that it is the aggravating machine gun that I have ever own. This includes the one I have now.
With this machine gun you need tons and I mean tons of spares. Extra Barrels.
Bolts and misc parts.
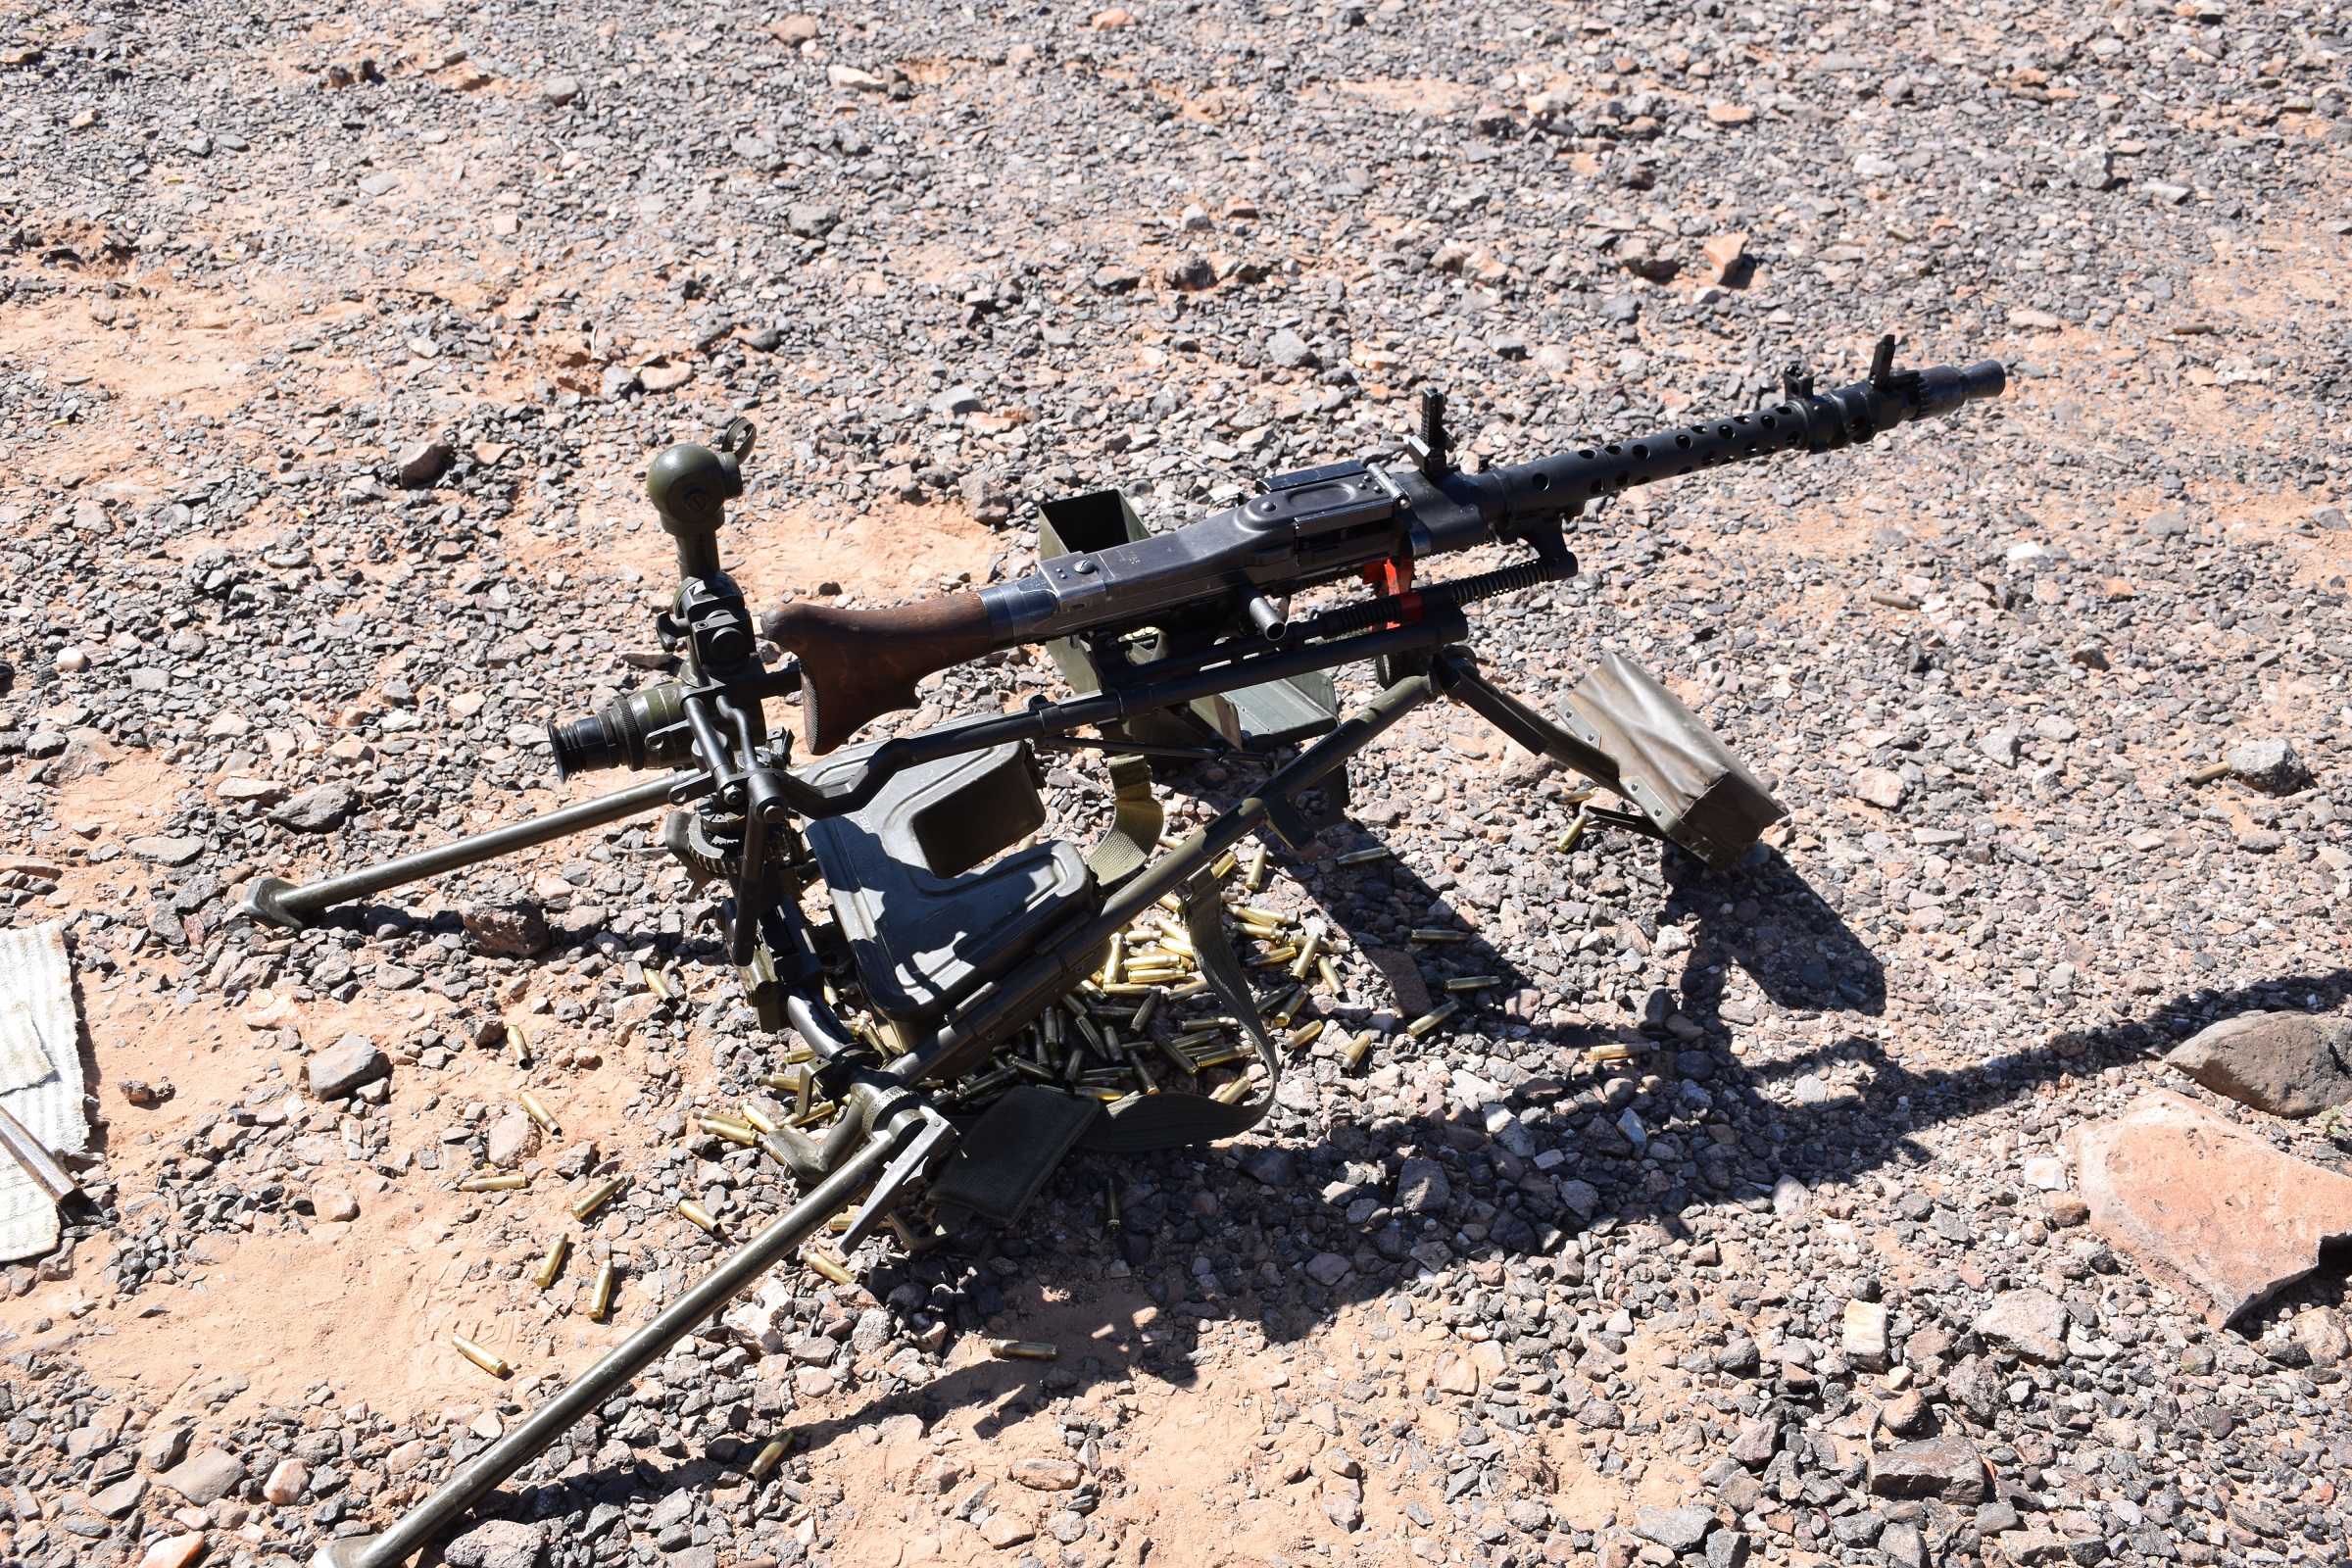
I bring this up now because at the shoot I met a very nice gent that actually love his MG-34. The weapon that he had there was a beautiful example of a MG-34. He had converted it to 308 and shortened the barrel and shroud to a smaller size. It is a very nice looking gun.
However, the most interesting part about this machine gun is this photo.
Do you see it? That is fired brass under the gun. Now I never actually saw it fire and I don’t think Wally, a friend of gun lab, would just throw empty cases under his gun to make it look like it had had worked. But the only time mine has had that many fired cases under it was when the machine gun next to it was ejecting them there.
 As it sets into the receiver
 An angle view at the rear of the trunion for proper fit up there.
 A look at the front
 Another at a slight angle.
 Some de-buring still needs to take place and we still have a few cuts to do on the manual mill. If you are interested in any new MP-44 trunions please drop me a note and I will get the request to Pete.