Like all weekends I started out with a list that I could not possibly get done in the time frame allotted.
There were projects that I have been wanting to accomplish that are fun. Some of the things I needed to finish were under the direction of the commander in chief of the house. Some projects are necessary to finish the VG1-5 project. And some just needed to be done.
I started my Saturday morning with trying to get the pistol grip of the AR-16 rifle 3D printed. The PLA that came with the 3D printer is old but seemed to work on the first few projects. That was not going to be the case this weekend. The material did nothing but continue to break off in the feed tubes. After spending a few hours on this I just threw my hands but and ordered some new material.

 I hope to back on this project next weekend.
On to the next project. This is doing a little upgrade to by duplicator. I have always found it to set to low for me so I wanted to raise it and changed where is sat slightly. I was able to put the risers on it after a little adaptive engineering.
 However, when I went to look for my Johnson bad and skates, about an hour of looking, I could not find them anywhere. A friend borrowed and I will have them back on Tuesday. Then like a fool I tried moving it with out them and not such a good idea. More on this later.
So now off to another project and that is one of the trees at the house has been a little sick and needed to come down, this was a project handed down from the commander. So the task was set into motion. All the limbs had been cut down and taken to the dump all that was left to do was use the backhoe and remove the rest of the stump.
 The backhoe decided to take the weekend off. Nothing would get it to start.
I wanted to install new A/C units in the wood shop and machine shop. With the temperatures that we have been having there is no joy in working in the shops. To do this in the machine shop I needed to take down the evap cooler first. This little project took several hours and was not the least bit of fun in the 110 degree heat.
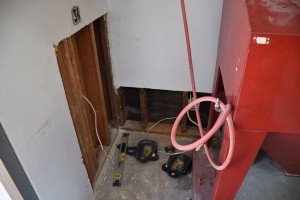
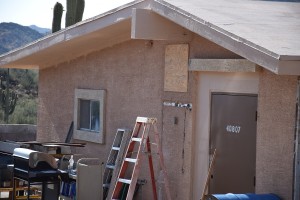 However the A/C guy called about 2 in the afternoon to inform me that he did not pick up the units and it would be next weekend before they would be out. It was okay as I still needed to run the new electric line for the A/C’s and while I was at it I would change the wiring around a little. I also needed to install a return air duct. To do this work I first had to move the bead blaster.
 Then cut the osb and sheet rock off the wall.
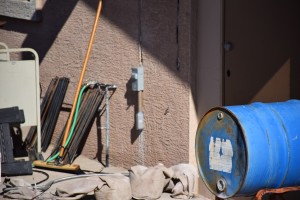
 Then the wiring was run for a new 40 amp circuit and set up out side with a new disconnect.
 I went to use the small air compressor in the wood shop, the big one needs a new motor and that is another project for another day. It has been acting a little iffy lately so a new pressure switch was ordered and received on Friday.
 Once again Murphy came back to visit. The switch that was ordered and suppose to work was not the correct type.
 Once again the weekend did not go as planed. In addition to all the fun I had in the 110 degree heat some where along the line I pulled my back and could hardly walk,sit or lay down without being in great pain. Not sure if it was the trying to move the duplicator, taking down the evap, dealing with the tree or running the new electric. At that point I just threw in the town and took my wife to the movies.
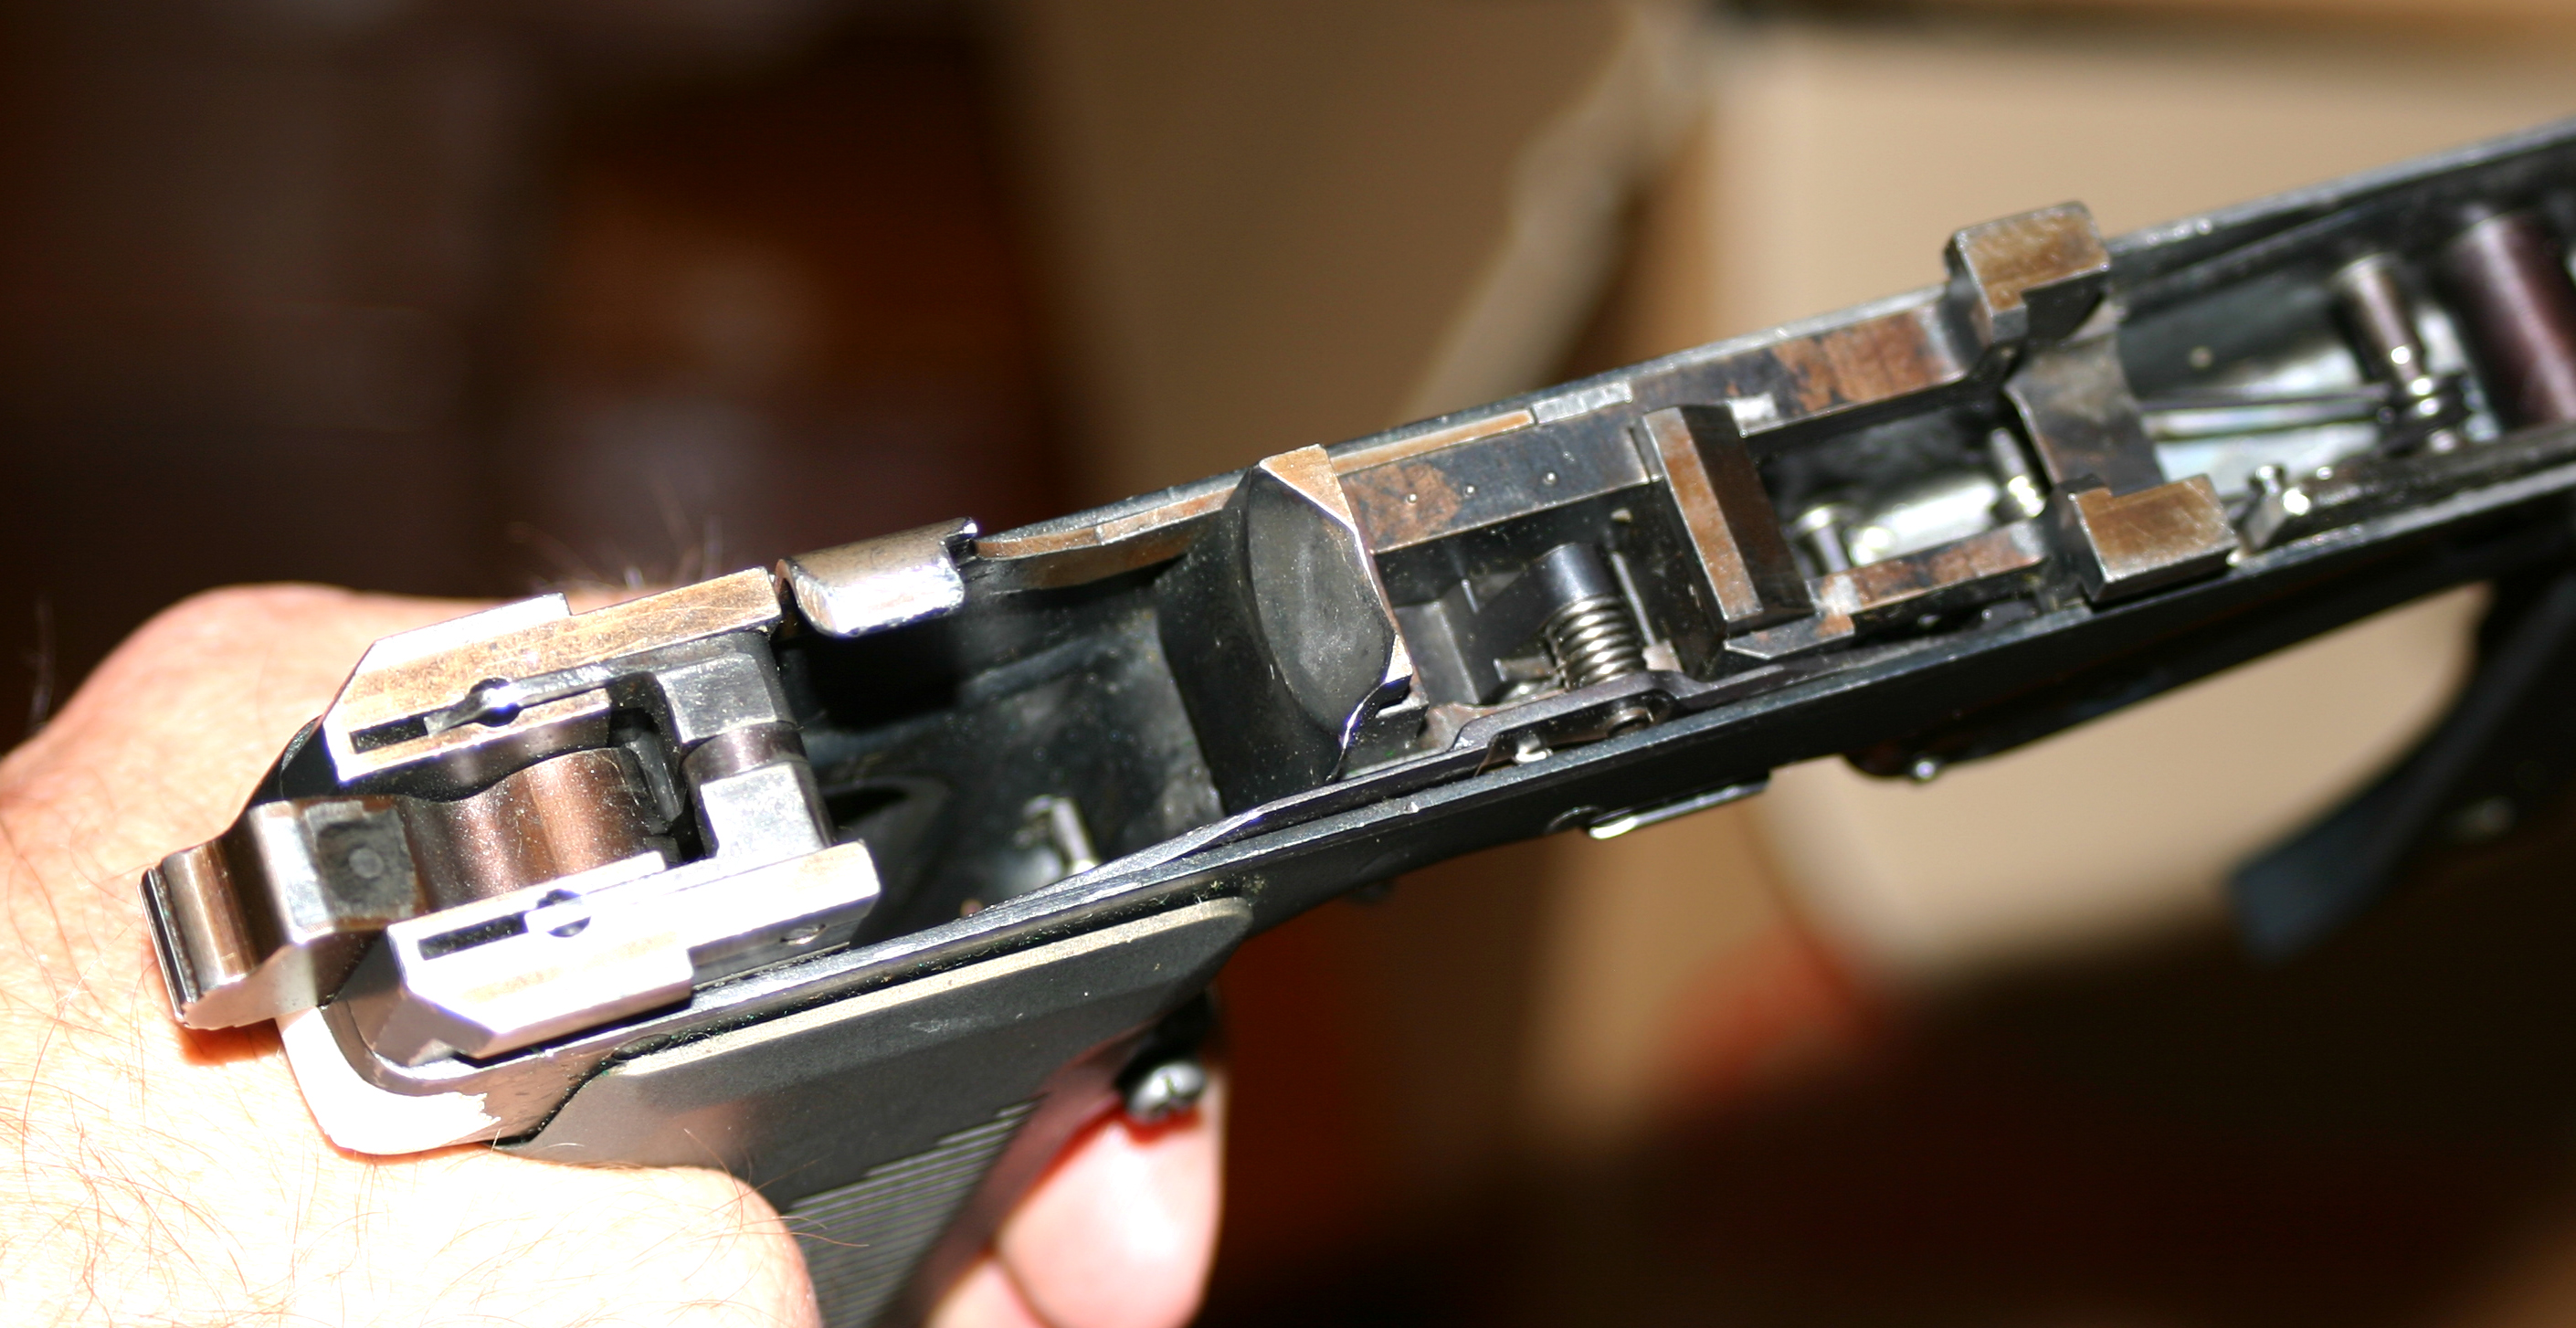
 The only information on the pistol
 Close up of the right side of the pistol and cylinder.
 Left side view with the hammer drawn back.
 Some interesting views of the cylinder and latching mechanism.
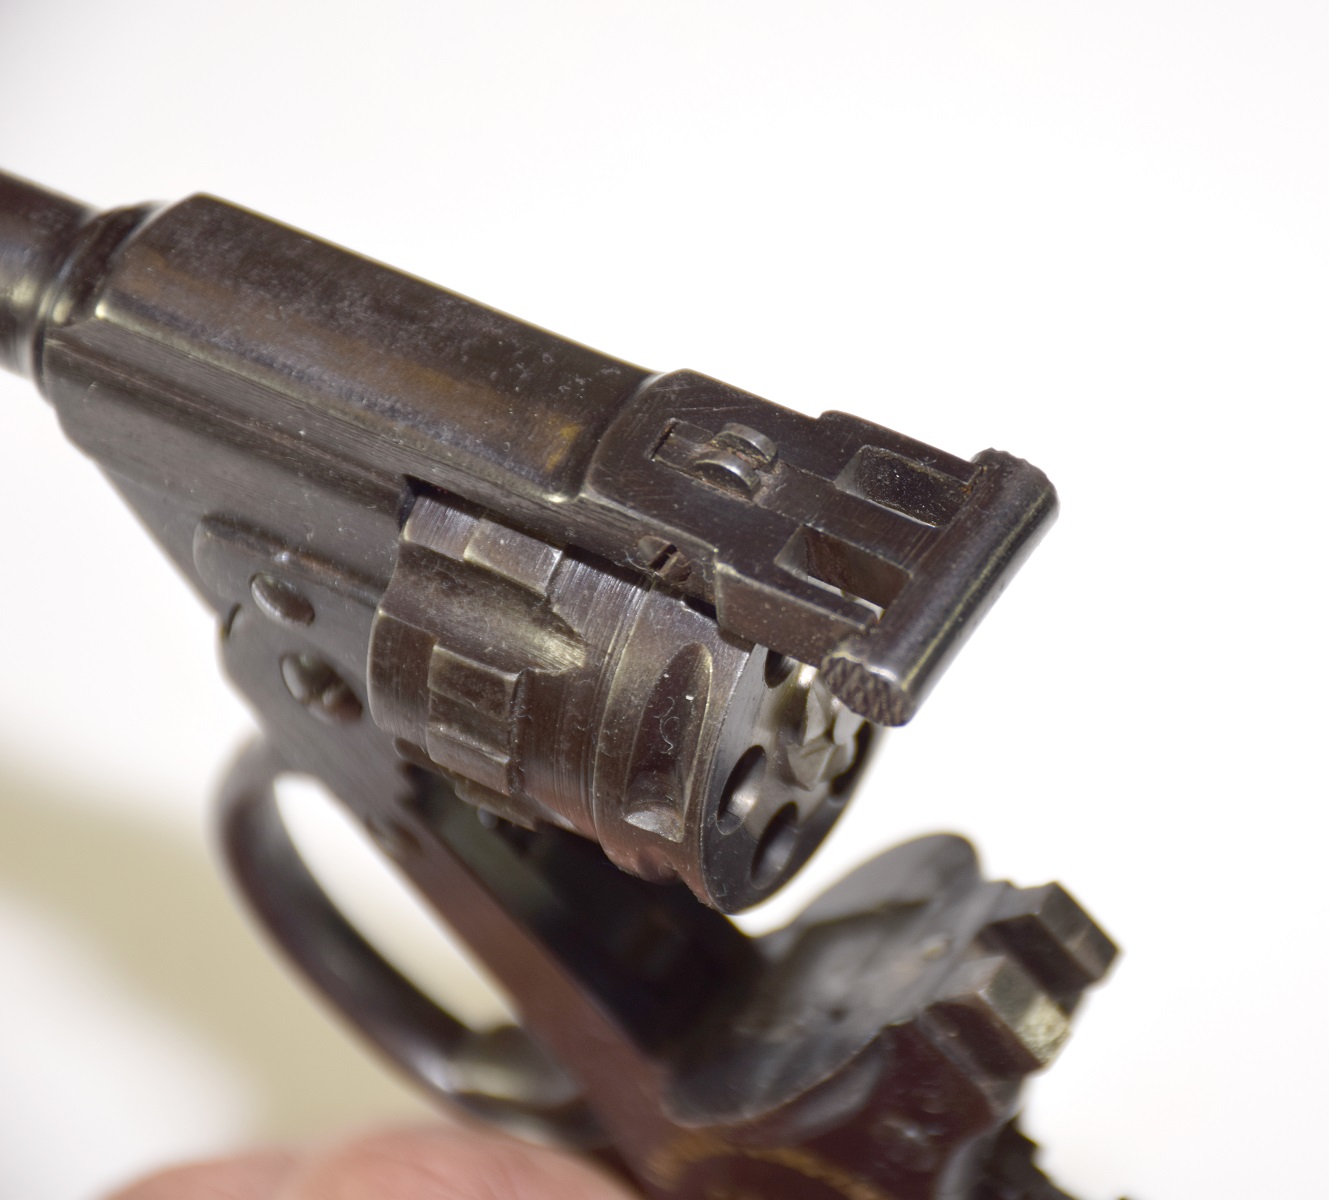

 The latching mechanism comes from the Harrington and Richardson break open revolver.
 You can see it’s French heritage by looking at the cylinder.
 This is the only information that exists for this pistol.
 If anyone has any additional information on the pistol or the arsenal where it was made I would greatly appreciate it.