Categories

What is it Saturday

IMG_0045cs

Tokarev 22 trainer

I kind of have a thing for Tokarev pistols.  I do have a variety of them and I also think they are one of the interesting hand guns to come out of WW 2. They combined the design of John M. Browning with the manufacturing techniques they had available. I am not going into the history of the TT 33 Tokarev, it has already been written about on the internet . I just found on my trip through the mid-west this last year a new version that I have never seen before. The 22 trainer. Here are a set of pictures that I took of one of the pistols that I looked at. It seems that everyone out there has one because I saw a number of them.

DSC_1416cs

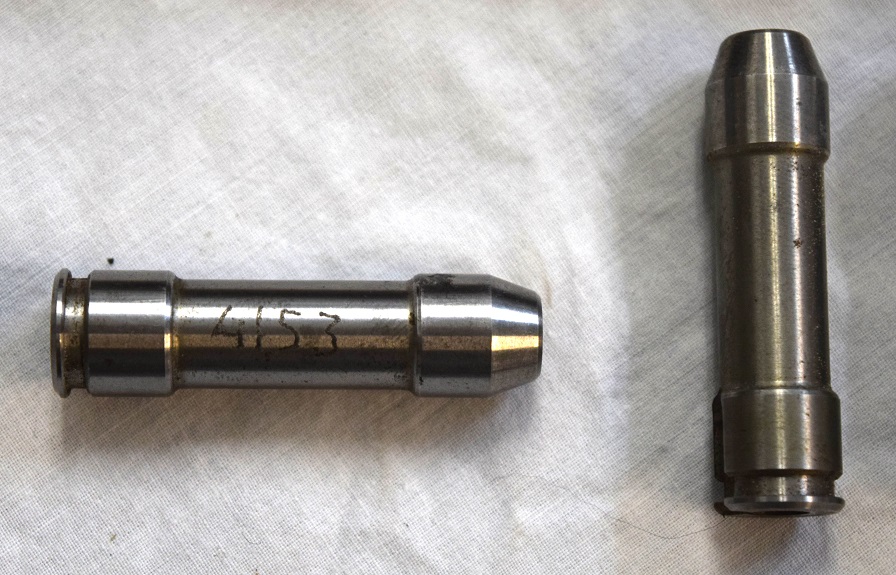
DSC_1420csA close up of the inset cartridge.

DSC_1417cs

DSC_1418cs

DSC_1419csSorry about this picture. I tried to get a close up of the slide bolt face to show the firing pin location.

DSC_1421csThis is how it came with the 7 sub-caliber devices.

DSC_1423csI don’t know if this pistol was actually used in the military training or just a pistol made for the civilian market. I just know that I would really like one. So if anyone knows were one exists one for sale please let me know.

Making the miniture Gardner Gun “The Receiver”

In this post we will start with the making of a miniature Gardner Gun. The very first step that Joe did was to find someone with a Gardner Gun that would allow him to study and measure it. That was no easy task but one that he prevailed at. Joe spent a number of months just taking measurements of a full size Pratt and Whitney model Gardner Guns and converting them into a solid model in solid works. After gathering the information on a full size weapon he started the process of converting it to 22lr. His first attempt upon completion of the drawings was to make up a wooden mock up to get the basic concept to work from.

DSCN2914c


With this he had a starting point. Now it was time to convert all the data he had collected into semi working plastic model. This allowed for the checking of dimensions and operation of the weapon. It was also hoped that this would also provide the pattern for the castings. That would not be the case.

MiniGard080s

MiniGard082s

MiniGard081s


It was now time to self-educate himself on wooden pattern making and metal shrinkage. After a number, it took three attempts, of patterns he finally came up with a design that would cast properly. A number of problems that you will generally not find in books occurred. A few of the examples are getting the metal to flow properly, is the casting area to thin. How do you hold the cast part to machine it. Is there enough metal to machine away the rough surface. Is there to much metal causing extra machine time. Is the metal going to sringe to much causing an out of spec casting.

DSCN2911cThis is the wood pattern for the outside shape of the Gardner gun.

This pattern is for making the core mold. It took a number of attempts for this core mould as well

DSCN2913cAfter casting the raw bronze casting with the sprues cut off would look like this.


DSCN2910cIn our next post we will go into the work necessary to machine it.

AR-180 part 4

With this post we are going to discuss the stock.

The first set of pictures will be the plastic stock. You can see the parting line on the stock from where it was injected molded.

DSC_2387cs

DSC_2390csThis is a picture of a completed and mounted stock showing the same area.

DSC_3302csA close up of the stock mounting piece as stamped.

DSC_2314s

DSC_3301cs

DSC_3300cs

DSC_2392cs

DSC_2393csThis is a picture with the butt plate attached.

DSC_3306cs

This is the blanking operation to start with the making of the stock latch.

DSC_2329cs

This is the pattern and stock blank for the wood stock ar-180

DSC_2399cThe actual wood stock. I did not even know that Armalite made a wood stock AR-180

DSC_2405csIf anyone has a wood stock AR-180 I would love to post pictures of it.

Weekend Update 12-29

Well this was a moving Saturday. I needed space in the fab shop and after looking at the deep hole drilling project for the last 10 years I figured it was time to move on. So with that being said it was time to move the big old lathe to the scrap yard. The first challenge was moving it across the fab shop. That was accomplished a couple of weekends ago and now it sat in the major opening and blocking everything.

DSC_3065sNext on the list of fun projects I needed to get up and onto the trailer. This was an all day Friday project. Normally my friend MacGuyver would be able to accomplish this task  in no time flat. However I am not him and it was a real chore for me. The back hoe was not able to pick up the lathe as a single lift. I tried and the upper hydraulic seal did not like it at all. Now I have to remove the cylinder and get it repaired. I took no pictures of the moving endeavor as truly it was just a little scary. However with a great deal of effort two old guys did get it up and on the trailer.

DSC_3291s

DSC_3293s

DSC_3294sI did have to remove the cross slide prior to moving the lathe. As there was no one to help I did that myself. Not one of my smartest ideas as i suffered all day Saturday because of it. Still worked but just in pain.

DSC_3296sSaturday was honey do and wood shop day. We finished the making the table top for the back of the table saw. But first before I could go out and play I had to rebuild the toilet and change the angle stop. The fun never really stops around here. The table top for the table saw has been completed and is now useable.

DSC_3308csThe next part was to make the legs for the top. To do this I used my Christmas present, A Kreg drilling fixture. What a great little tool.

DSC_3312sThis allowed me to build the legs with little problem.

DSC_3310csThis is how they will look when installed.

DSC_3311csNext weekend I will remove the clamps, attach the legs and finish the cabinet that goes under the top.


Christmas Gifts

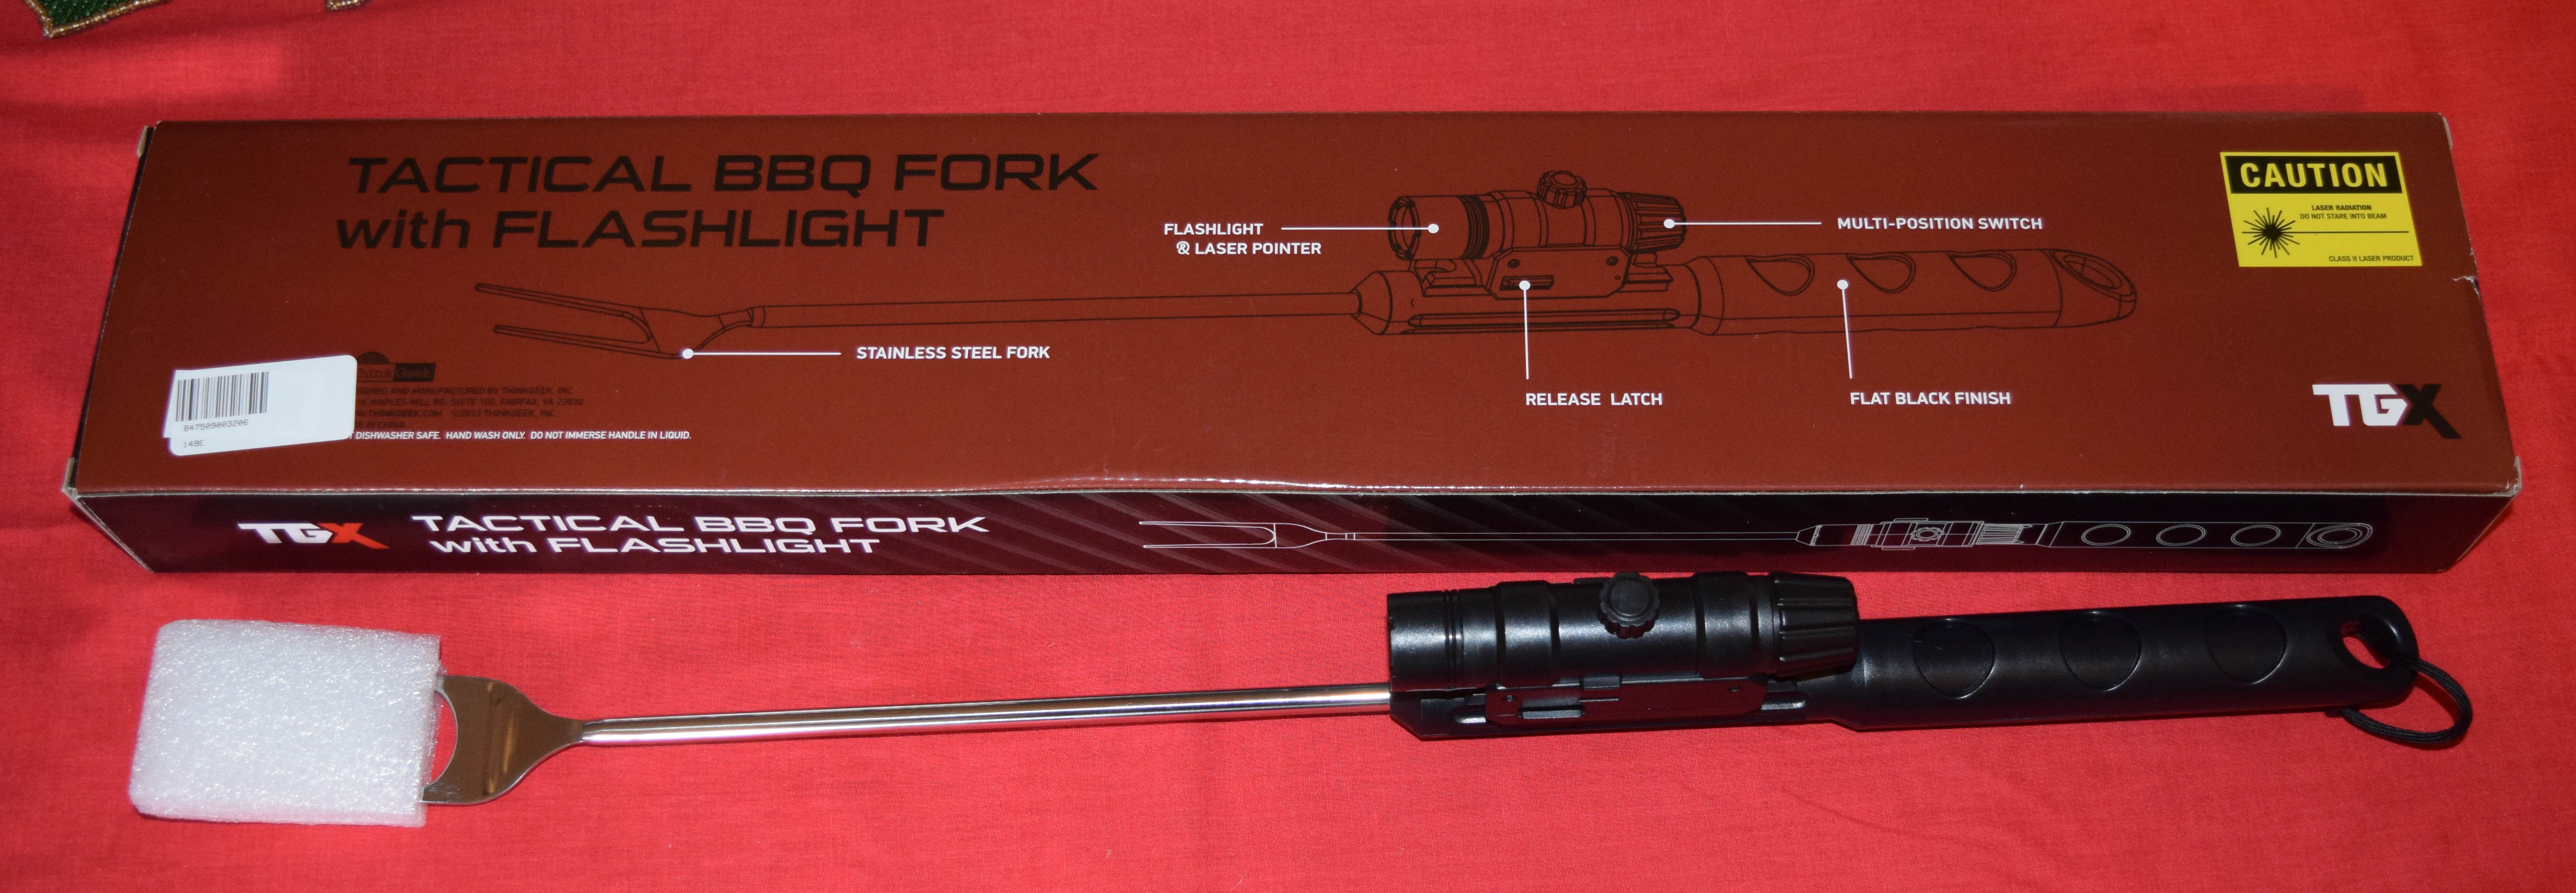
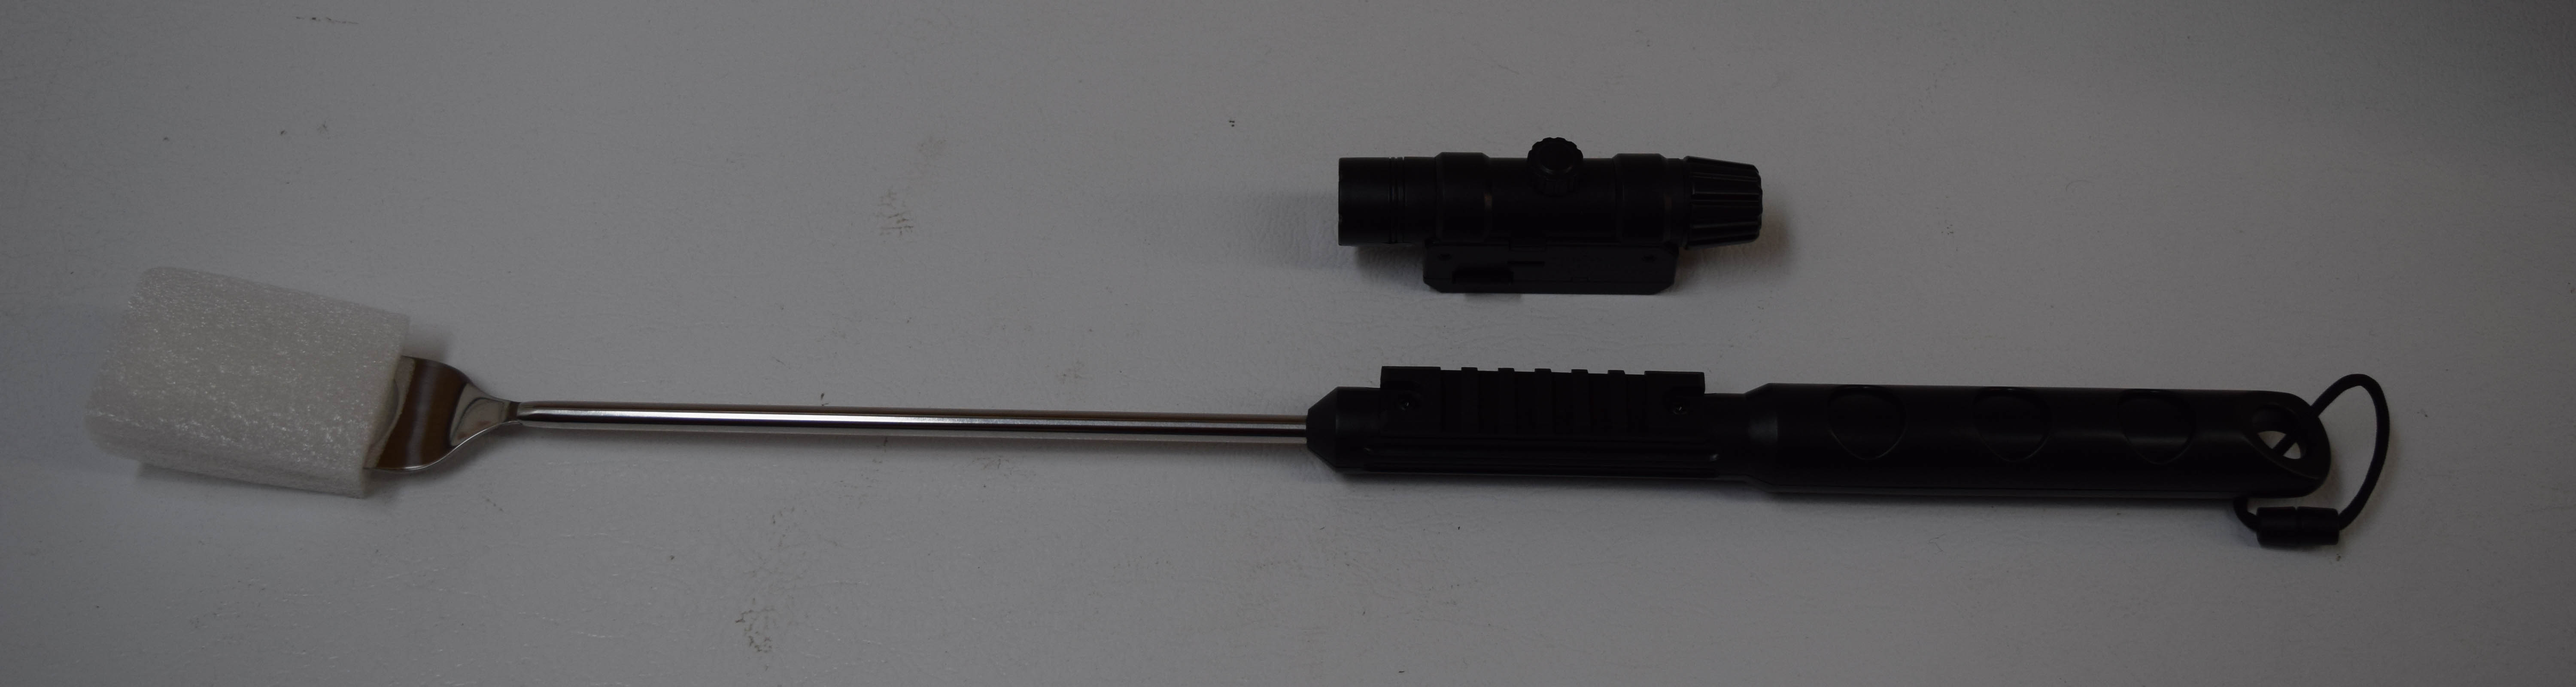
This one that my son received. It is such a useful item that I just had to post it.

DSC_3278cNot only is it a fork for Bar-B-Qing but now you can do it at night.

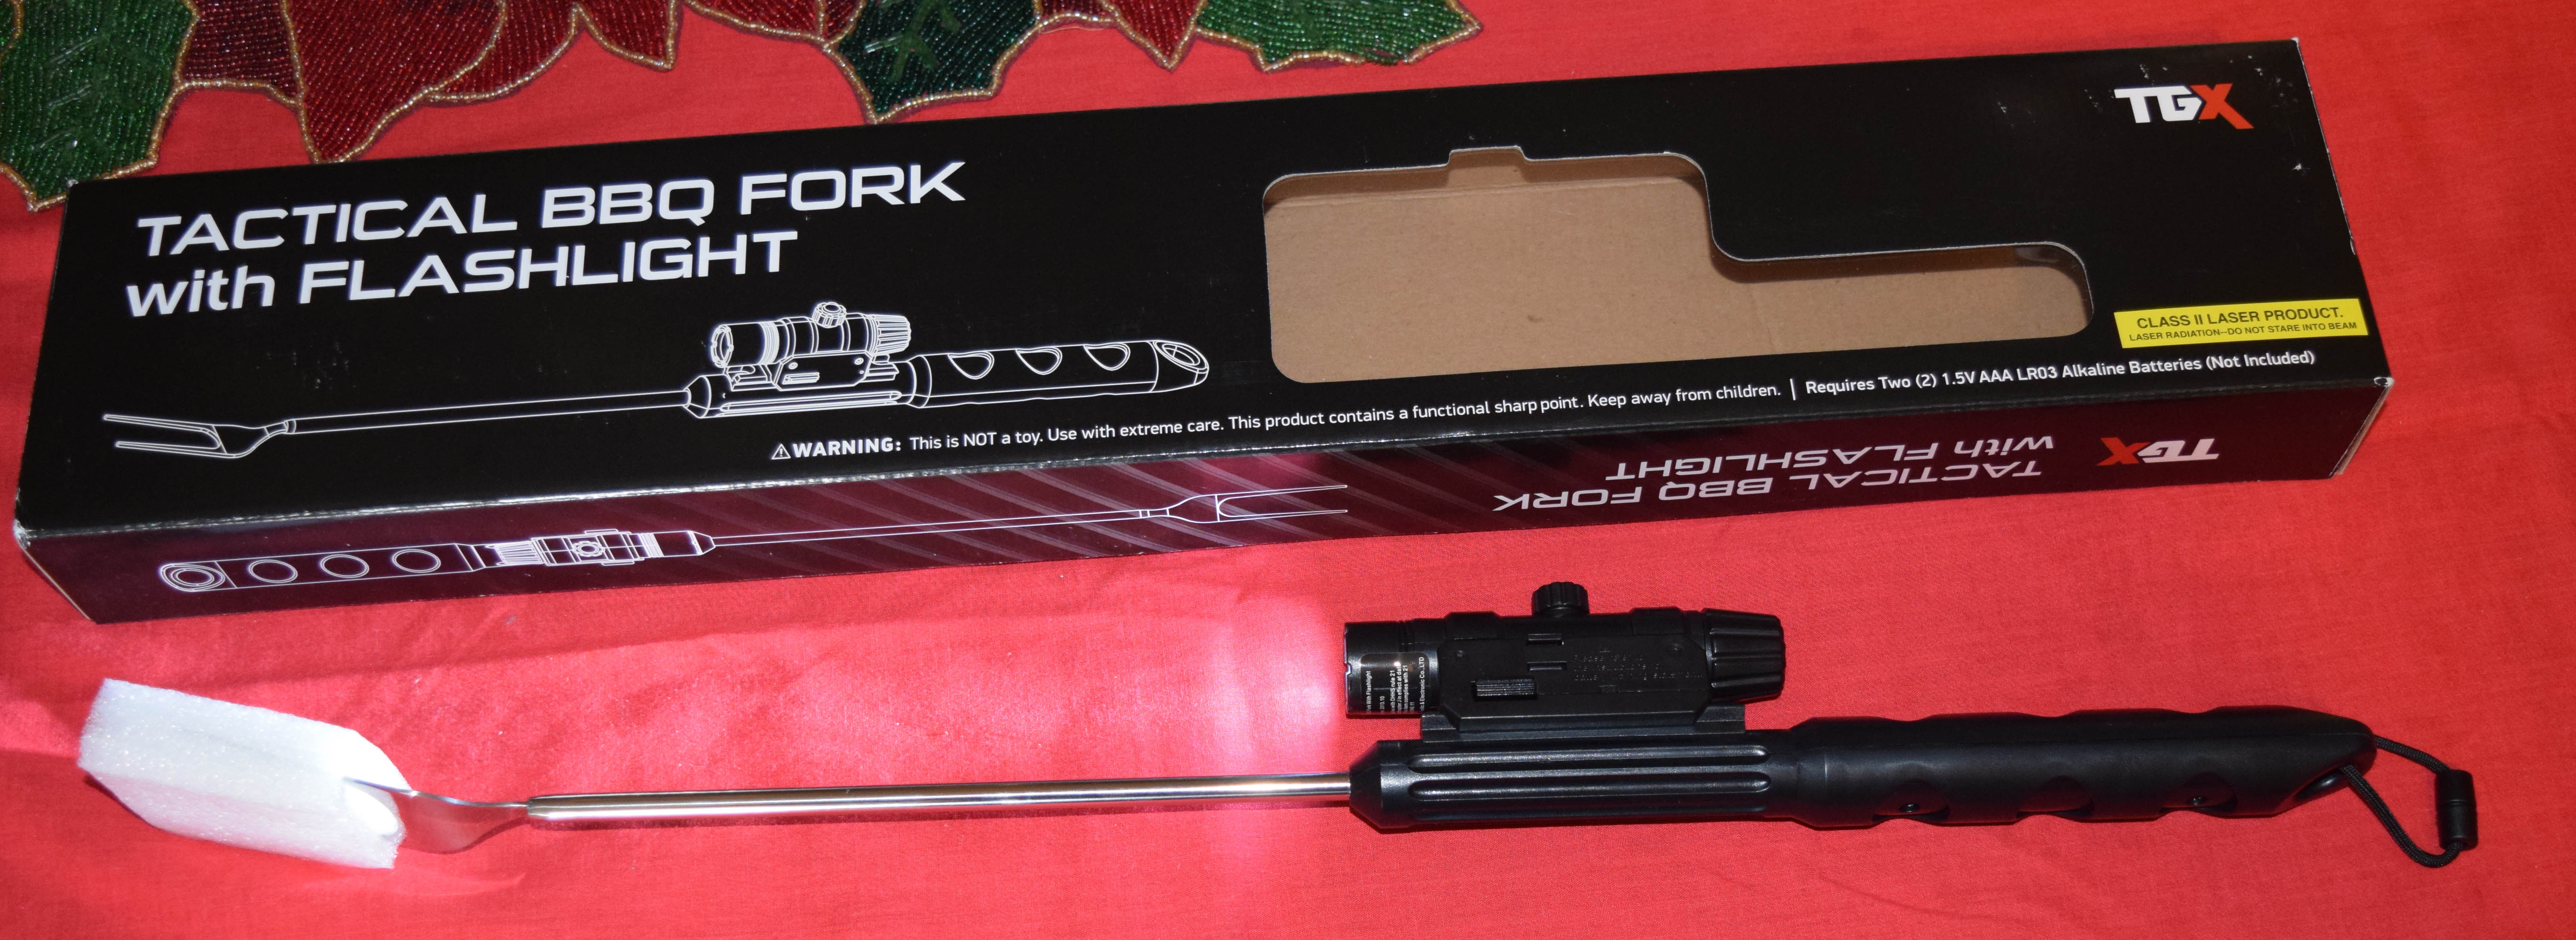
DSC_3279cBe sure to check out the warning on the box.

To aide in the bar-b0q experience there is also a laser  to help you aim the fork.

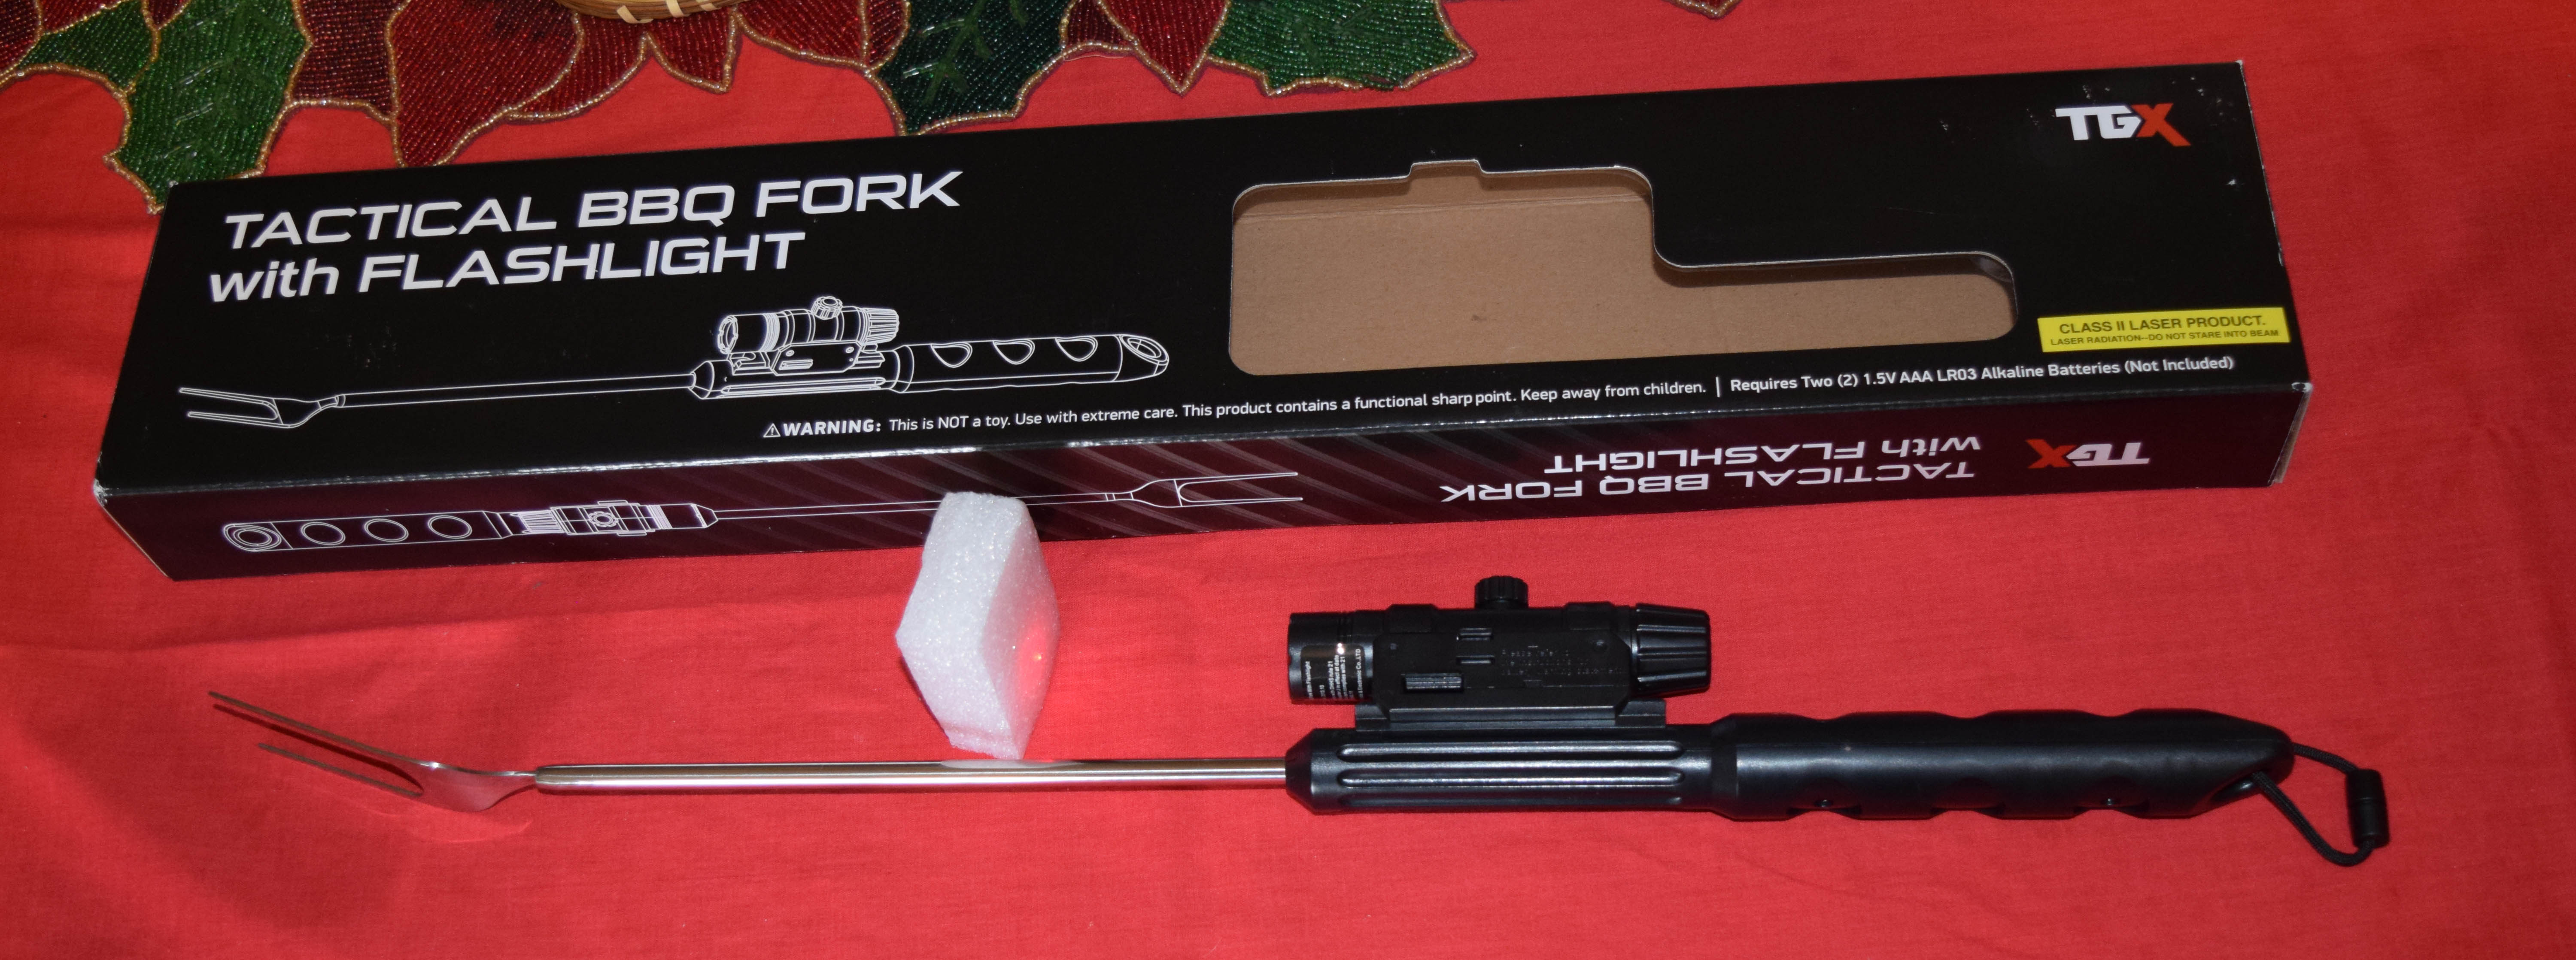
DSC_3280cAnd you can also use the laser and light if it is a difficult piece of meat.

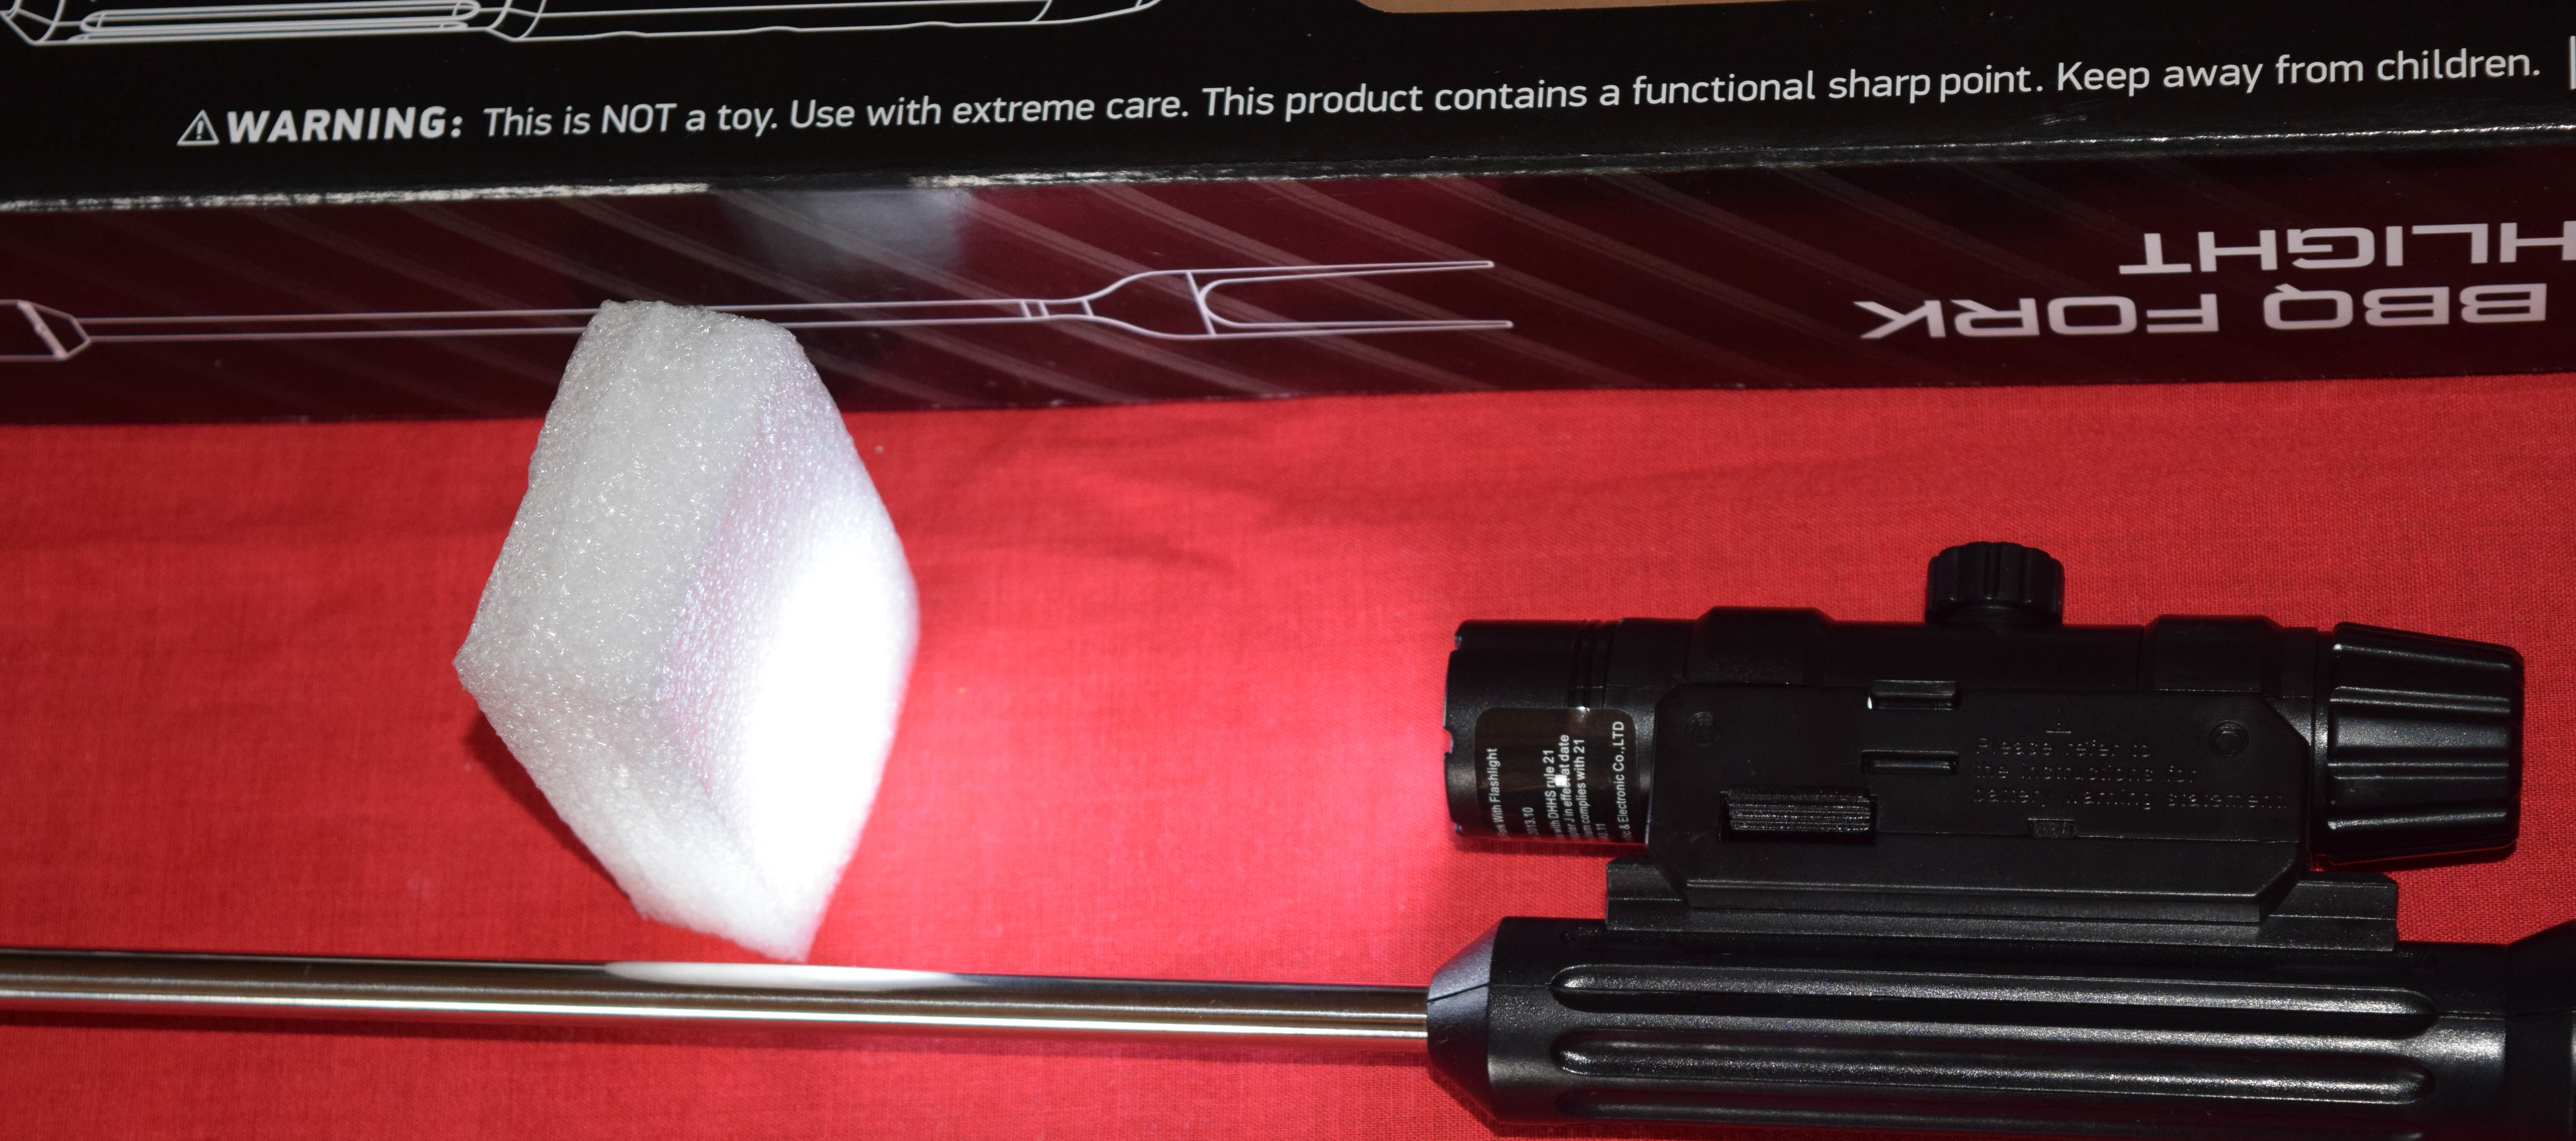
DSC_3281cThe fork is also equipped with a mounting rail to allow the removal of the laser and flashlight and the installation of a scope if your eye sight starts to fail.

DSC_3282c

Merry Christmas

Merry Christmas_c

Christmas Spirit

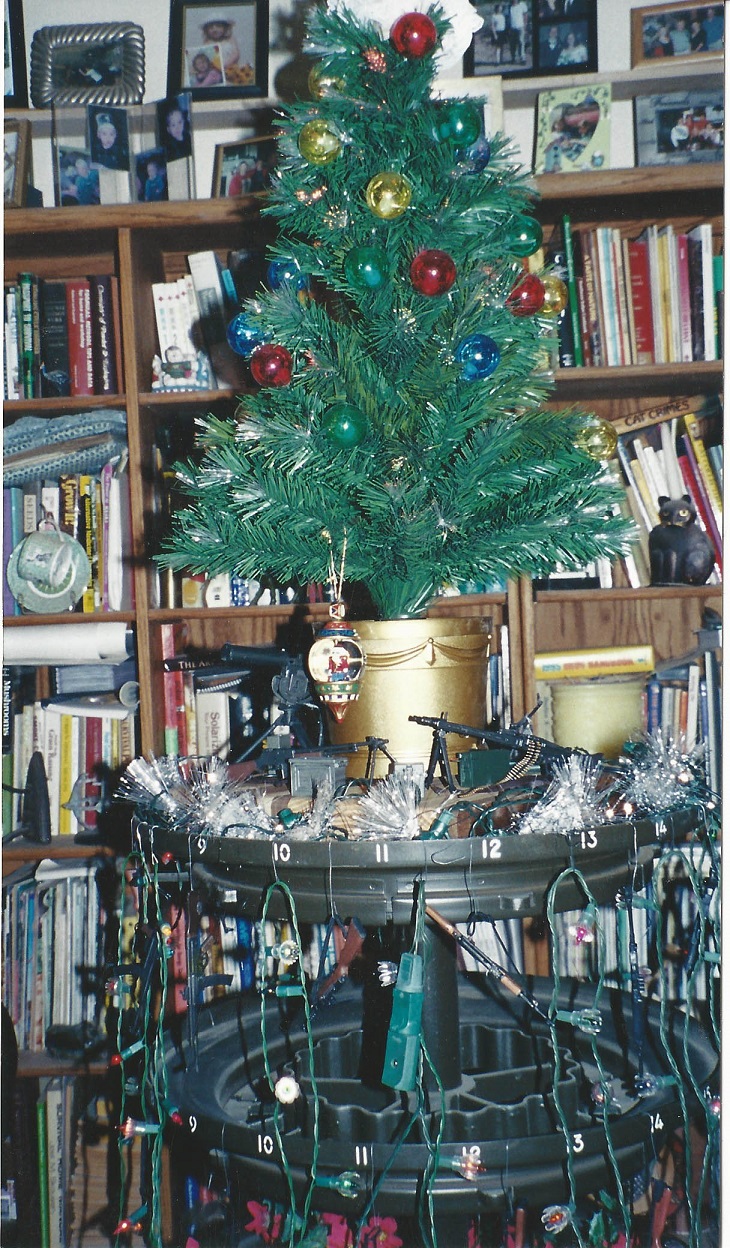
We here at Gun Lab are not any thing if we are not about Christmas Spirit. During the holiday time we always like to decorate in a festive mode. This is the Christmas tree we had a few years ago.

1csa close up of the same tree.

2csYou get to guess what it is.

This year we have a smaller gun tree.

DSC_3167sIt is to hard to put the real ones on the tree. However, I did make a few decorations.

DSC_3170cI hope everyone has a great holiday.

Weekend Update 12-22

Last week was a really long week, most days leaving the house between 5:30 and 6:30am and not getting home until between 7 to 9 pm at night. Just shot. Saturday I went back to a guys shop that was selling some equipment off. I spent 3 hours or so there looking through boxes that he packed away 10 years ago. It was a bunch of wood working equipment that he wanted to get rid of. So like any crazy person I bought way to much of it.

DSC_3176sThe shaper and the spindle sander both worked and just need a good cleaning.

DSC_3188c

DSC_3195sThe clamps were a great find. The cost was less then 7.00 a set.

DSC_3197s

DSC_3184cAnd the little fly press was just to cute to pass by.

DSC_3186csGot home and then went to look at a cnc router for the shop.

DSC_3158sI started Sunday working on a clamp rack to hole the now newly acquired clamps.

DSC_3206sThen to round out the day a friend stopped by from Germany. We spent the day chatting about guns and I started cleaning them as we chatted. Good weekend but not enough done, just to tired.

Sunday Answer 12-21

These are the factory set of head space gauges for the AR-10 rifle from Holland.


DSC_3174csThe set with some of the gauges removed

DSC_3192cs

The markings on the chamber gauge as marked on the block as well.

DSC_3193cs

Just a couple of pictures to show the rifle.

tumblr_nb1msuoqfz1qdzr9to2_r1_1280

tumblr_nb1msuoqfz1qdzr9to1_1280