Well the new year is here and the holidays are over. It is time to get back into the routine of life. This last week was just that but a little longer. The first on the list was the honeydo’s project. My wife wanted a new kitchen faucet for Christmas ,seeing how the old one had cracked and died, and I got the pleasure of installing it. Now before any of you get on my case about buying a faucet for my wife for Christmas and not something like jewelry, witch I make, or cloths, which I would never guess at, she bought it her self. In fact she buys all the gifts because I have no since of humor shopping. This is a picture of the old faucet and you can see why it needed to go.
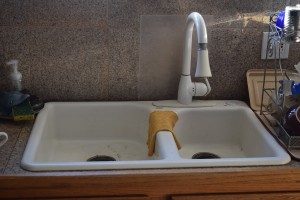 This what she bought to replace it.
 Now the fun starts. There is nothing I like better then to get my old and over weight body down on the floor and try to squeeze into a small space and work.
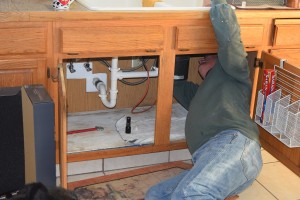
 Then to only find out none of the hoses match up between the old faucet and the new on. So a trip to home depot to buy the necessary components and back on the floor again and we end up with this.
 While we are on the subject of honeydo’s my next door neighbor decided he needed a new tv. The large 63″ one in his bedroom just was not big enough so he bought a new one that was larger and was going to throw out his one year old one because it kept shutting down after 30 minutes or so. Because he had trouble moving it by himself he gave me a call and asked if I wanted it. Not one to turn down free stuff I said yes. It is now in the living room where it replace my 34″ set. And the timer has been reset so it operates great.

 It took a while to get working and new cables have to be bought, as it is high def and our old one was not. I still can not get use to the size. It takes up the wall.
Now on to shop things. Most of this weekend was spent working in the wood shop and as the weather was a little chilly it was a good idea.
 Yes, that is snow on the mountain behind my home.
Now, back to the wood shop. A couple of weeks ago I picked up some new, for me, wood working equipment. With the new additions I needed to make some changes to the shop. It seems a number of people question my sanity for getting additional wood working equipment when I spend most of my time in the machine shop. There are two good reasons for this. The first is that I need to make stocks and metal casting patterns for some of the gun projects were we are doing. The second is that I started a complete house remodel a few years back and got stopped at the kitchen. I bought a kitchen store display cheap but when I went back to buy the additional cabinets to finish the kitchen the costs were out in the “O MY God” price range. The same is true when we contacted a number of cabinet makers in the valley. Not to mention that I am now sure that cabinet makers are one step below used car sales men in honesty and integrity. So I have decided to make the remainder of the kitchen cabinets because I have nothing to do in my spare time.
So,with the new tool I got for Christmas I got busy.
 I finished the back table for the table saw.
 A cabinet needs to be built for inside the stand. That project is coming up as soon as I finish the drawings in solid works.
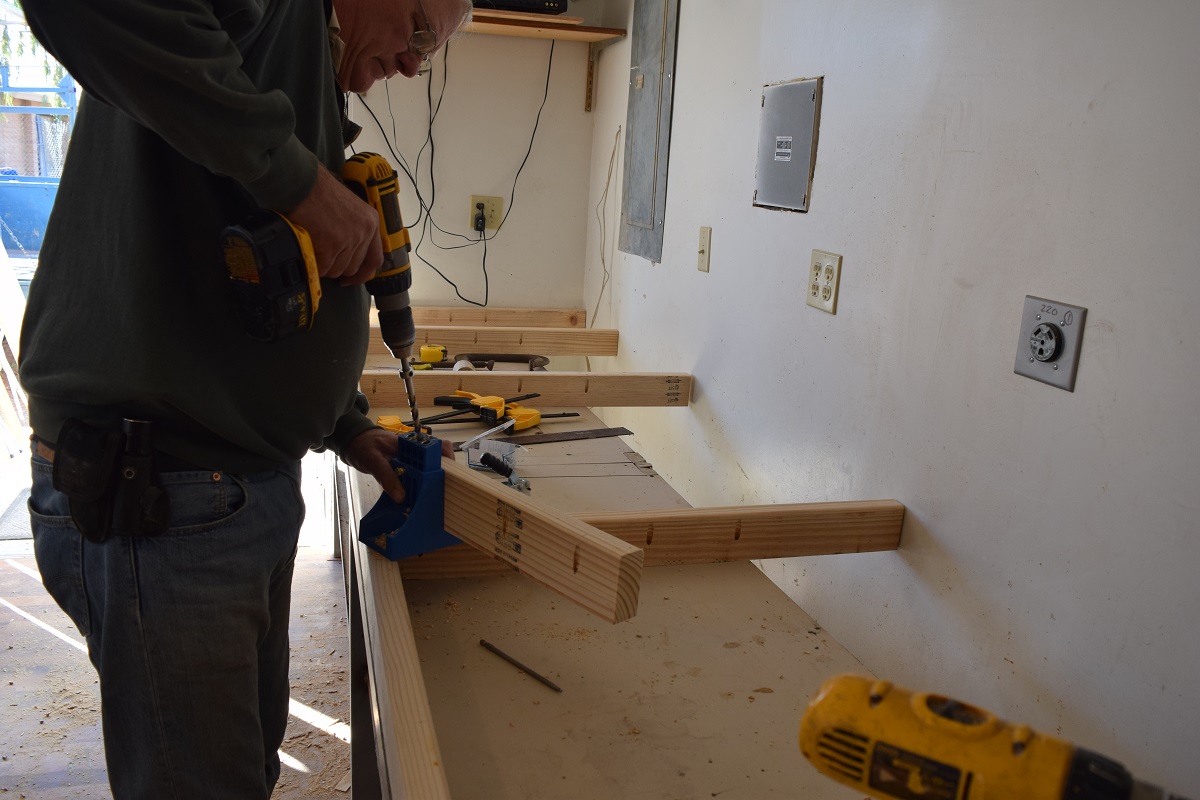
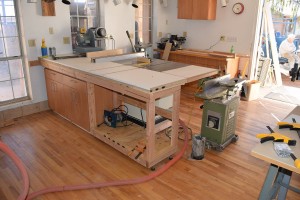 Then we move the radial arm saw to a new location to make it more user friendly and started build a larger table for it. This next series of pictures is that process.


We started with the old bench that I had in the shop, I got it out of a dumpster a while back and liked it. However it was to low for the saw and needed to be raised and there was a slight rise in the table so everything had to be hand fitted.
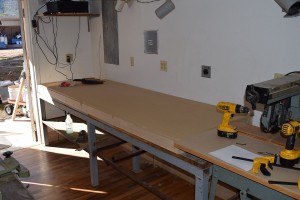
 But by the end of the weekend we had it mostly finished. I need to pick up a 1.5″x2″x16′ long piece of steel to finish the job. This is how it looked when I stopped.
 This weekend I also took a class for K. who is a professional photographer, and works for a top gun magazine, to try and improve my pictures. This is the photo I took at the beginning of the session.

 And these are the same shots at the end of the session. I was lucky enough to be able to spend a few hours with her and learned a great deal. With any luck I will be able to do it again.


 No photoshop magic was done on any of them.
And as they say in the infomercials, BUT WAIT THERE’S MORE.
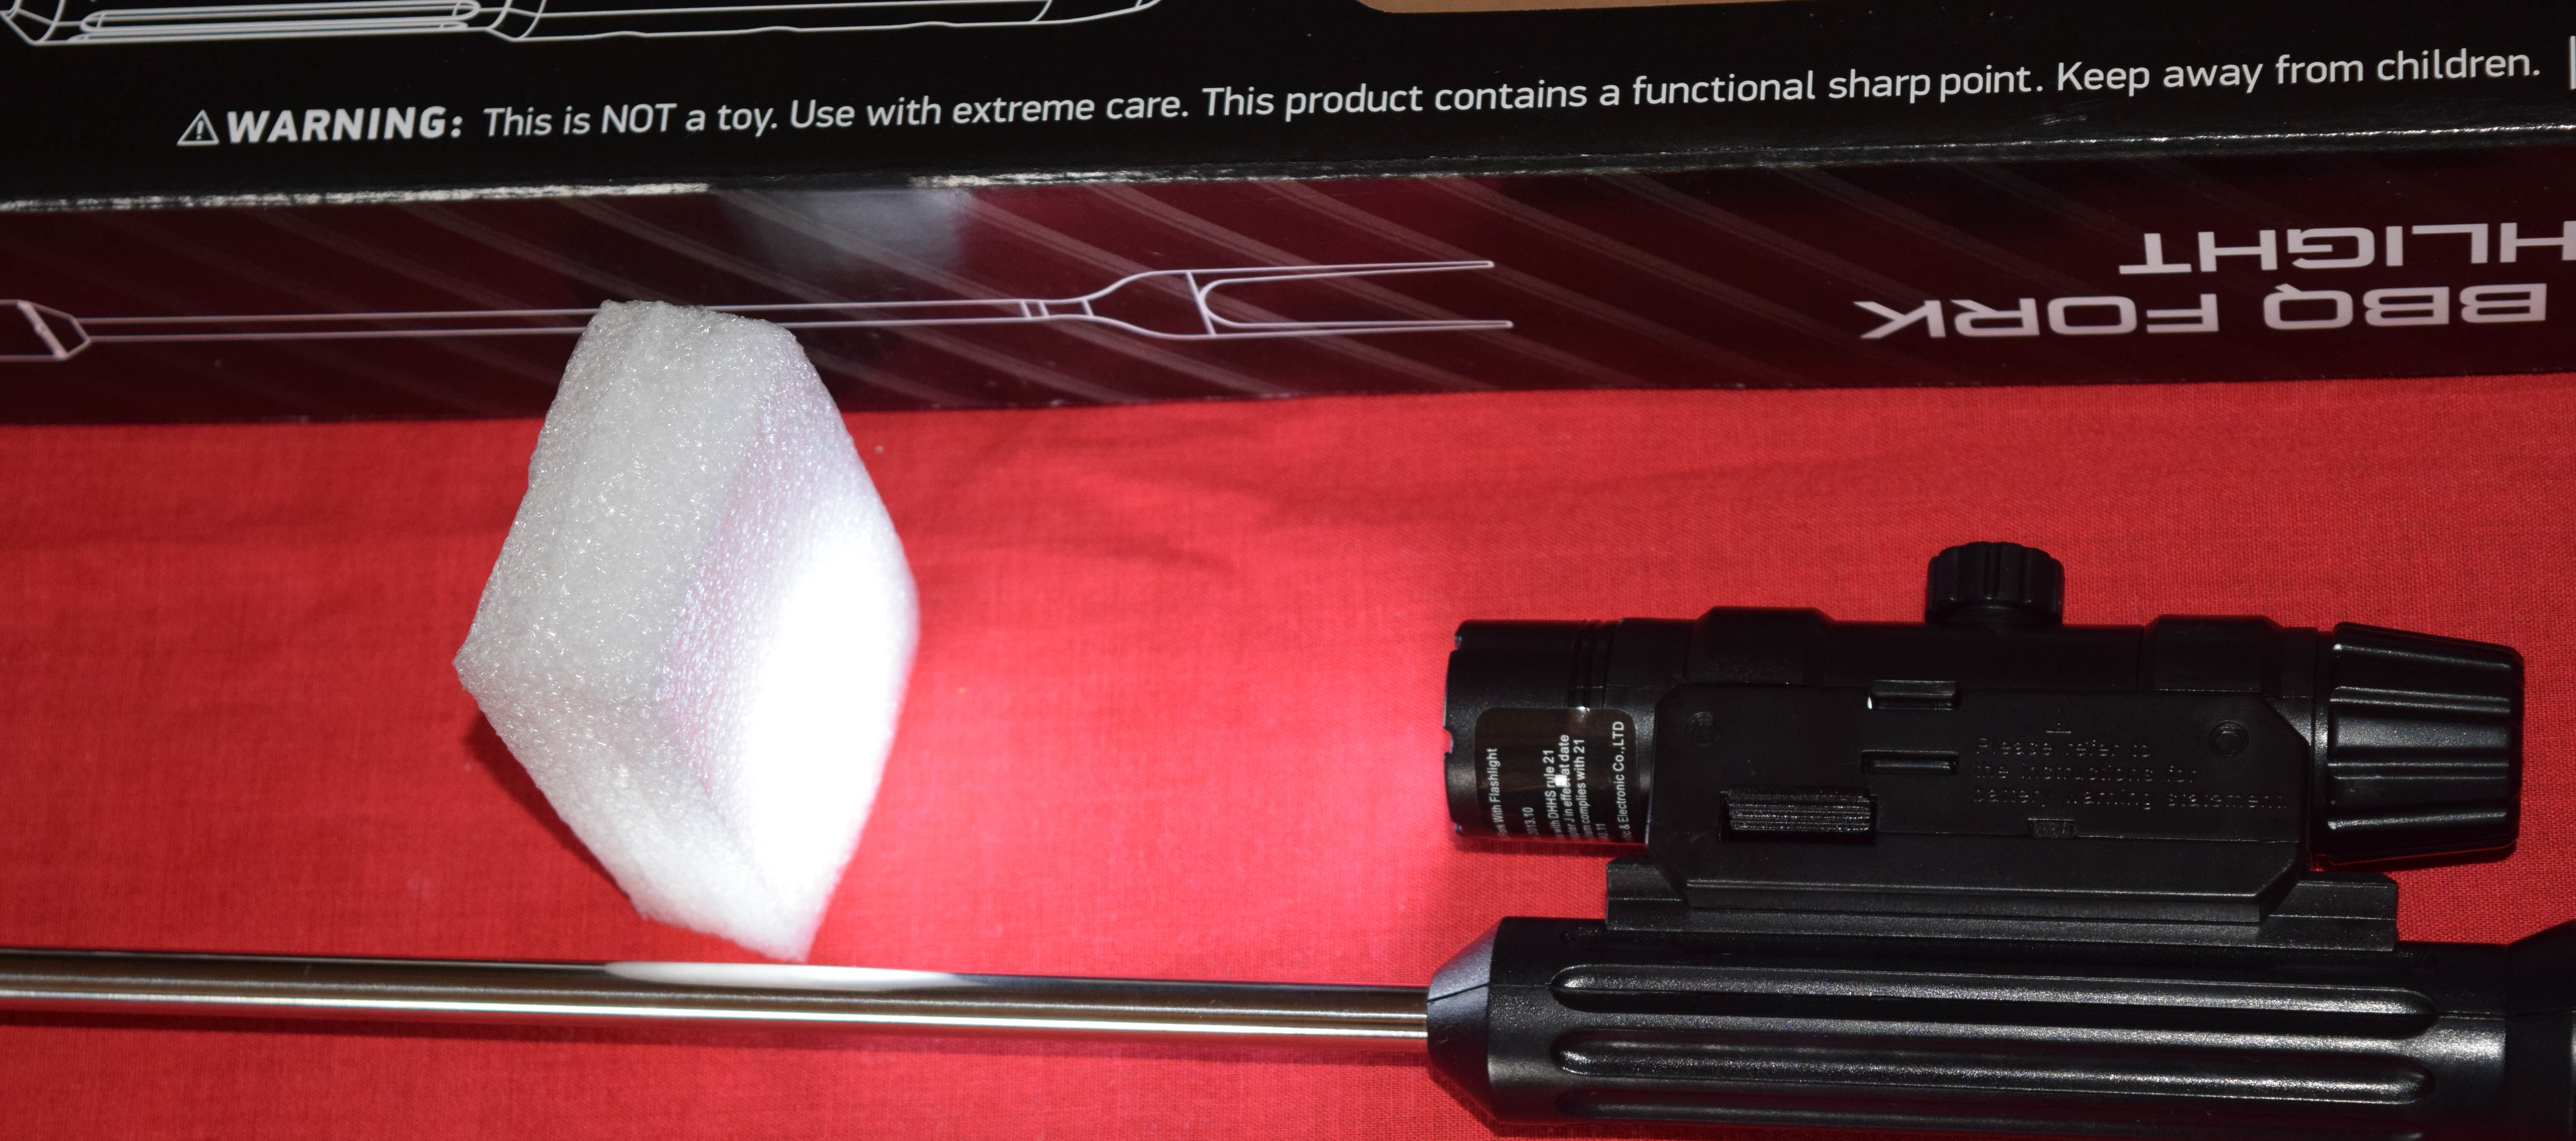
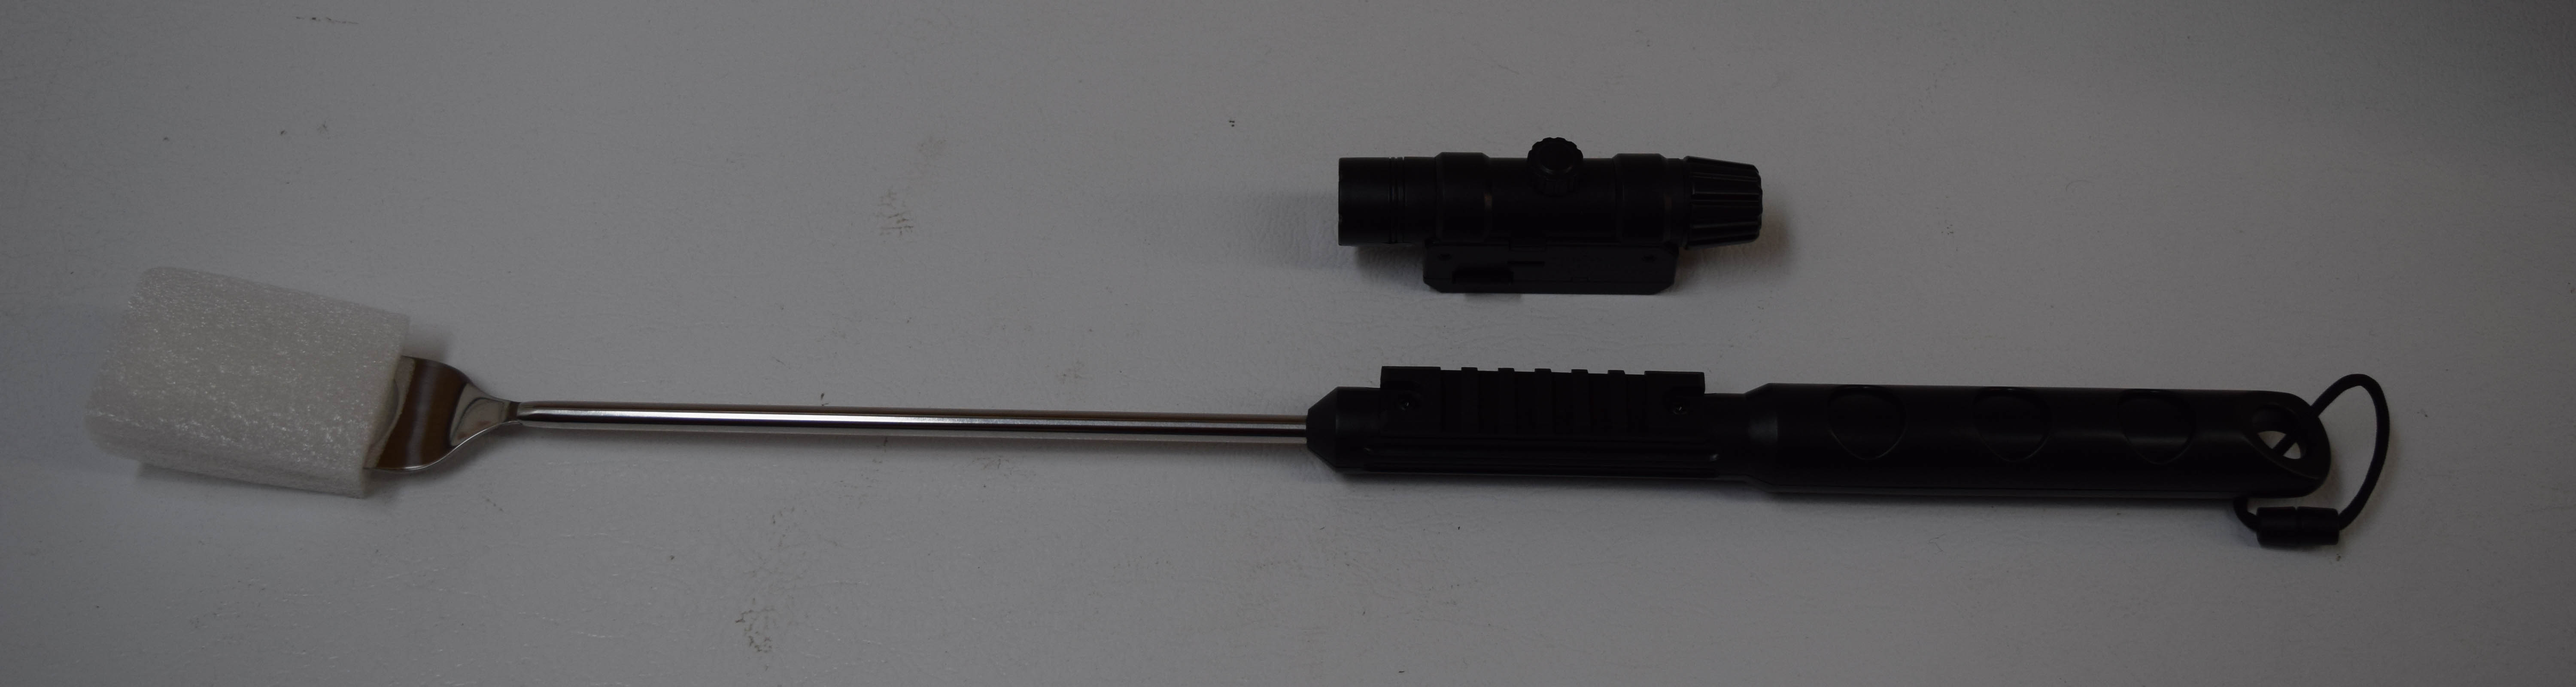
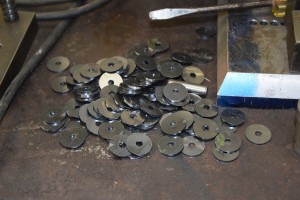
I also spent time in the machine shop working on the new parts we just got in fro the laser cutter for the VG1-5 project. I finished the magazine release button and the strengthening plates for the receiver.


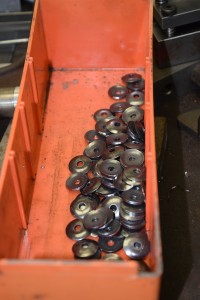
 Magazine release buttons.

 A complete write up will be coming in the next few days along with videos. I also spent more time on the AR-16 drawings to try and get that rifle finished up in solid works. Other then taking my wife out to the movie and a few clean up projects this was my weekend. Tomorrow I will post an update on the VG1-5 project and all the other projects we have been working on here at Gun Lab.
 This was not a plan for doing over 200 of them. The time necessary to measure and mark each one and then eye ball the bends and fit to the receiver would have been enormous. To do this in an efficient manor that insured that they were all the same and would fit correctly a press tool had to be made. This are a couple of solid model pictures to get an idea of what it should look like.
 Once design in solid works and programed in mastercam this is what the final product looked like.


 This last two photos show the angle that we pressed to. These photo’s were taken after all the pressings have been completed. The press tool was made out of 1018 steel and the wear from pressing 210 pieces was non-existence. If we were going to press thousands upon thousands of them we would have gone to heat treated steel.
 The parts were cut and cleaned from them. A slightly better look at them.
 Every one of them exactly the same and ready to install on the receiver. Just for an idea of the time to accomplish this part. It took 2 days to design and build the press tool and about an hour to do the pressings. If we would have stayed with the old procedure it would have taken days to accomplish and the repeatability and accuracy would not have been there.