Well it was another fun weekend around Gun Lab. This was the list I worked out during the week to be completed this weekend.


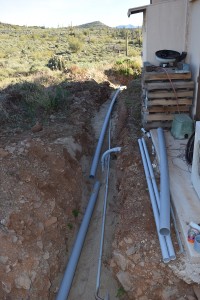
The 4″ conduit was run around the wood shop as well as the rest of the 2″ and 1″ and we buried it in preparation for the next phase.
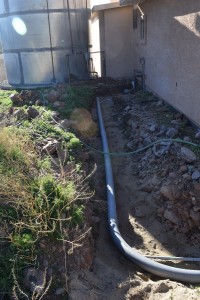
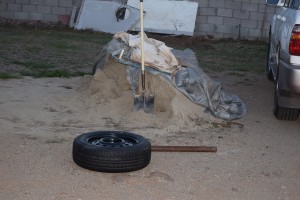
And covered.
Sand pile is reduced a little.
 Then some maintenance issues were address in the shop. The first was an air leak due to a valve failure.
 It was removed and capped, I will paint it next weekend.
 I needed to move some equipment around to have better flow and a little more room. The first thing was my son’s tool box. It was relocated to the cnc room.
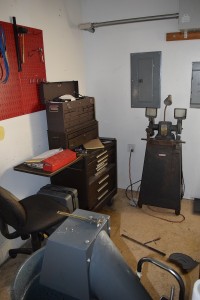 To do this the 1″ belt sander was moved to the fab shop as was it’s parts table. Next the die room was re-organized. This is the way it use to look.
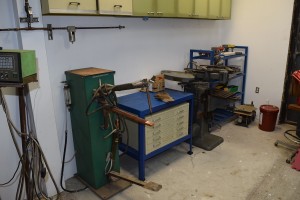
 This is how it looks now. The spot welder was moved in and set up to do all the welding on the VG1-5.
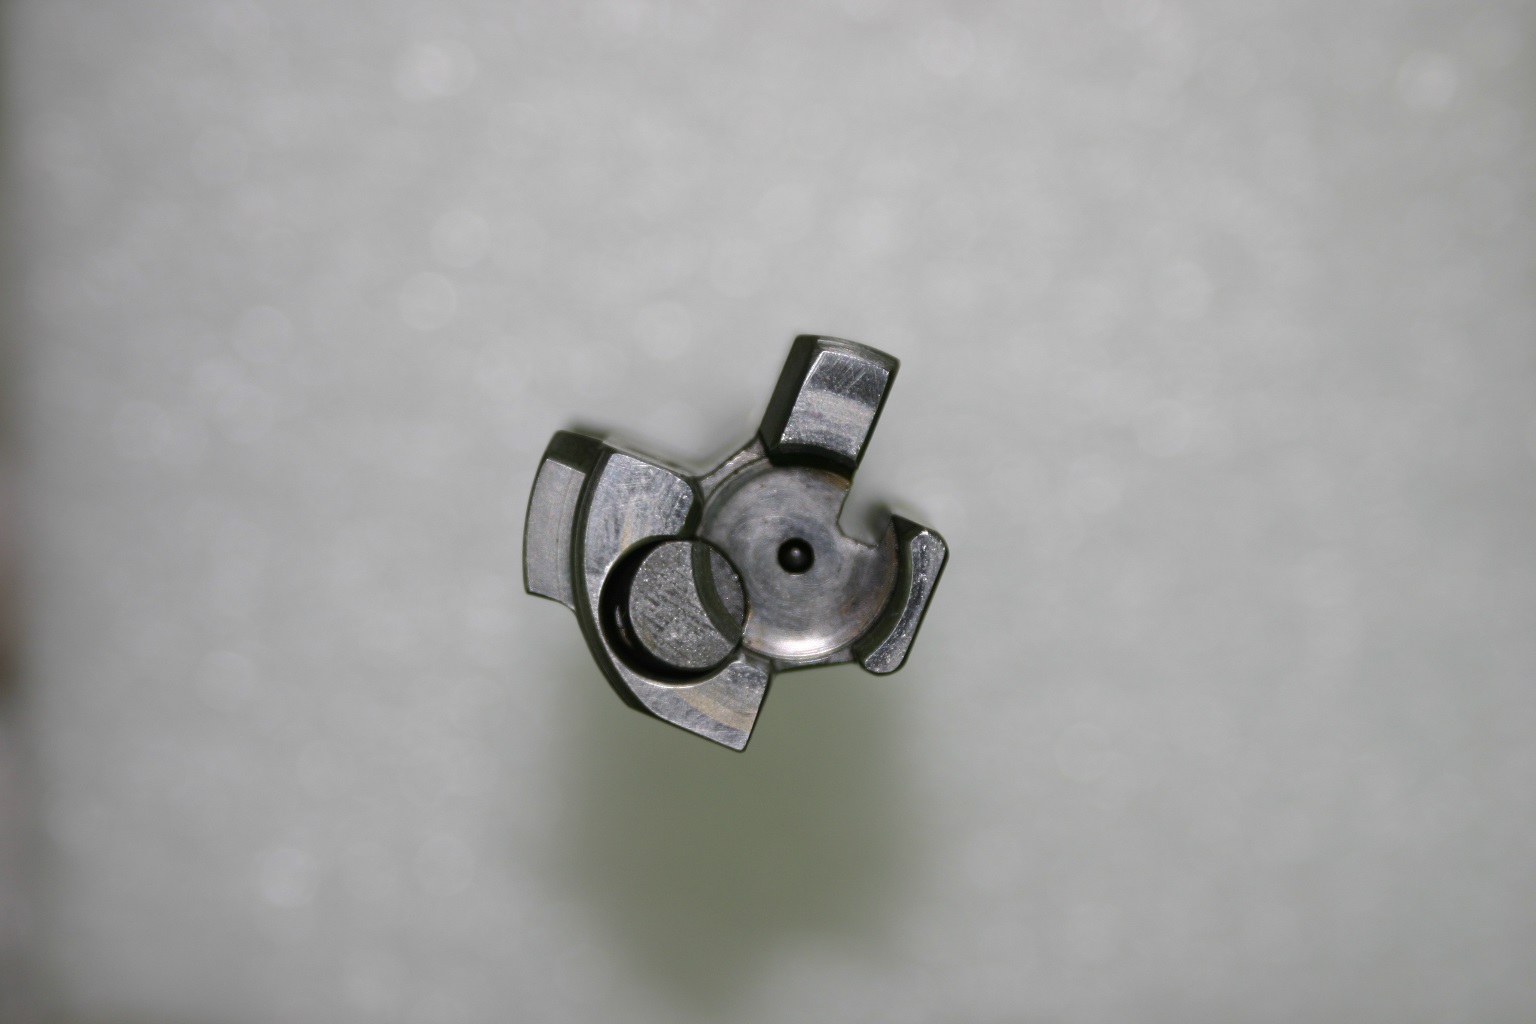
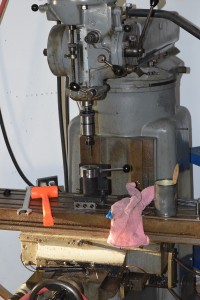
 Then the Webb, Allan- Bradley, and the Wells-Index machines were set up to run parts, as well as the Haas machining center.The Webb was set up to drill out the cocking handle for the first op.
 The set up was just a basic vise with thin parallels and a spring separating them with a vise stop to for proper positioning.
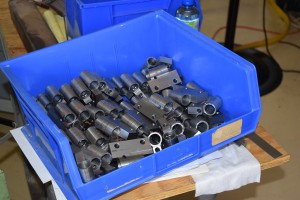
 All the handles were then completed and de-bured on the drill press.
 The Well-Index was set up to re-tap the cross pins deeper.
 We used a 5-C collet closer and a tap-a-matic to finish this job.
They are all completed now.

The Allen -Bradley was set up to ream the buffer pin holes slightly larger to prevent binding.
 We made a special fixture for this.
 They too are also now completed.
 The Haas was set up to complete the screw slots on all the stock and hand guard screws. Unfortunately, I broke the last small end mill before we could complete the project. More have been ordered but have not arrived.
 A lot of screws to do.

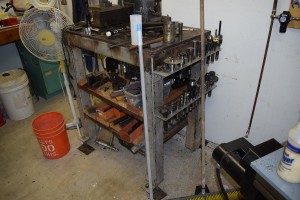
 From here I went to the fly press. A siding needed to be put on it to prevent the chips from flying on the shelves and it need to be re-leveled and have the adjustable levelers re-moved. This is what it use to look like.
 After leveling.
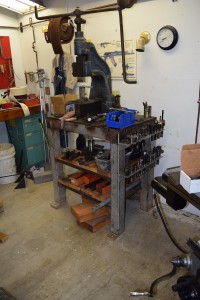 And then with the new siding.
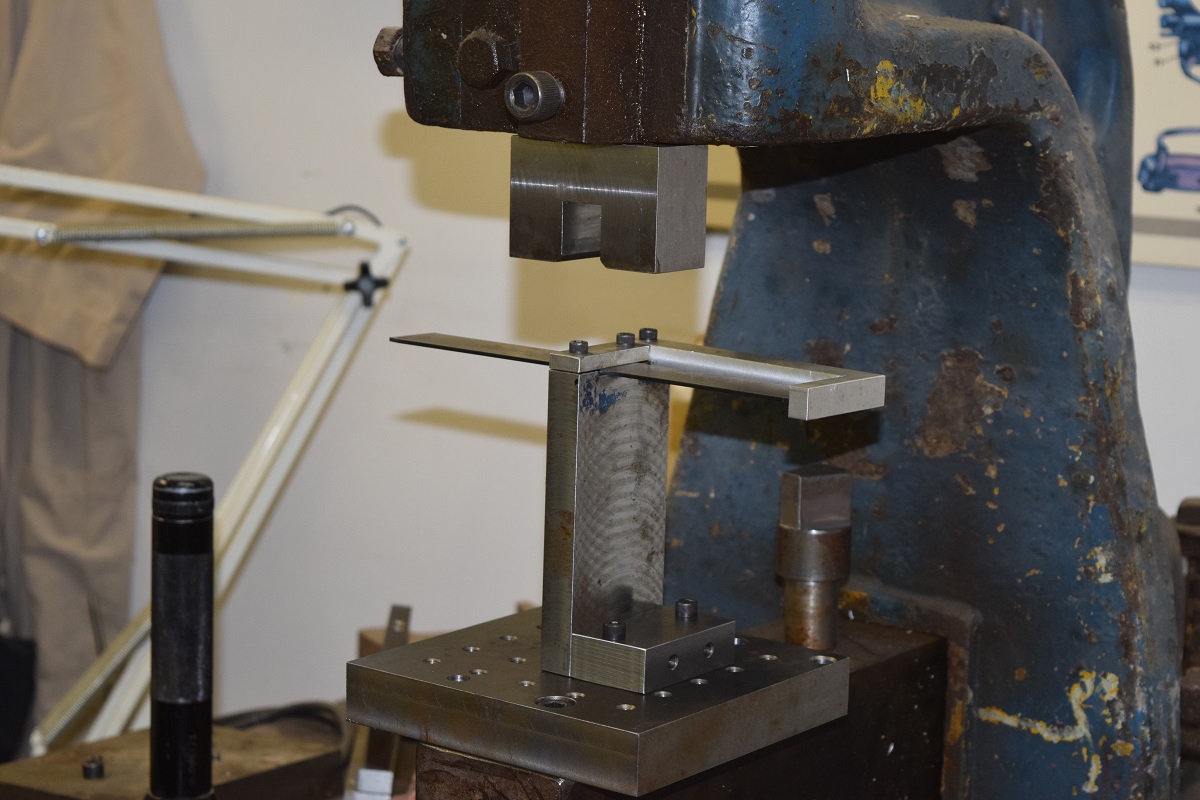
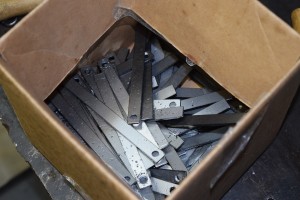
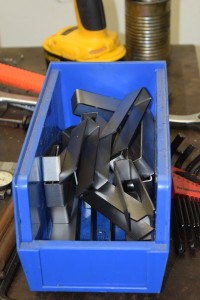
 Once these tasks were finished I started the first stamping op for the fire control housing.

 However, I just ran out of steam and did not finish all of them.
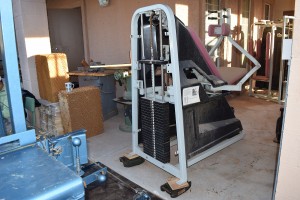
 I did manage to move all the exercising out and over to a friends house that wanted it. This also was way to much fun.
Thanks that I had heavy equipment skates and jacks.
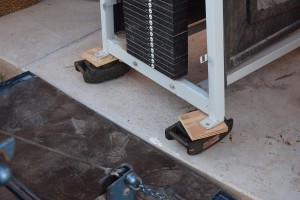 Even with that equipment it still a lot of work. This is the first load.
 The second load was just a single piece of equipment.
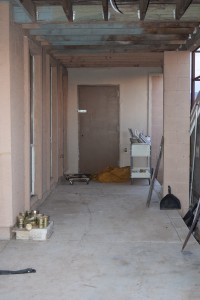
 It now cleared out an area to allow me to expand the wood shop.
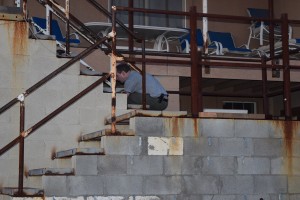
 While this was going on Axel was back and smarter this time so he took over as Arbeitsschuts or better known here as OSHA. He deemed that the stairs to the guest house needed non slip covers.
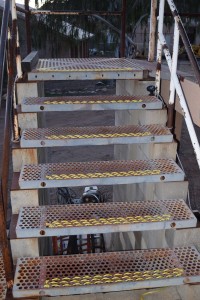
 A better view.
 I think it is color codded as per some German guide line.
The upper stairs.
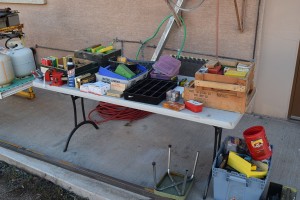
 He and my wife worked on the last of the ammo re-organizing as well. This was the start.
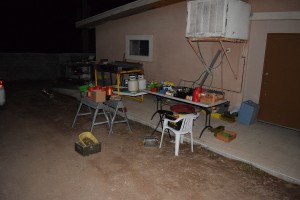
 And the finish.
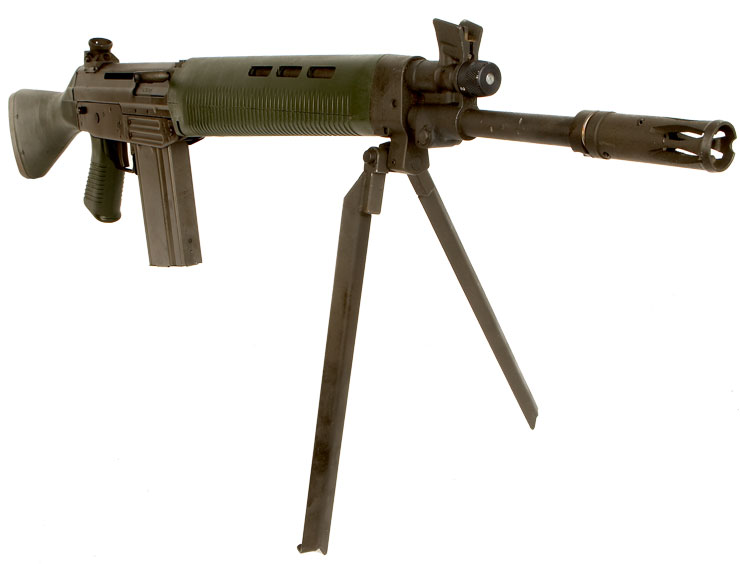
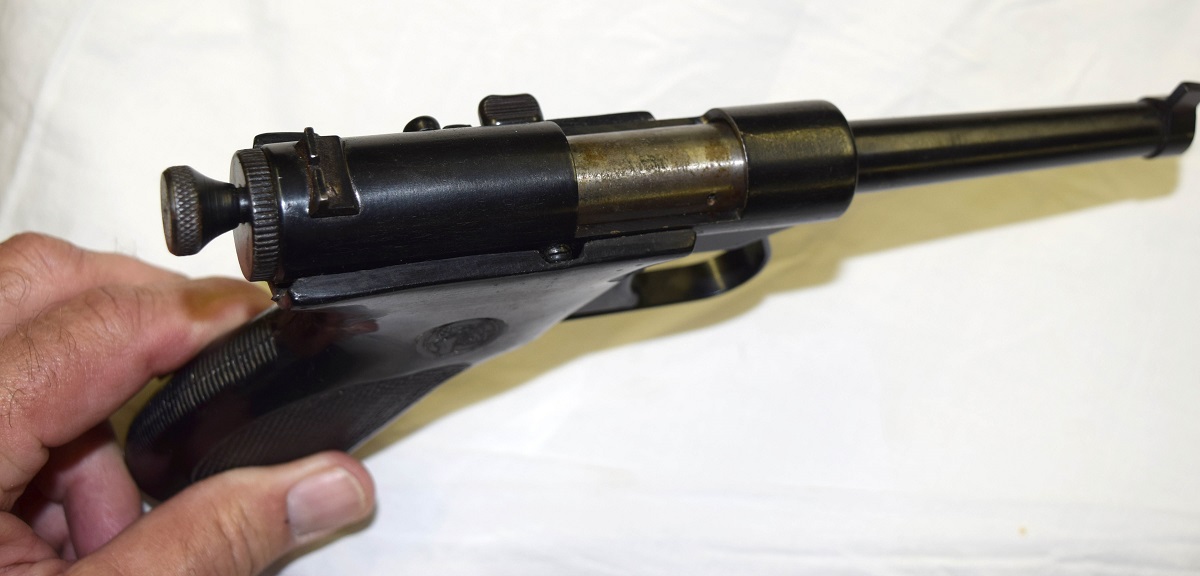
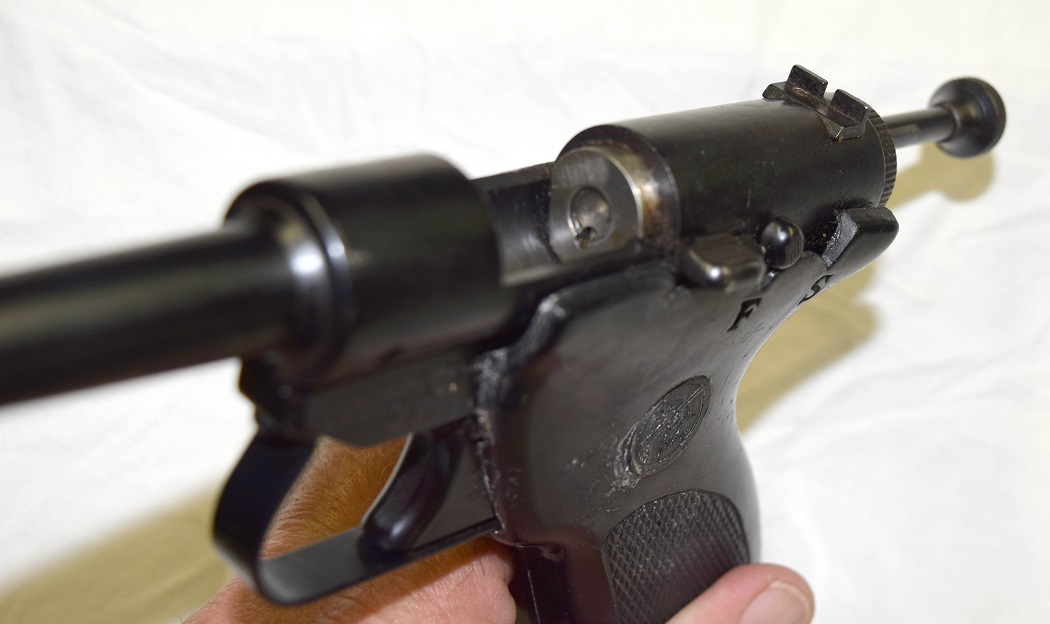
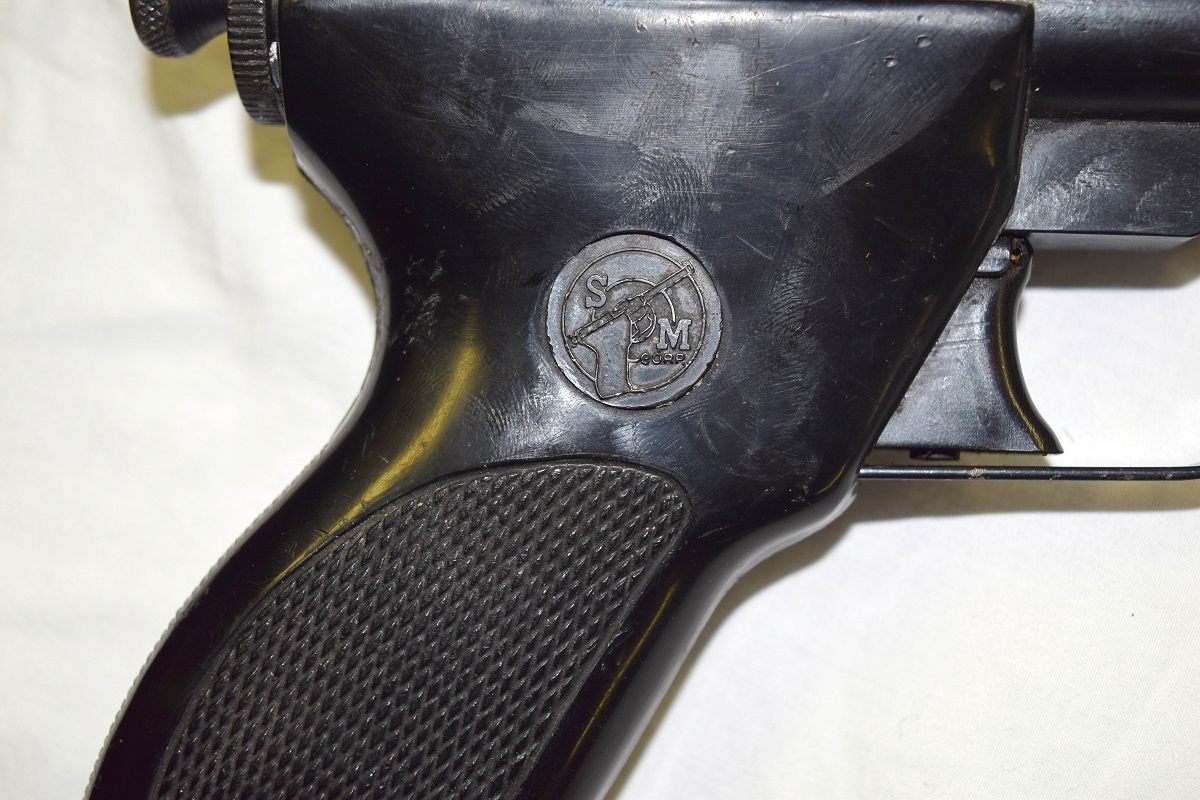
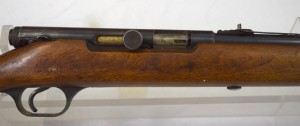
 In and among all this fun I had a friend bring over his Beretta Model 38A to have me fix it and I did, sorry forgot the pictures. And another friend brought over a 22 rifle that would not cycle. Axel fixed this. Cute little semi-auto.
 A close up of it.
I did get a little time in the wood shop. I started on the backing for the radial arm saw.
 So all in all not a bad weekend.