We are coming to a close on this project. The end is near and it is time to do some of the final touches prior to shipping out. This is not to say everything is done, far from it. All the parts are made, the fire control group works, most of the small bugs are worked out. The test gun has been sent for the first series of tests and write up. This is the next item on the list of things to do. The sling. The original one were what ever the Germans had. They were run through a ring on the front attachment and nailed to the butt stock. These are pictures of the three different types of materials and colors that I have access to.
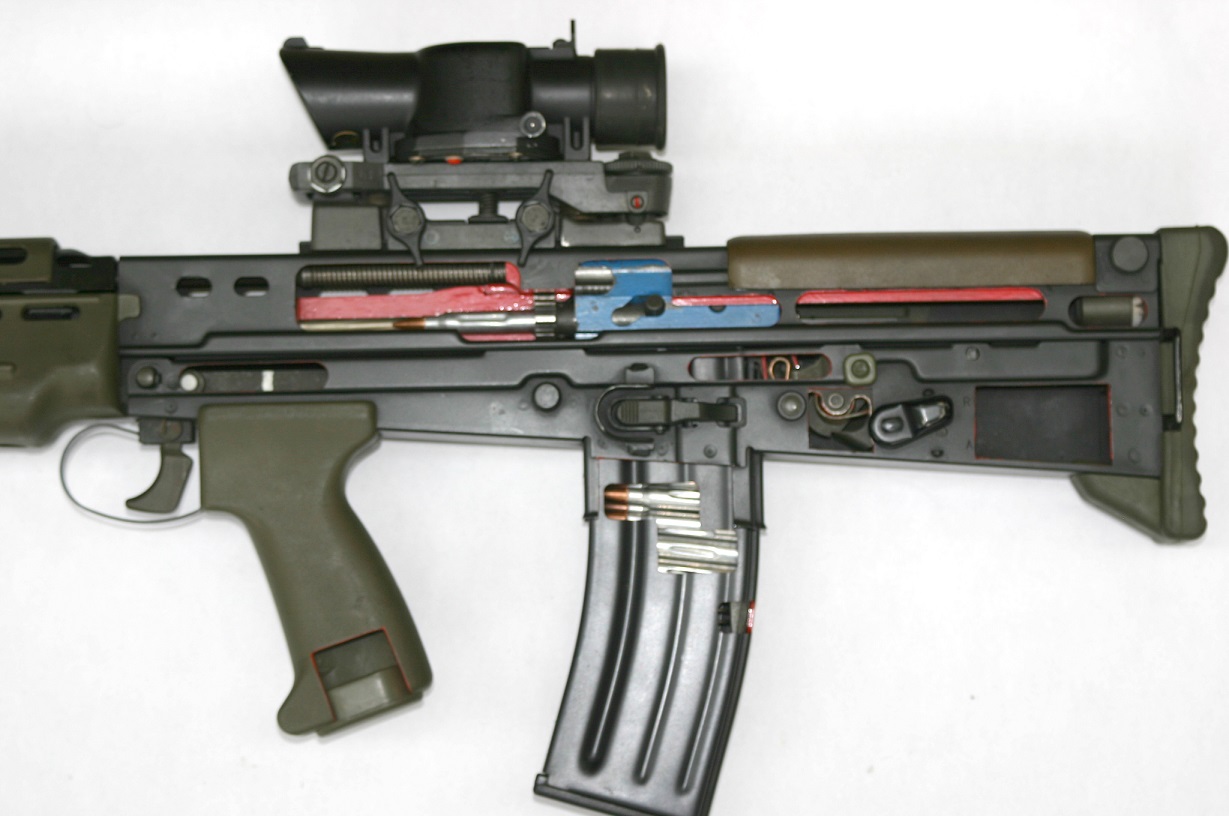
Number 1:
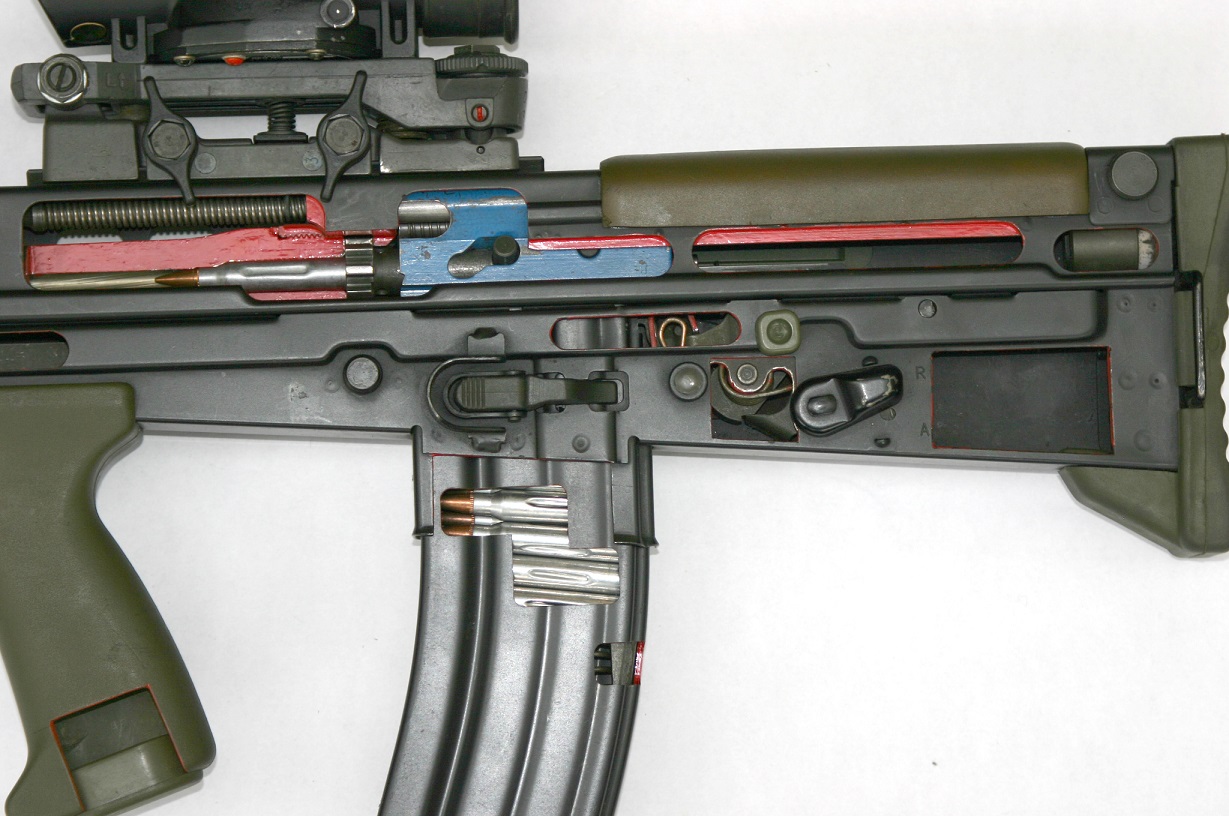
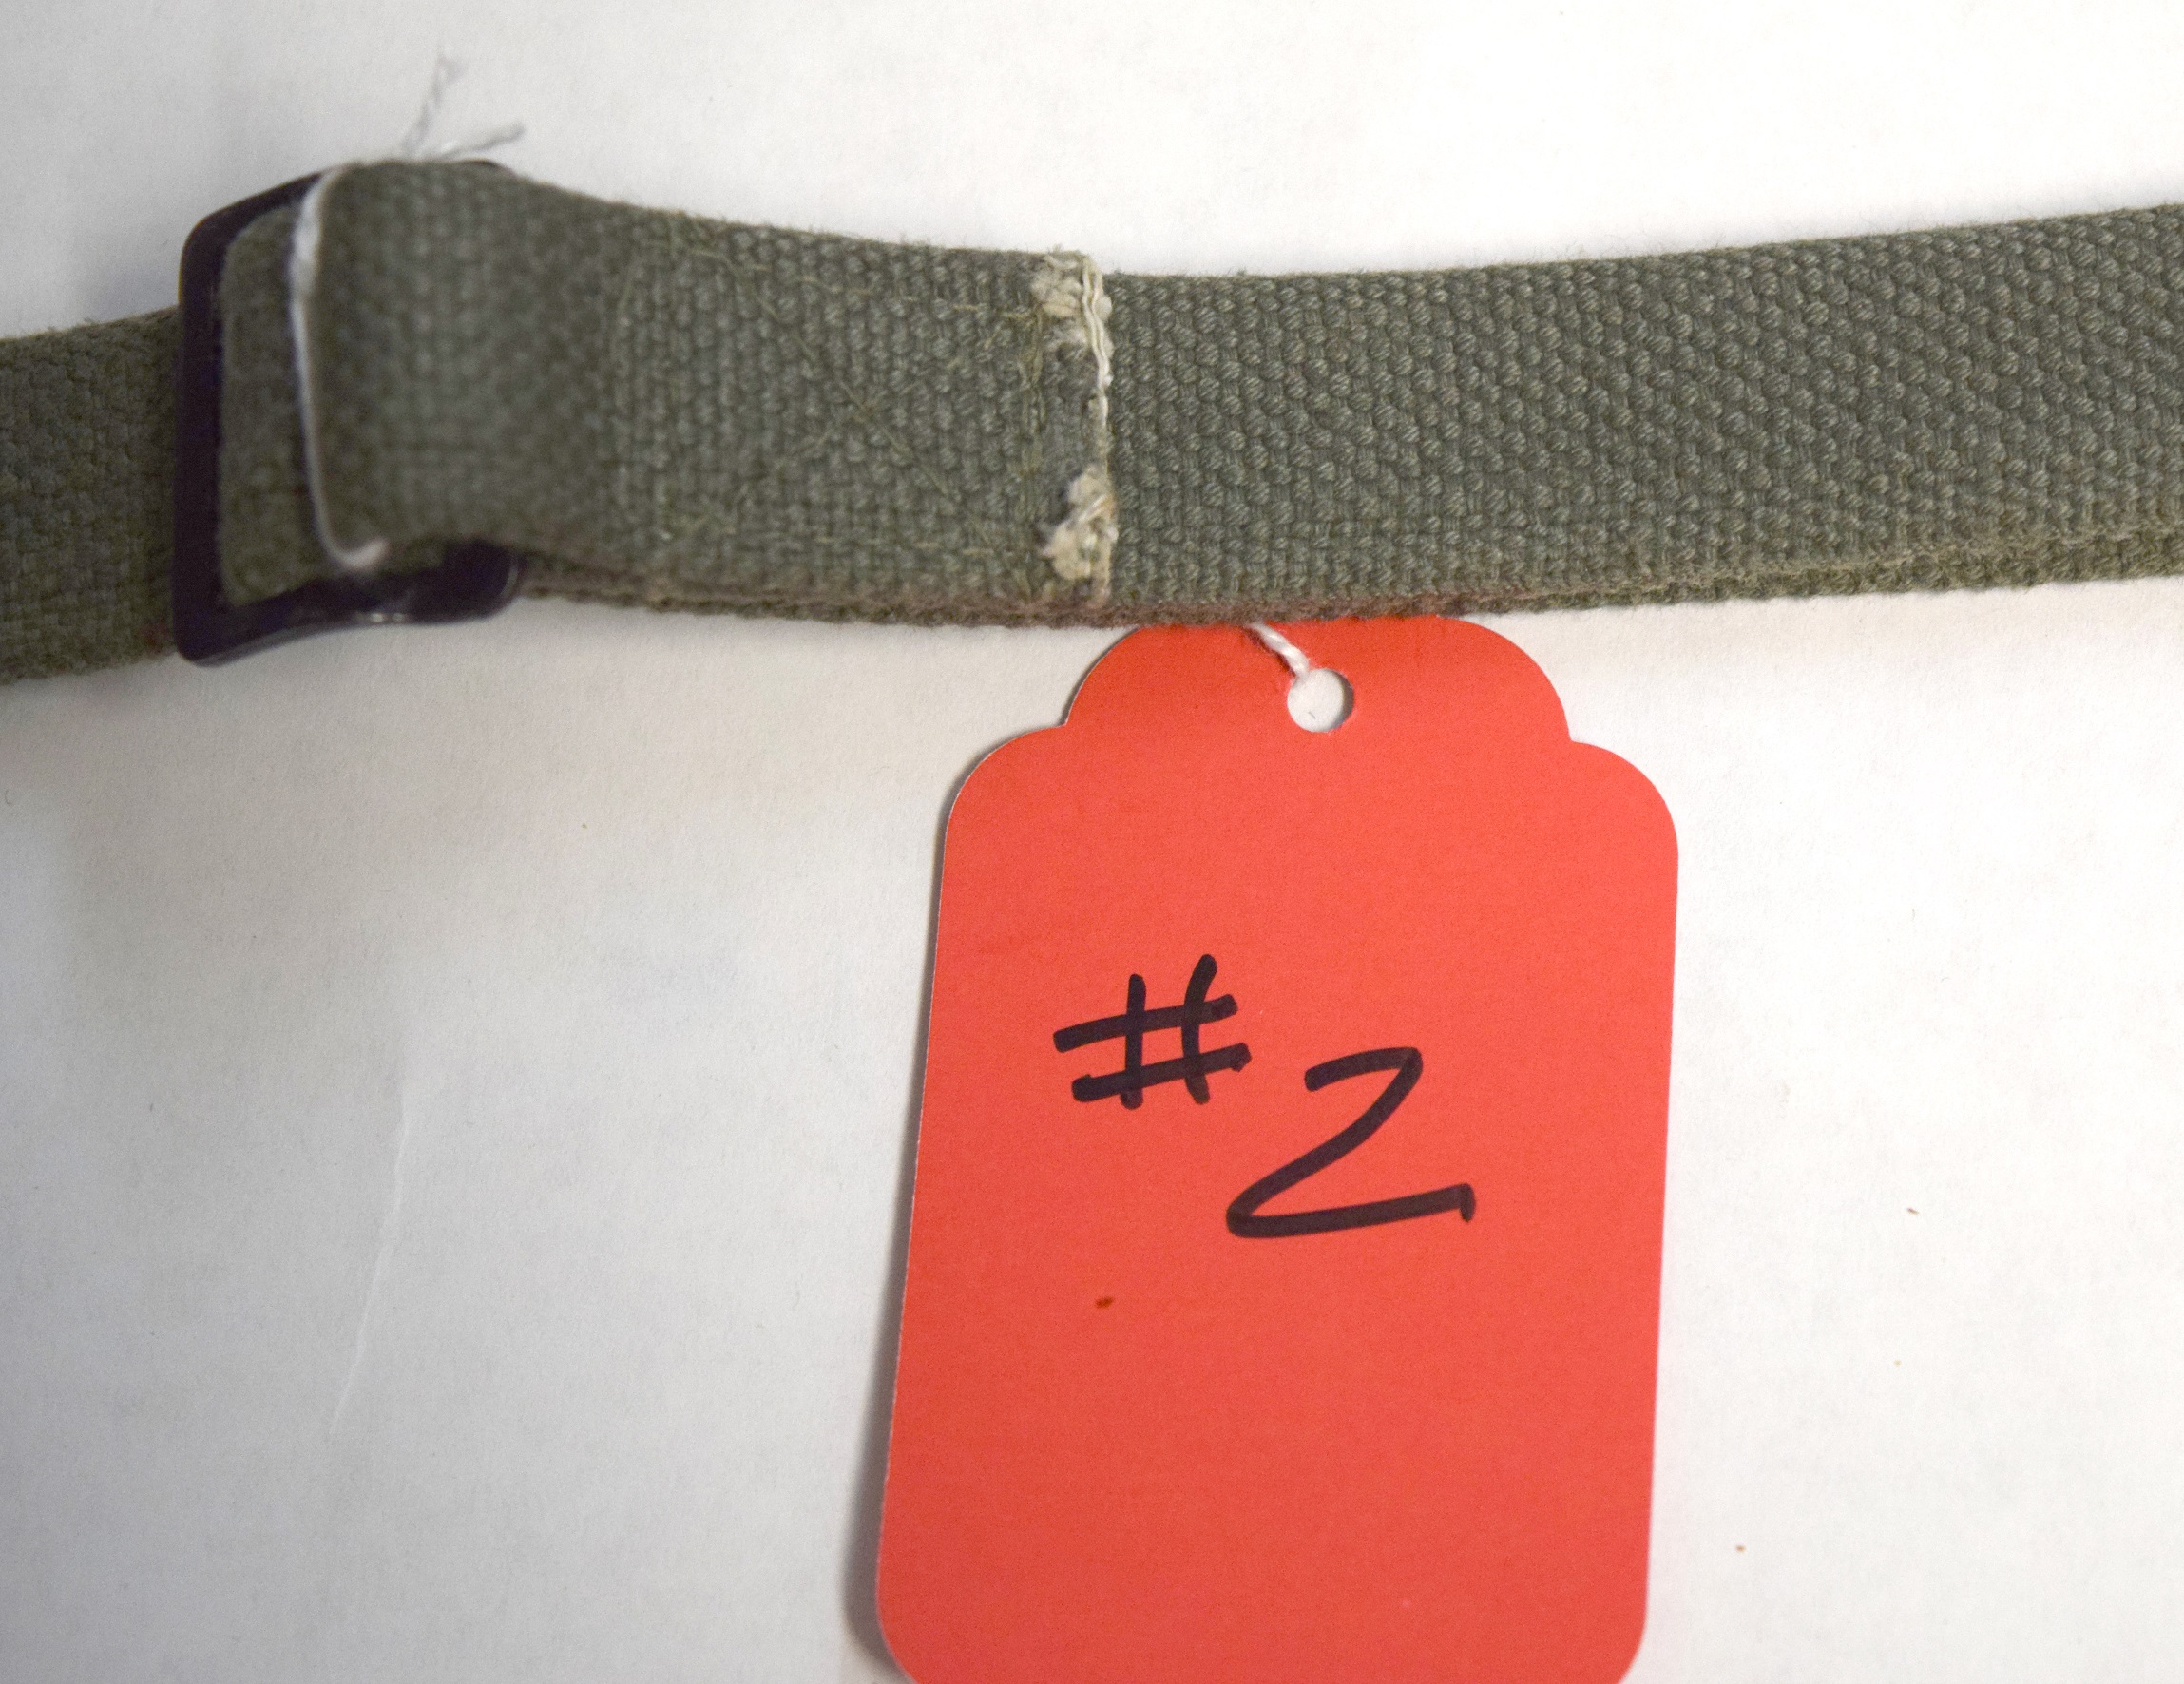
 Number 2
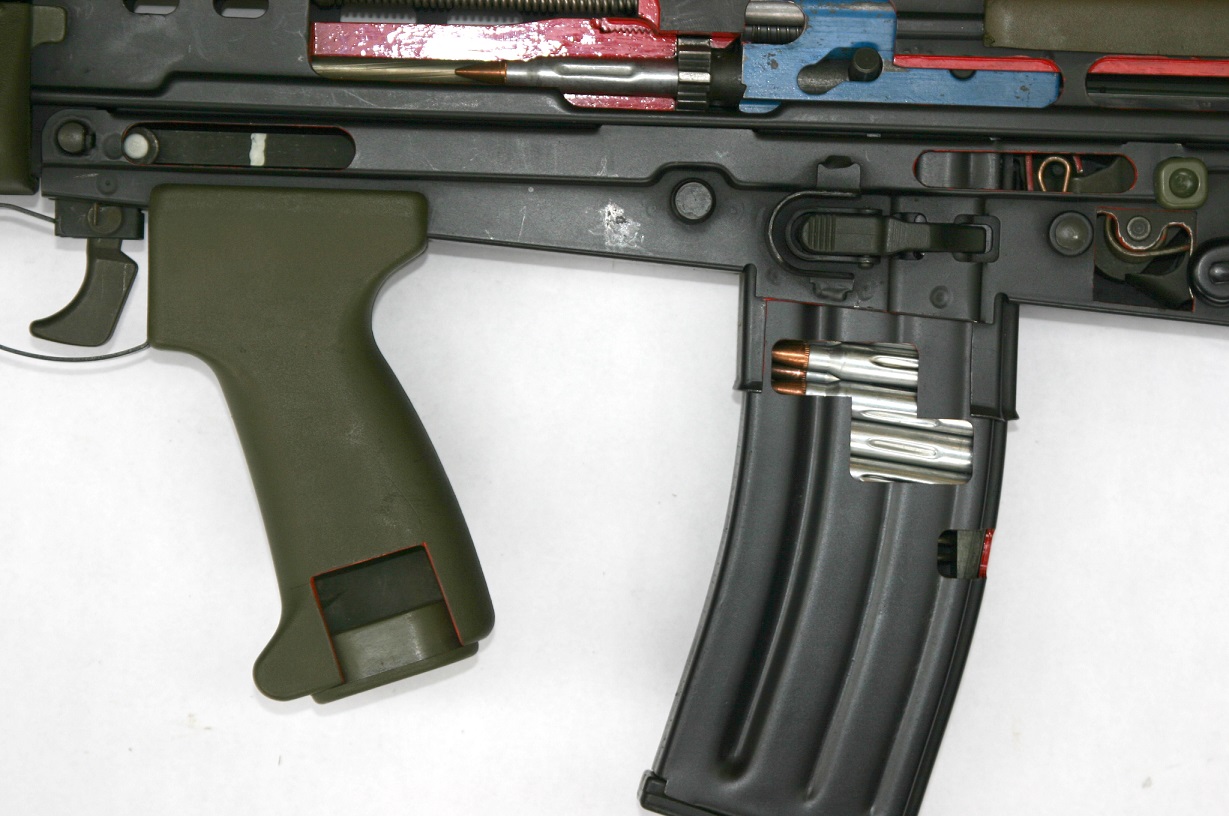
Number 3
All three together.
I am letting all of you decide. Which material and color. I could also use an idea on how to attach the sling to the butt stock. I don’t feel that nailing is a real good solution but I want it as close to the original as possible.
Thanks for your help.