This is the first new post on what is it Saturday.

|
This is the first new post on what is it Saturday.
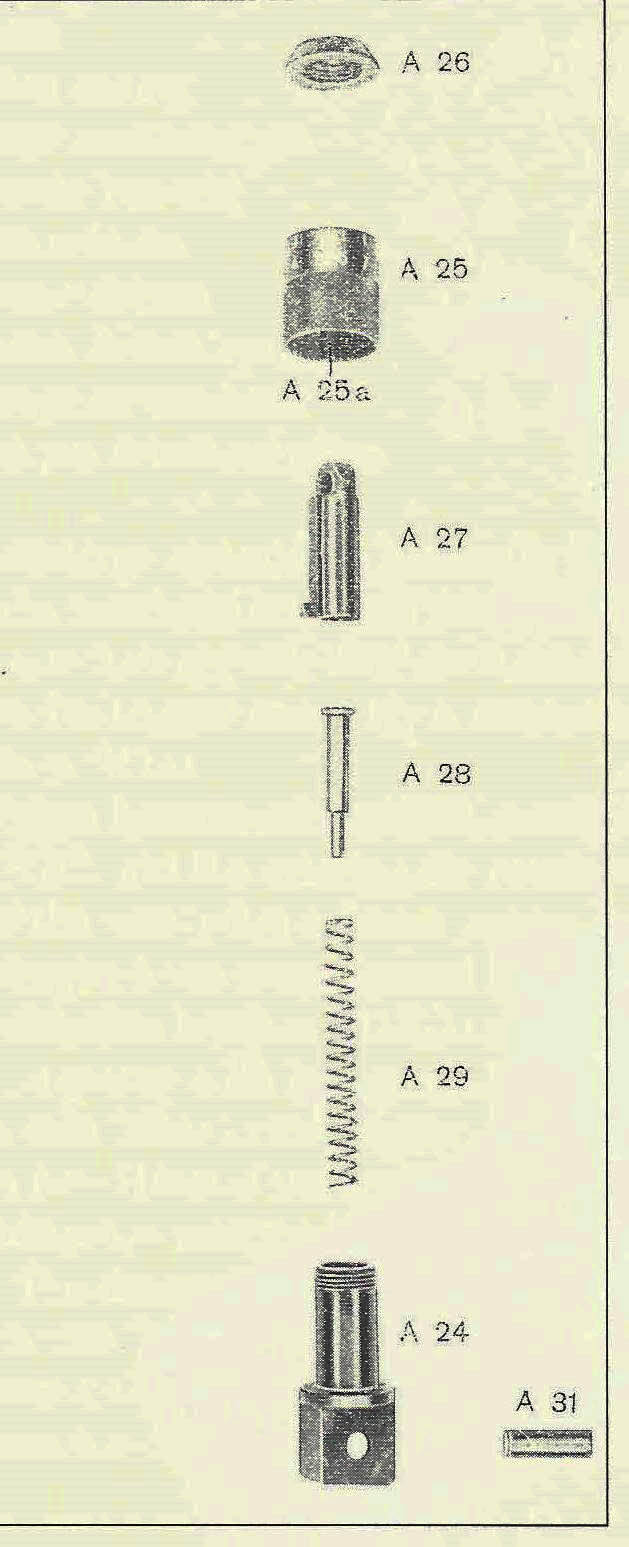
I have decided to make a few changes to the way gun lab works. I personally can watch machining videos and look at solid models and guns all day. I guess that is because it is what I enjoy. I mean I take my vacations to go to factories to watch things being made Plastic factories, pottery factories, machine shops, museums to look at weapons and my wife goes along with me. However, I understand that most people want to see other things as well. So here are a list of the changes that I would like to make to the site. Weekend followup Monday Monday will be for an update of what went on during the weekend. A basic run down of everything that happen in or around the shop. This is to give an idea of everything that has to go on to keep things running. Shop Tuesday Tuesday will be for showing the part that has been made. The solid model that was worked on or the program that was written. Anything that went into making the parts that we make. Random info Wednesday Wednesday will be for information that we have come across that would help. Where we buy material, people and companies who have helped us, new products, videos that we find dealing with gun or parts making. I want to do a segment on people that are in the industry. Anything that I feel like taking about. Classes that we are taking, talking about the shop equipment that we have and use. Talking about firearms that we are interested in making in the future, general discussions on manufacturing or weapons, interviews when possible. Book review Thursday. There a large number of books in the reference library here at gun lab. Machining books, gun books, manufacturing books, information that is helpful in every aspect of what we do. I want to do a basic run down of the book and where to obtain it. In some cases a sales commission is give if you buy the book through our link. All money from this will be donated to the wounded warrior project. Having served in the military and coming from a family of military people I feel strongly toward this cause. I hope that you do too. Video Friday This will be the day that I post videos of the parts or equipment that we have made. Guess this part Saturday I have a 40′ container of misc parts. Saturday will be for taking pictures of parts so you can test your knowledge of small arms. Answer Sunday This will be the follow up day that answers Saturday’s question. I want to add a library to the site dealing with information pertaining to gun lab. Please feel free to comment about the changes and any recommendations that you have. We are looking to involve our viewers to improve gun lab to become the best site possible. This post is about making the rear sight button for the FG-42 first model. To give you an idea of the complexity of this part I am adding a picture from “Death From Above” . This is a component break down of the parts for the first model FG-42 rear sight.
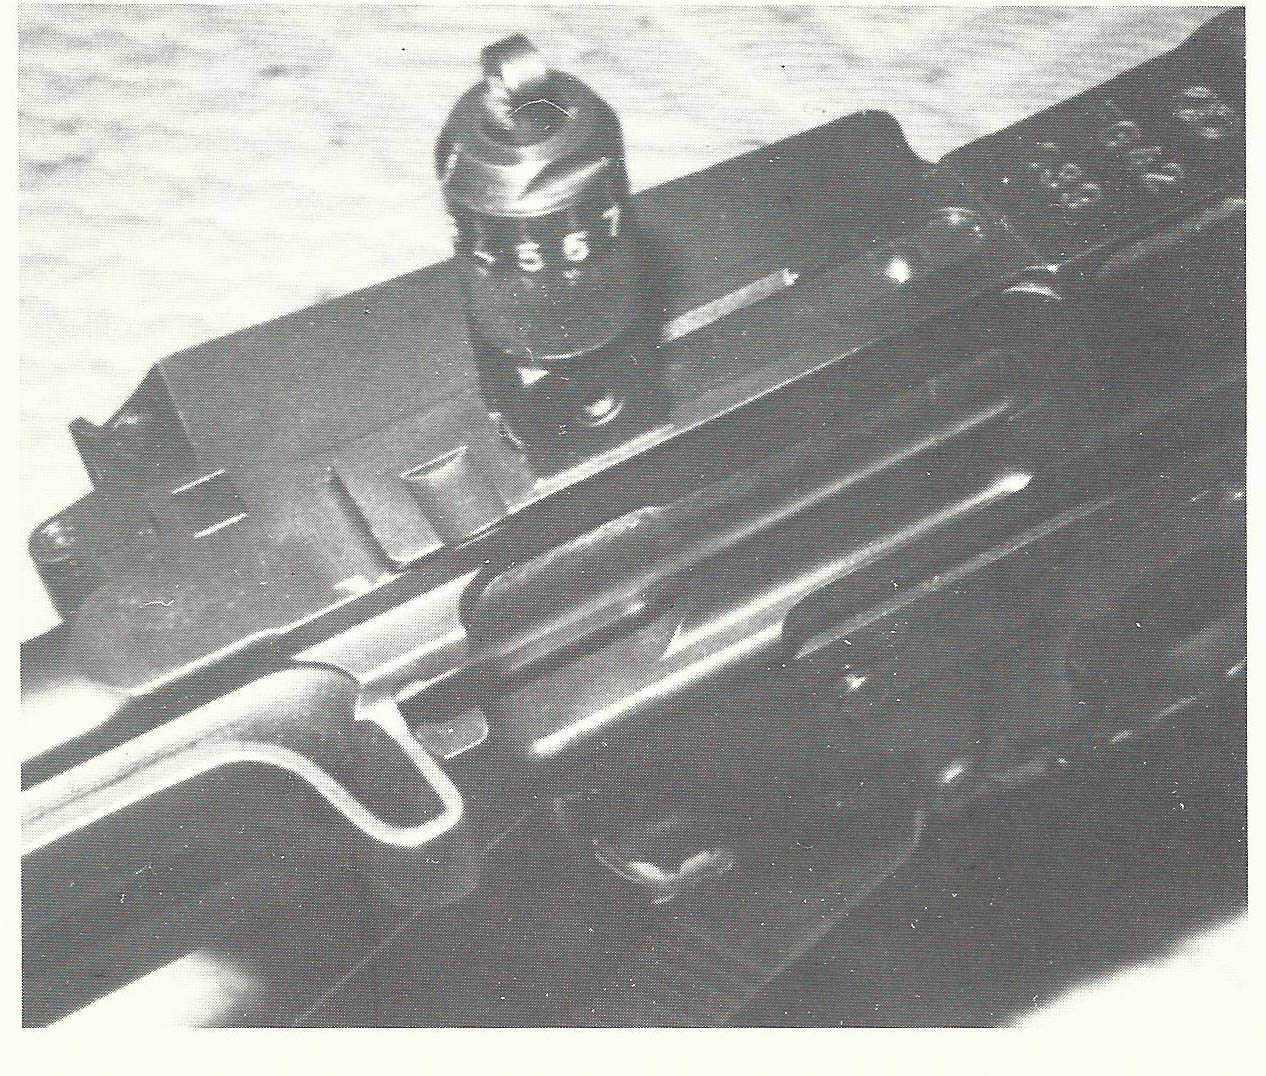
There is also a picture of it installed on the rifle.
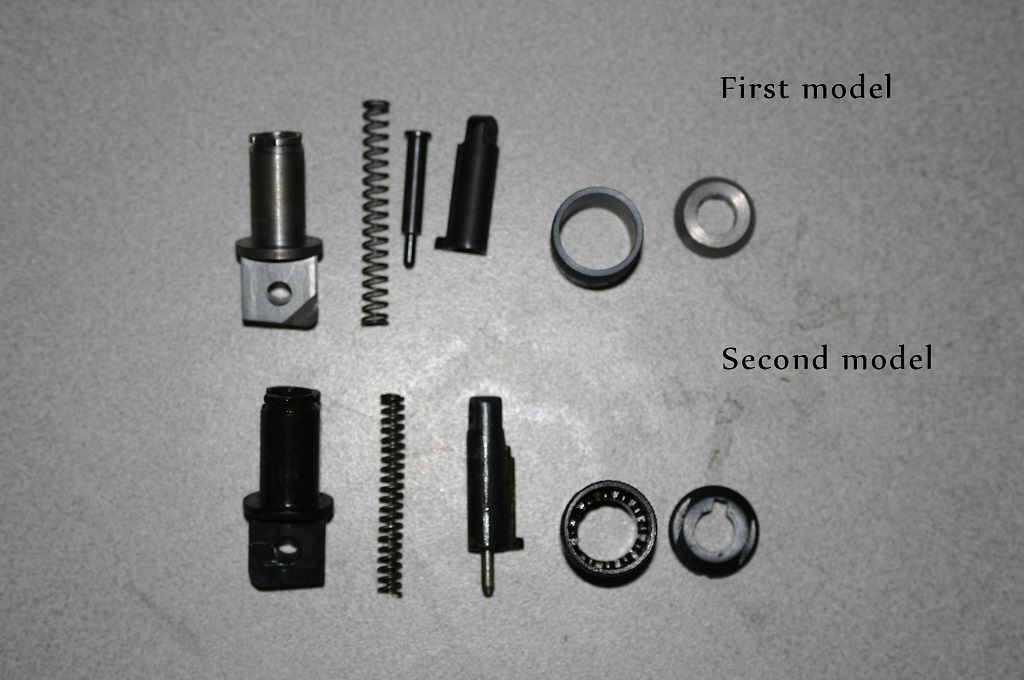
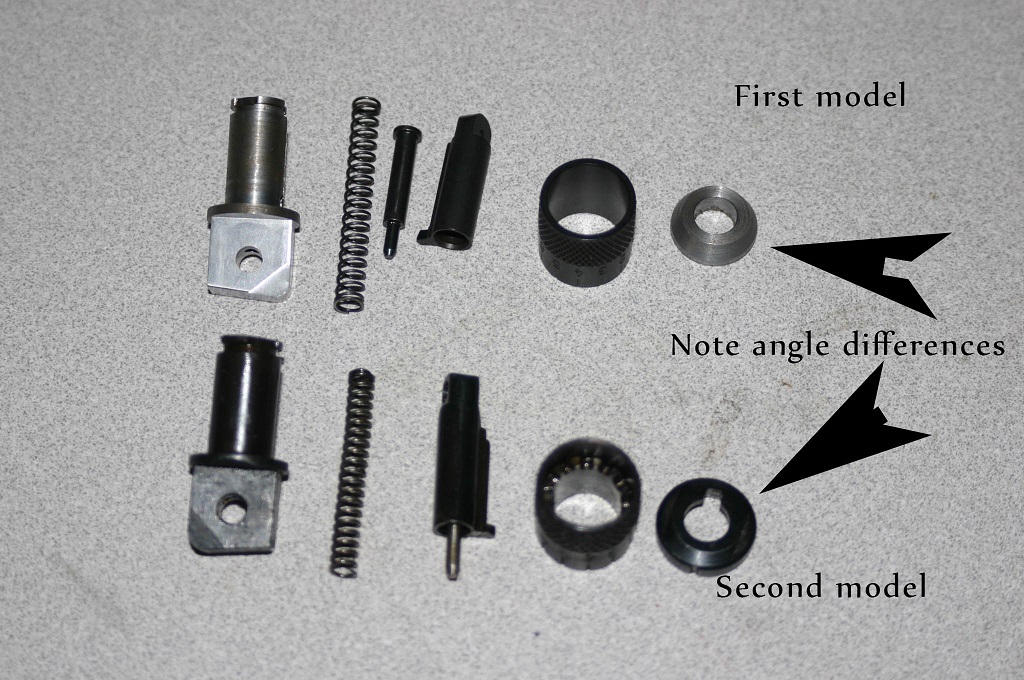
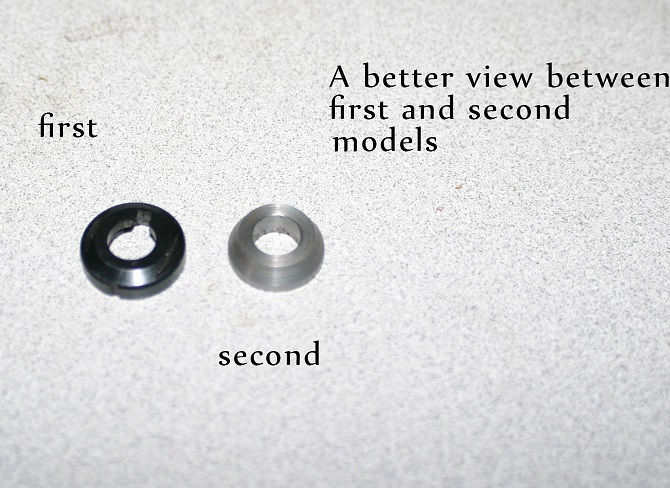
With the part we are making in this post we are dealing with the button that holds it together.
Now that we have finished the lathe op for this part we will start designing the tools and fixture necessary to complete the mill operations. In the last video concerning the FG-42 rear sight base we showed you the lathe work required to complete the first op. This video will show you the rest of the work required to complete the rear sight base on the machining center. Again just a reminder of the part we are making is solid model form.
The total milling time for this part is 10 minutes. Hope you enjoyed the video. Not everything is fun and games around here. There is always maintenance to accomplish as well building projects not related to guns to perform. This Sunday was one of those days. My boss, wife, deemed that the doors needed painting as well as the door frames. So all the doors except the big steel doors at the shot were painted. That is a total of 14 doors and frames that were painted ( house, guest house,shops and metal storage room) as well a new insulation cover built and painted for the walk in cooler I built.
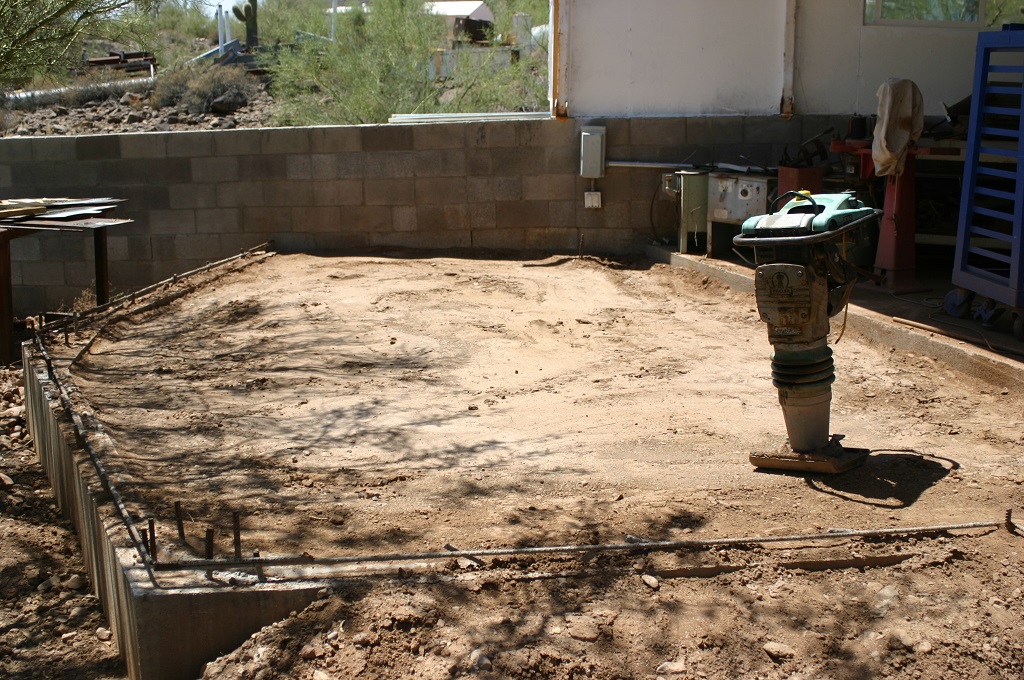
In addition a friend dropped of his wacker to compact the soil for the addition at the fab shop. At my age I am just to old to play with this stuff, but I did it any way. The good news is that task is complete the bad news is that I feel it, big time.
I have finished the lower receiver for the Sudanese AR-10. I would now like to make some of the other parts for it and the Portuguese AR-10. I am really looking for Drawings and parts. If anyone could help it would be greatly appreciated. We have finally finished the solid model of the Sudanese lower receiver. The total time that has been spent making the solid model is 60 hours. Considering that there were no engineering drawings that were readable and the receiver we had to work with is cut up, I do not feel that is was excessive. We are still working on the tool list , programing and fixtures that are necessary to make it, that will be in the next post. The material for two test receivers is here and we are working toward the next phase. So here are the solid model updates. We have gone through an corrected some of the radius on the inside and out side of the receiver.
We have also started the lettering on the side of the receiver.
This is our version.
The changes have been made and the lower receiver should be correct. Comments are appreciated. This post is about machining the stamping die for the bi-pod leg on a first model FG-42. This will be the third stamping die out of a set of 5 dies. It is also one of the more complex of the dies in the set. I will start with the solid model that was drawn up in solid works after being scanned.
Here are a few pictures of an original bi-pod leg
Here are a few still pictures of the female die.
To give you an idea of the time required to do this die it took a week of design time to take the 3-d scans and convert them into usable solid models. It took another day to write the master cam program. The total time to set up the machine and run the die 5 hours. The material cost was $ 65.00. Tooling cost was $120.00. We are working on the matching male die and will have a post about that soon. Hope you enjoyed the video and understand the time required to complete a project I posted the still pictures a little while back on making this part. Here is the lathe video on machining the first op. Just as a quick refresher on the part being made, this is the solid model of the part.
After the first op, which is the lathe op, this is what the part looks like.
I hope you enjoyed the video. We have been working on the rear sight for the FG-42 first model. The first picture that is a solid model of the entire sight assembly.
so now back to step one on the lathe.
To give you an idea of the time and money necessary to complete this one small part. The time to solid model this part from the 3-D scans was a couple of hours,time to write the lathe and mill programs and set up the machines was approximately 8 hours. Material cost was 60.00. Run time on the lathe is 5 minutes per piece and run time on the mill is 10 minutes for a total run time on this part at 100 hours. Tooling costs is 200.00. This makes a cost to make this one small part approximately 25.00 each. I will have a video on making this part in the next week. Thanks for staying tuned in. |
||
|
Copyright © 2026 GunLab (KnownHost) - All Rights Reserved Powered by WordPress & Atahualpa |
||