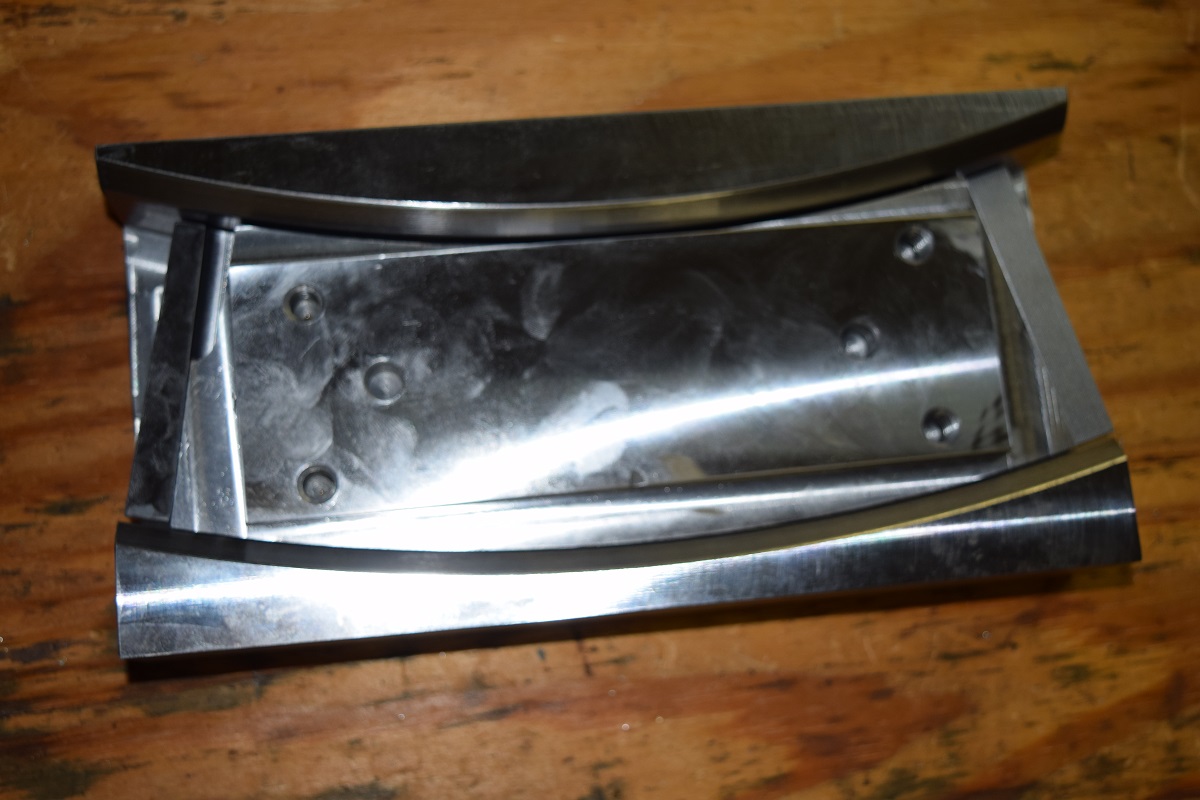
After a 14 hour work day my energy level is in the toilet. We have been working on the fluting machine so here are a few pictures of the parts as they currently stand.
If I get home at a reasonable time tonight I will make a complete post on the parts and there relationship to the machine.
I have been working on a post concerning the different types of metals used in weapons manufacturing. The start was when we did the post concerning the different types of brass and bronze used to make different parts of older weapons. I still have not completed the write up and have an interview with a metallurgist in the near future. However one of the sites that I visit very often has a good write up concerning the metals used in firearms. If you have not been to http://firearmshistory.blogspot.com/ you should go.
This are the three posts he has done and I found them very interesting.
We have finished the second op die for the Japanese 99 magazine right side. The die is complete and the springs and pins added. This is a photo run down of the final die. This is the complete die assembly
Another angle
The bottom portion of the die
Top and bottom side by side
Assembled die from the bottom end
Assembled die from the feed lip view
Chatting about the different components
Pointing out the feed lip area.
We are just drawing up the rest of the first stamping die then it is off to stamping.
The 1″ steel plate that we cut up last weekend has been cut down to size and then sized in the HAAS to actual specs.
This is all that is that is remaining of the steel sheet that we started with.
All of this material will be used on the fluting machine.This is what it looked like after its time in the HAAS and sized.
I also had a piece of rough ground stock that is the correct size for the chuck backing plate.
A quick look at the chuck backing plate solid model
.
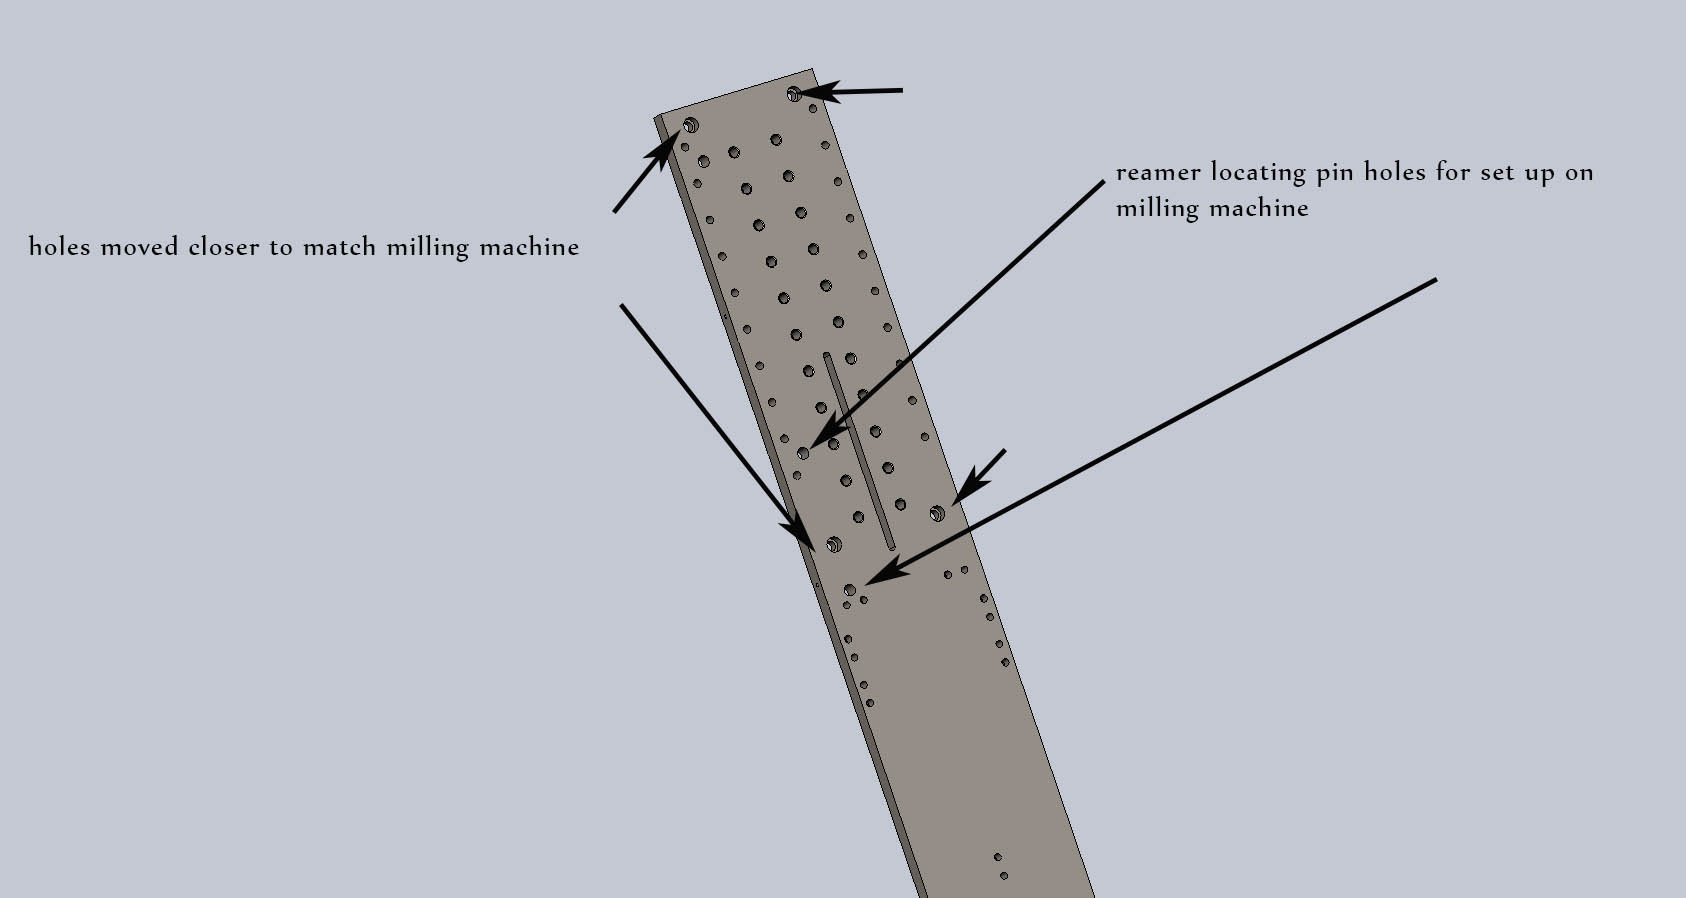
The major back piece which is 9″ wide and 48″ long is cut over size and set on the 3 axis cnc mill.
We did a basic mark up on the plate to show where the initial bolt hole and reamed dowel pin holes are going. Then it was time to place the blocks under the plate and clamp it down. This first set up is just for drilling 6 holes.
The design has been changed to allow it to be held and located easier.
This is the new back plate design.
We moved the bolts that attach the fluting press to the side of the hydraulic forging press closer together then we will also machine 3 reamed holes in it as well. The reason for moving the bolt holes together is that corresponds with the table on the cnc mill. Now with this design I can machine the 6 holes and 3 reamer holes as a first op. then bolt the plate directly to the table of the mill and machine the sides and drill, ream and tape the rest of the holes without fear of movement.
Most of Sunday was spent doing honey do’s The fixtures are in place in the hall bathroom and it is ready for use again. A few small things left to do, but that is for another weekend.
Last night a heavy rain storm came through the valley.
This is a quick video of the storm.
In it’s wake it left 1″ or so of rain. That brings the total to 6″ for the last month.
My little rain gauge.
The project for the rest of Sunday is to build a new gun rack for my gun room. This is the solid model.
It is 4 foot across and will hold 15 rifles. Here is where it is going in the room.
This is as far as I got today. It is 5pm and time to relax a bit and I will finish it off next weekend.
This is the op rod for the MP-44. It is a combination of the gas piston and the bolt carrier. The bolt carrier provides the cam surface for the bolt to lock and unlock the bolt from the trunnion.
This post is about one the AR-16. To say that it is rare is an understatement. The only two known rifles are in the Reed Knight collections. Mr. Knight was nice enough to allow me to take some pictures of this interesting rifle.
A couple of close ups of the two different receivers.
These are some of the original photos used for the catalog.
Here is a patent drawing.
And this last picture is of the solid model I started on the upper receiver.
Today’s post is going to be a little short as I am just beat. We finished the rest of the Japanese type 99 stamping die that we have been working on. The next thing is to finish the first die and get it set up. That will not effect this die in the least. This die will be assembled this week with the springs and pies for correct alignment. So here are the pictures of the rest of the machined components.
These are pictures of the top plate base
These are rest of the assembly of top and bottom plates
I will have the complete assembly finished by this weekend to shop you how it goes together. until next time.
We have completed some more work on the new stamping dies. We changed the design from a single stamp stamping set up to a multi step process. The first step is to stamp the ribs in the sheet metal then the following die set captures the sheet metal using the ribs as a reference and then bends the side walls.
This is the first set of dies. A little more still needs to be completed to work out the sheet metal stops.
The next set will start the bending of the sides. This is the series of parts required for this die. At this point the die is not complete. We still need to finish the upper and lower attachment plates.
the other side of the bending die.
As they look together.
The back side of the die . The hole are for alignment and springs.
This series of pictures starts to show the die as it would be assembled.
These are the end pieces of the stamping die to form the top and bottom of the magazine.
I hope you enjoyed the update. We are hoping to have this die completed this week. The material just came in on Friday. As always commits are appreciated.


 If I get home at a reasonable time tonight I will make a complete post on the parts and there relationship to the machine.