The weapon is parkarized and the wood work is complete. We will be showing it off at the SAR show this weekend. Anyone interested should contact Greg at Allegheny Arsenal he will be handling the sales, it is just easier for me. I will be posting pictures tomorrow, I was busy having fun at a shoot today.
|
This last week has been a huge push to finish the VG1-5 in time for the SAR show. A great deal of work needed to be completed and not near enough time to complete it all. The big push was to complete and correct the fire control mechanism. It is now fixed and operating properly. You should be able to hear the cheering crowd and bottles of Champagne being opened . This video is about the hand guards. They are now finished and will be on the rifle by tomorrow as will the stock.
I wanted the hand guards to look as close as possible to the original ones.
In Part two of the Gardner Gun we are going discuss the 2 barrel Gardner Gun in depth and go over the differences between the English model and the American model, the Pratt and Whitney. Looking at the different patents filed by W. Gardner and E .G .Parkhurst in the years of 1879, 1880, 1881 and 1884 you can start to see the directions that each weapon went. We will start with the 1879 patent filed by W. Gardner. In the pictures that are filed with the patent you can see the cocking and bolt mechanism used in the English model as well as the ejectors and feed shuttle.
The firing pin spring is a coil spring instead of a v spring.
The ejection in through the bottom instead of out the side
It is the hand crank cam for a single barrel Gardner Gun. And you are correct. It is a British gun in 303. A view of the crank cam.
We here at Gun Lab are working hard to try and complete the first of the VG1-5 rifles in time for the SAR show. To tell you the truth it has been a challenge. The last week has been spent putting together the rifles and testing for fit and operation. We would find one small problem and fix that only to find that it now causes two more problems that need fixing. Once these are worked out they then cause 4 more problems. An example of this is the fire control group. Once assembled in the receiver with the bolt, upper and gas piston the dis-connector would not operate correctly. It was ground down to make thinner this then showed a problem with the trigger spring. We corrected that but then found out the trigger set to high by .040″ and needed to be lowered by the amount which means the the primary and secondary sear needed to be lowered but not by the same amount. This then forced the dis-connector to be the wrong shape and it needed to be re-machined to fit in and operate correctly. Hopefully we will have everything sorted out by Sunday evening.
Other projects that were completed today was the welding up and laying out the parkerizing set up. here is a quick picture of that area.
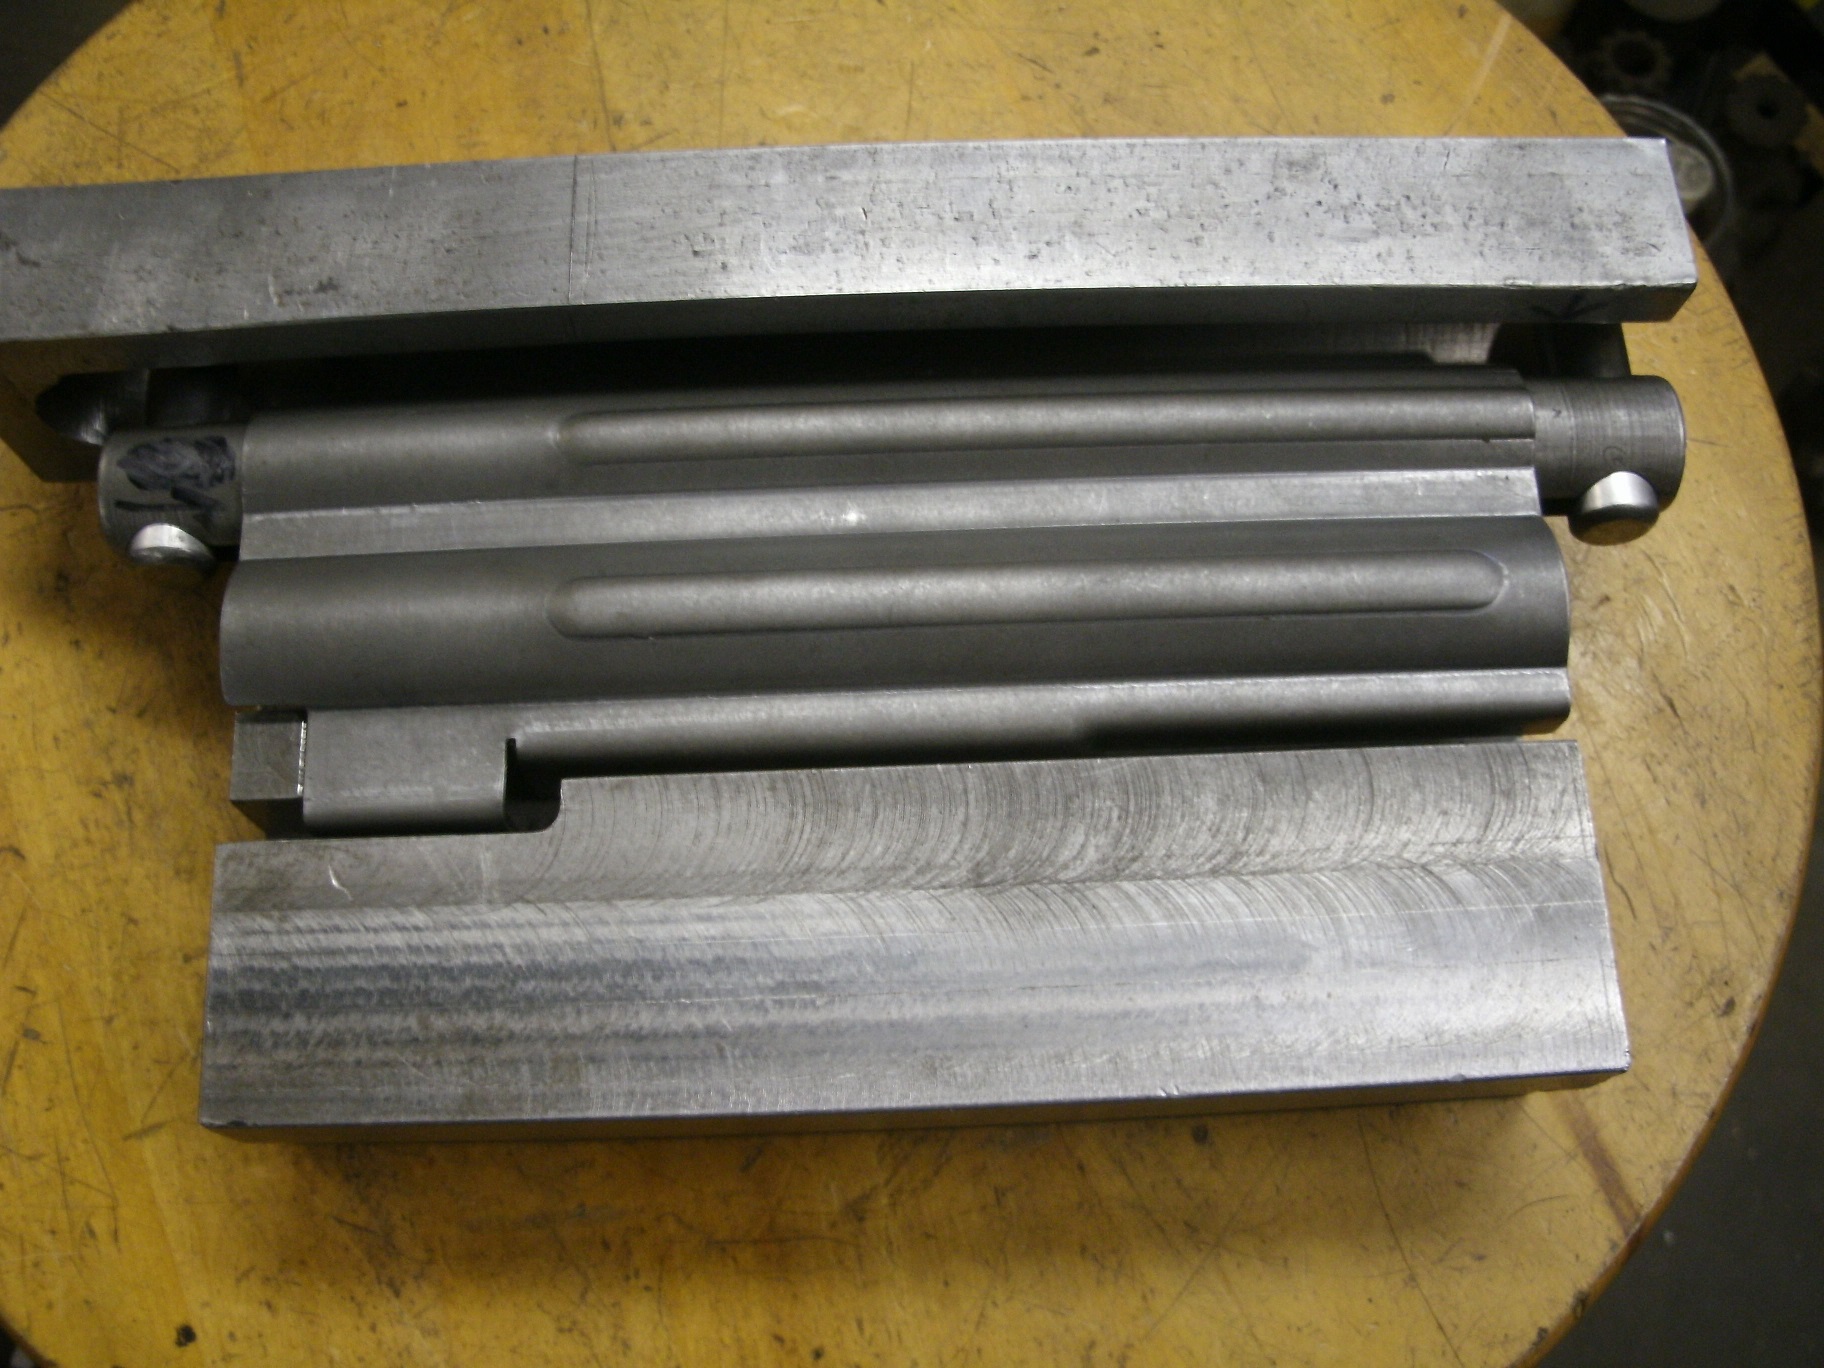
Got home late last night and leaving early today. I will try and post tonight. Today’s post is from a friend of the site that wanted a semi-auto MP-44 and did not want to deal with the capital out lay necessary to buy one of the few that came in. His answer to the problem was to make a repair section and then put in the necessary parts and changes required by ATF to make it a legal semi auto rifle. From this:
This is picture heavy post showing his method of making the necessary parts. The pictures tell the story from flat to finish project.
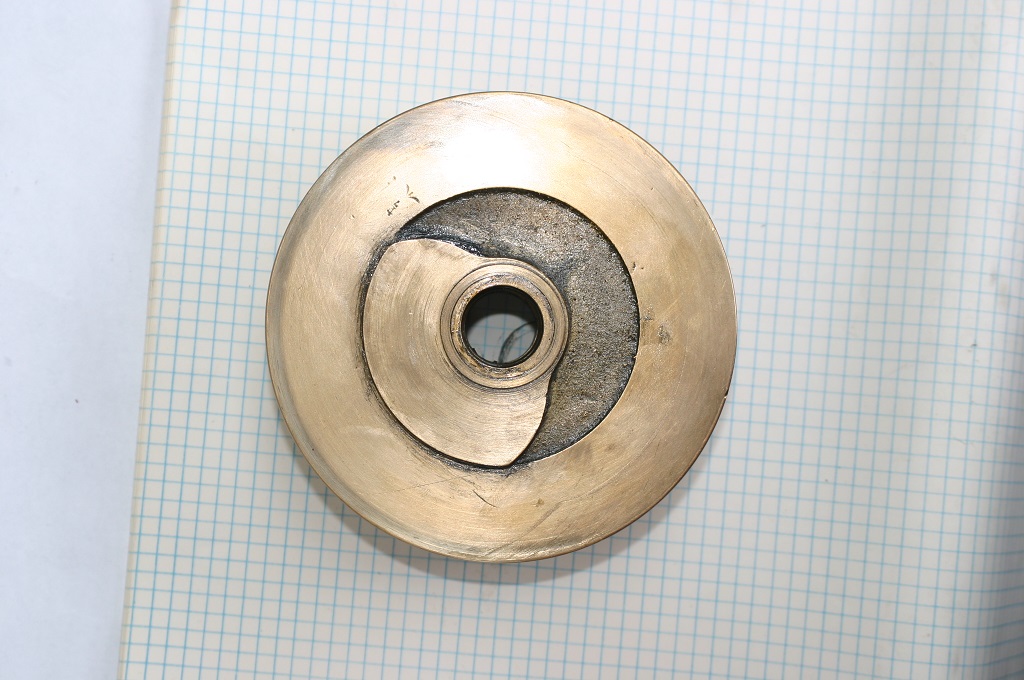
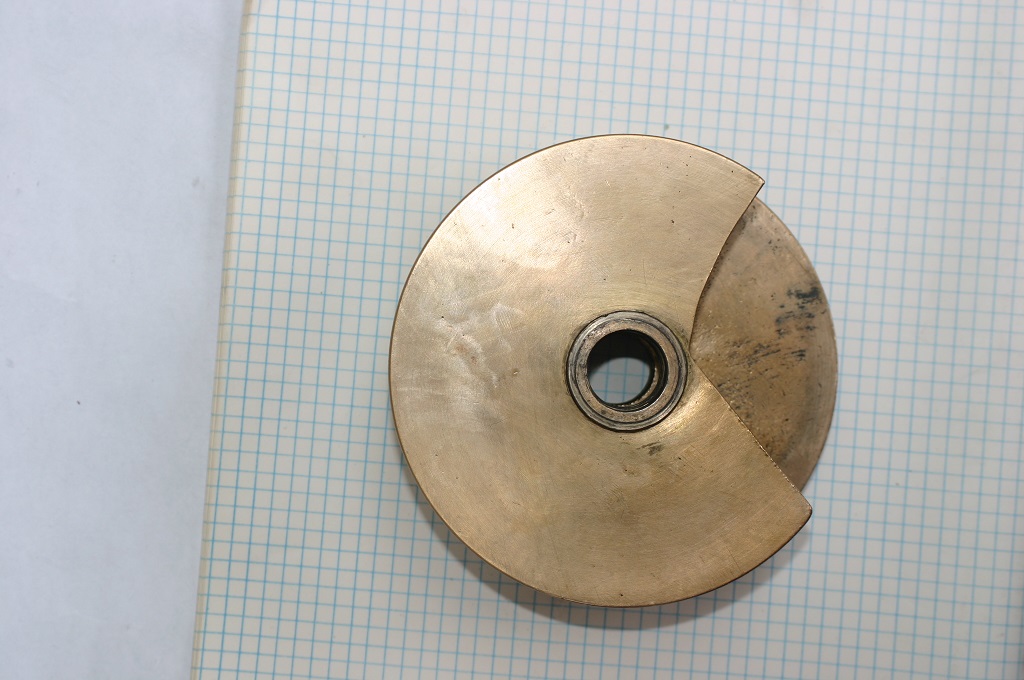
Well as usual it has been a busy weekend around Gun Lab. More parts have been made for the VG1-5, coming soon in a post. The big project was the water system. The pressure pump took a crap. It just turn the pump room into a swamp and need to be fixed in a bad way.
The dust collector is now in the room. This is the start of bolting it together.
A little farther along.
The final project completed was my new gun rack. It is now up and loaded in the reference library.
As everyone guessed and even sent me an address for their web page it is an auto indexing tool to stamp sequential serial numbers. Such as is on the AR-18 or Bushmaster weapons. example shown here.
|
||
|
Copyright © 2026 GunLab (KnownHost) - All Rights Reserved Powered by WordPress & Atahualpa |
||