Categories

Sunday Answer 10-4-15

Okay had enough on this what is it Saturday. It was a tough one. A friend of Gun Lab sent this to me to add to my reference library.

It is an early rear sight aperture spring for the very first AR-18’s. It never went into production. I am looking for pictures of these rifles or drawings of this rear sight. If and when I find it I will post it here.

DSC_6801csAs sent to taped to the card.


What is it Saturday (Late)

Sorry about not keeping up with the What is it Saturday part of this blog. Life has been a little hectic but I am working at bring it back.

This is going to be a hard one so guess away.

DSC_6788c

DSC_6789c

DSC_6785c

DSC_6787c

DSC_6786c

Another old video on making the 1903 springfield


This is another video in the series of early gun making. This on shows the forging of the 1903 bayonet and making the barrel for the 1903.

https://www.youtube.com/watch?v=qq0-CDfiH8Q

Another interesting MP-44 style rifle

A friend of gun lab sent these series of pictures of an MP-44 under folder rifle. I don’t have much to say about it other then it looks very interesting and I would like to have one.

A couple of pictures of the rifle with the stock extended.

scan_Page_05cs

scan_Page_03csThis is one with the stock closed.

scan_Page_06csThe safety on the rifle

scan_Page_02csA good view of the trigger group and selector

scan_Page_07csClose up view of the selector and stock push button.

scan_Page_08csThe rifle taken apart.

scan_Page_09csClose up of the pistol grip and recoil spring guide

scan_Page_10csA view of the gas piston

scan_Page_11csthe front sight and gas block

scan_Page_12csAnother view of the gas block

scan_Page_13csIt is an interesting rifle to say the least. It is the rifle that they should have had for the paratroopers.

Master Cam video of machining the VG1-5

In this video we are showing the steps to do the first op on machining the upper receiver on the VG1-5 on the machining center.

We are getting closer every day to completing the VG1-5.

Another update for the cnc router

Well all the missing components arrived for the new cnc router controller.  And it is time to start assembling the new system.

This is an over view of all the components as assembled on the 20×20 steel plate.

DSC_6614sA close up of the servo motor controllers

DSC_6618sA  look at both power supplies and the terminal blocks.

DSC_6616sA look at the second power supply and relays

DSC_6620s

All the terminal blocks installed and ready for wiring

DSC_6619s


The interface with the computer

DSC_6621sAs it looks today with the tool box for special tools, collets, end mills and measuring and touch off tools.

DSC_6622sI will start wiring this machine up this weekend.

Just for everyone that thinks that it is always sunny in Arizona. This was the view tonight.

DSC_6023s

VG1-5 update on the bolts

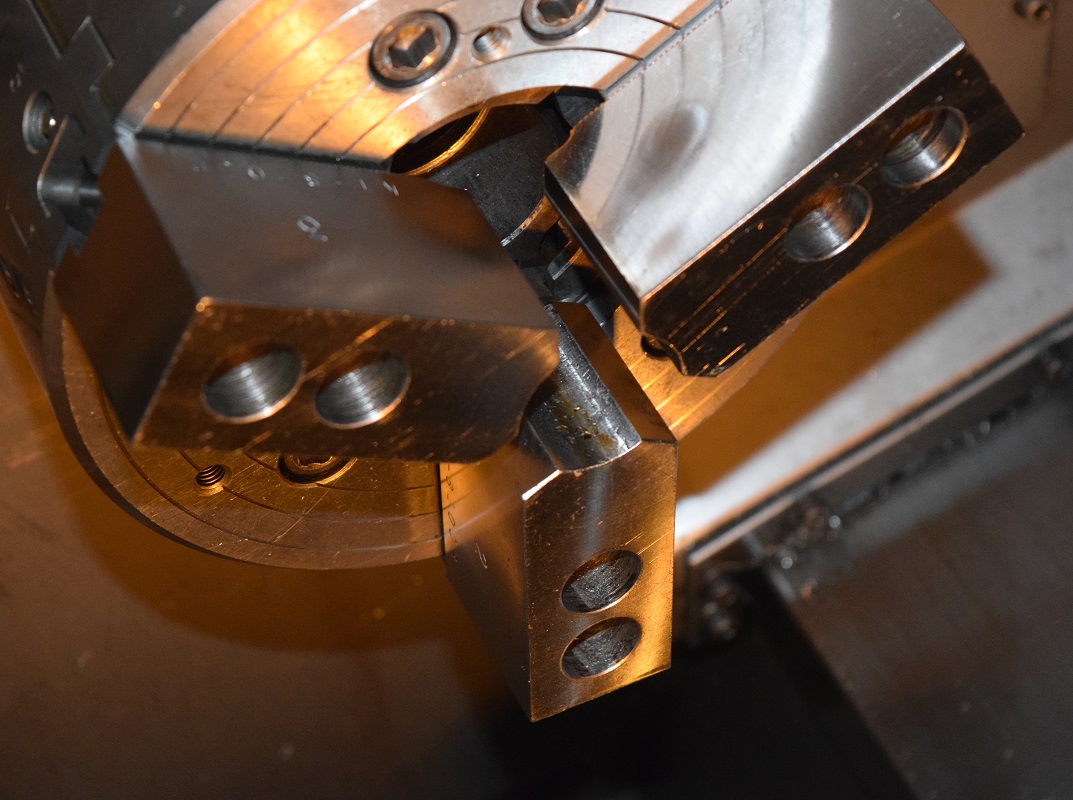
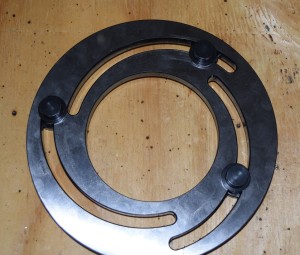
We bought this tool from Shars to allow use to hole the jaws in proper position the cut the proper diameter in the jaws for the bolt.


DSC_6605csOnce set up the bolts were turned and we were off performing op 1 on the bolts.

DSC_6607cs
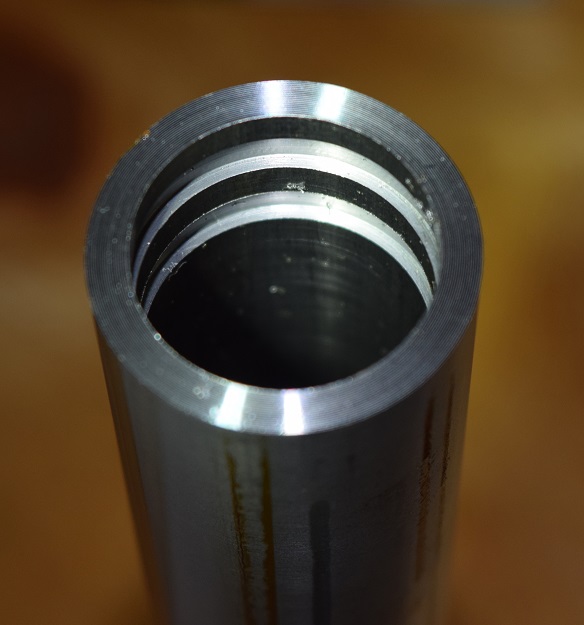
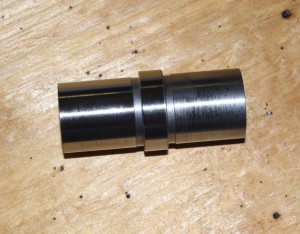
The first op turned the minor diameter of the bolt, faced the bolt and drilled it for the firing pin.

DSC_6591csThe second operation again turned for minor diameter, faced the bolt, and drilled the hole for the firing pin to be inserted. In addition the major diameter was turned.

DSC_6592cs

DSC_6593csTest bolts were made to set up each operation in the lathe and for the additional operations in the mill,

DSC_6598csAll test bolts were marked with double “x’s” on both sides. This prevents confusion later.

DSC_6599cs
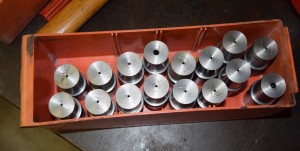
With all the bolts completed for the first two operations it is not off for the third operation.

DSC_6589cs
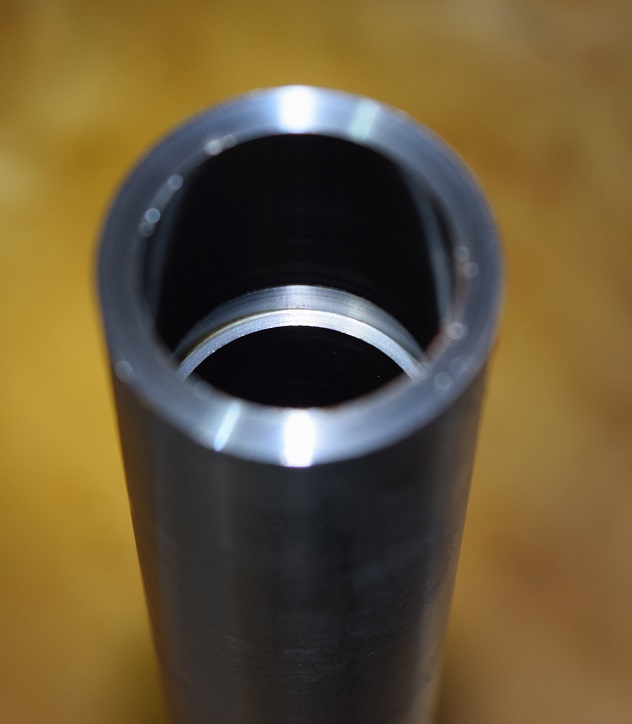
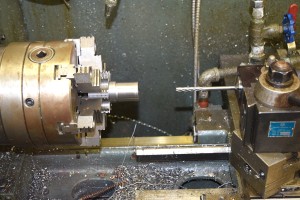
With the third op we go to the manual lathe to cut the firing pin hole to the correct diameter and depth with a square shoulder on the bottom. This allows the firing pin spring to set flat.

DSC_6600cs

DSC_6601csWith the end mill dialed in it is just a matter using the dro’s to go to the correct depth.

DSC_6602cs

VG1-5 update on the upper receivers


The process of making the upper receiver has been slightly changed from the first parts we made. We are doing the internal grooving on the cnc lathe. After programming the lathe the first thing to do is test the program and inspect the groves as cut. This is one of the test pieces we made to perform this task.


DSC_6595csTo get to this point we needed to order and get in an adapter to allow us to cut the lathe chuck jaws to the proper diameter. This is the tool that allowed us to accomplish that task.

DSC_6605csWith the jaws cut to the proper size it is time to get started

DSC_6611csThe part is sized to the correct length and grooved to the proper diameter for the bolt then the outside diameter is cut.

DSC_6603csOnce this is completed the part is turned and then the front barrel support groves are cut in and once again the out side diameter is turned.

DSC_6604cs

The upper receivers are now ready for the next op.

Looking for an article

I am looking for an article that was written in 1946. The title is “German Mass Production Methods: The use of stamped components in gun manufacture” It was written by Charles E. Balleisen and published in Army Ordnance September-October 1946.

Thank you for your help

Installing the magazine well on the VG1-5

The last two video’s showed spot welding and the first op machining for the VG1-5 lower receiver. With this video we are installing the magazine housing into the receiver. Once again there is a certain amount of hand fitting.

A close up of the fixture.

DSC_6472sThe batch ready for the next step.

DSC_6475s