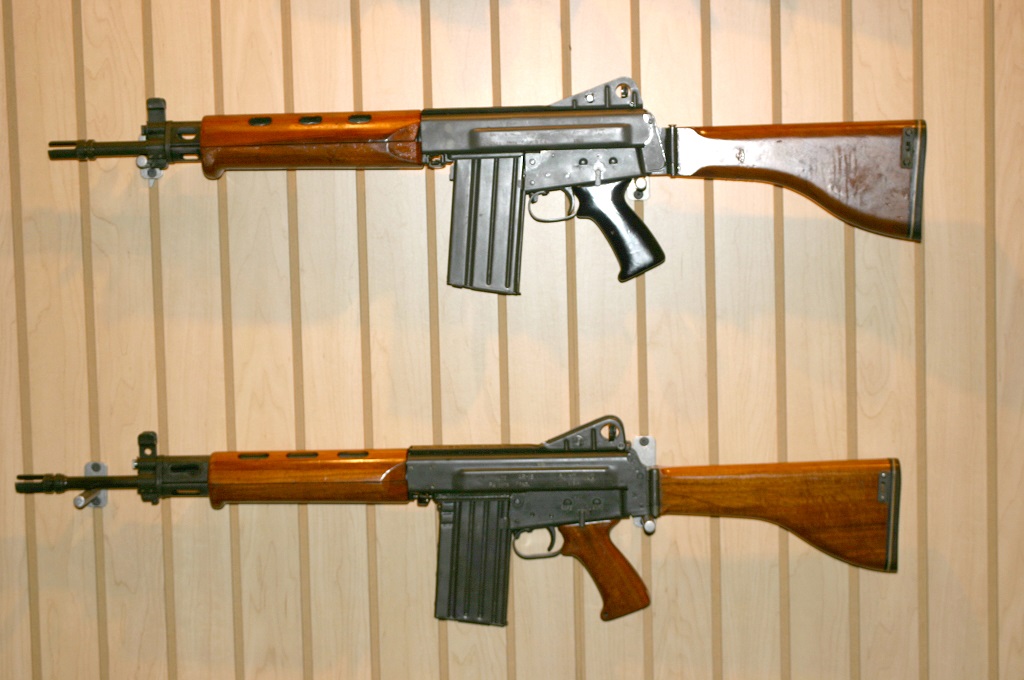
In my off time, work has been completed on the AR-16 upper receiver right side. In case you don’t remember this rifle it is a 308 predecessor of the AR-180. Only 4 were made and of those only 2 are known to exist. I had the opportunity to photograph one a while back at the Reed Knight collection.
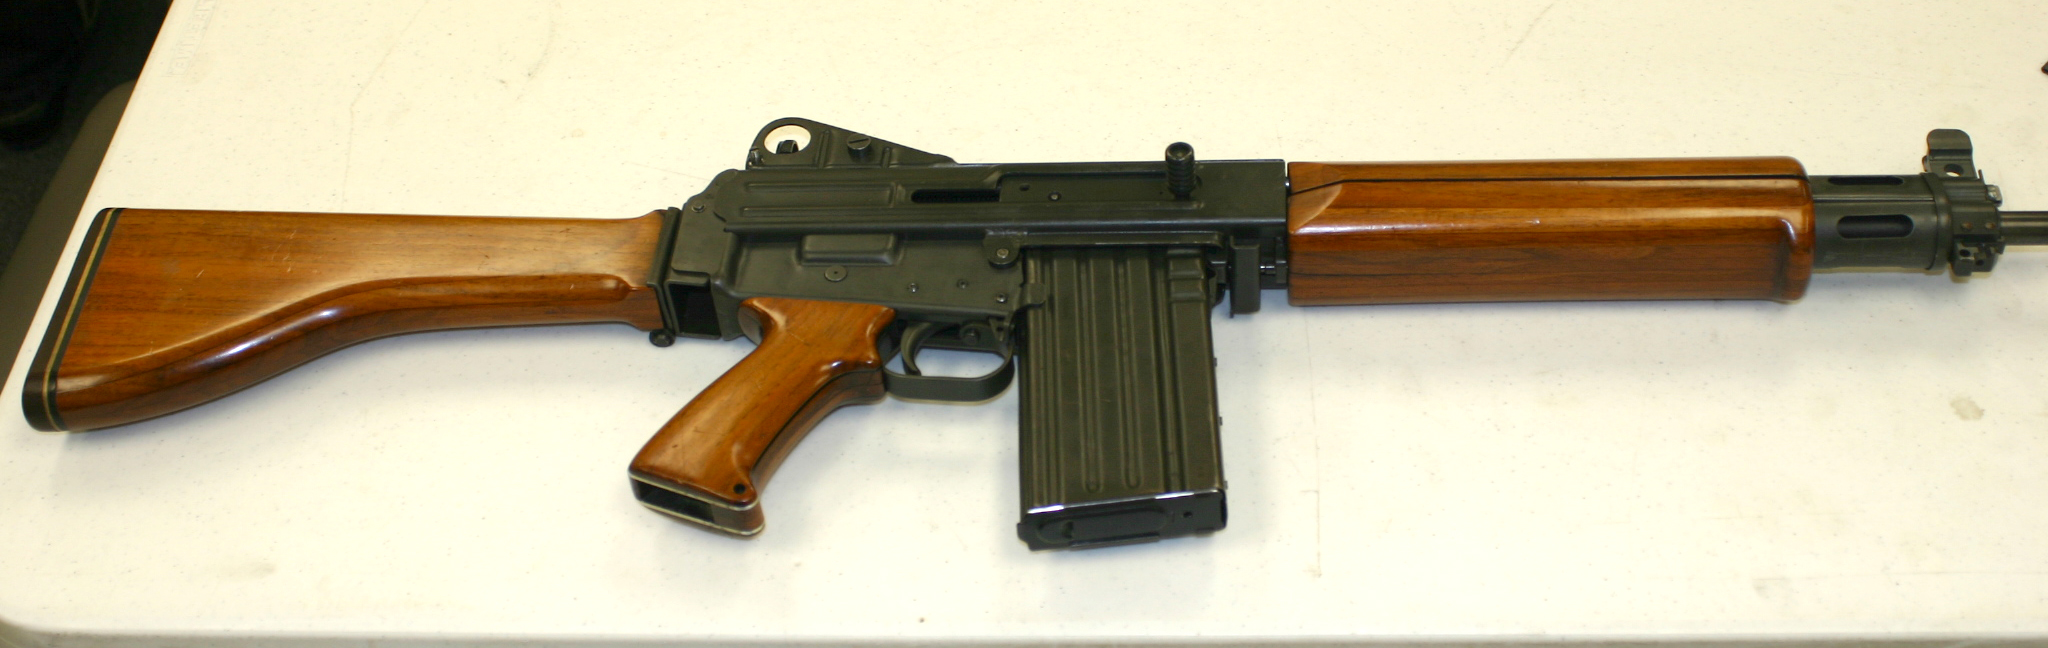
Here is a close up of the receiver left side.
The right side.
A close up of the right side
Mr Knight was nice enough to let me look at and photograph them, however I doubt he will let me have one. As I really want one of these in my collection I have taken it upon my self to reverse engineer it to make me one. This is what I worked on this weekend between everything else.
I shot these pictures while at Woolwick at the Rotunda. It was an absolutely great museum. It has since been closed down and replaced with a typical diorama walk through everything behind glass museum. In its day it was a place where you could study some small arms, but mostly artillery up close. I spent numerous vacations there.
This is a weapon design by an unknown Africaan during the Boer war to keep the heads of the British soldiers down while they escaped. It is a clock weapon. The feed device seems to be missing but what you would do with this weapons is to set it for how fast you wanted the weapon to fire. One round a minute or one round every 5 minutes or more.
A side view showing the complete size of the weapon
In this picture you can see the cartridge being picked up to be fed into the barrel
I am not sure this was ever used or just a prototype that was made and not completed. It is however an interesting design and concept.
My old back hoe started leaking oil on two of the cylinders. So the project for Sunday was to remove the cylinders to take them down to the hydraulic repair shop. As with all plans things just do not go as easy as they sound. The bushings had shattered and would not allow the cylinders to come out. The pins could move but the bushings needed to be driven out. So a special tool was made for this task. The pin was machined to fit the inside of the bushing and be the exact same diameter as the bushing.
Then all the tools necessary to remove the bushings were gathered together.
So there were two cylinders and 12 bushings to remove. This is the video of the last one.
It took the better part of Sunday to finish this job.
It has been a while since we have chatted about the VG1-5 so I thought an update was in order. All the individual parts have been made and the first non-firing copy was made. This last weekend we finished a testing example to try and determine if any problems exist. We looked at everything from the barrel chamber and flutes to the firing pin length. We needed to check the recoil spring length and tension. Is the buffer spring to strong or weak. Will the fire control group work properly. All the drawings showed that everything should work but these are all questions that can only be answered during a test fire.
The test rifle that we made uses all the same parts that the rifles we are going to sell but uses parts that we can not sell. We actually ended up with 2 receivers that did not come out as nice as I would like. One will be sent to the ATFE for approval and the other will be shot to death with proof loads to determine strength and safety.
So a very basic testing rig was made to hook up to the firing tube and testing began.
The initial test showed the firing pin worked properly but it was not ejecting properly and the cases were falling back into the receiver.
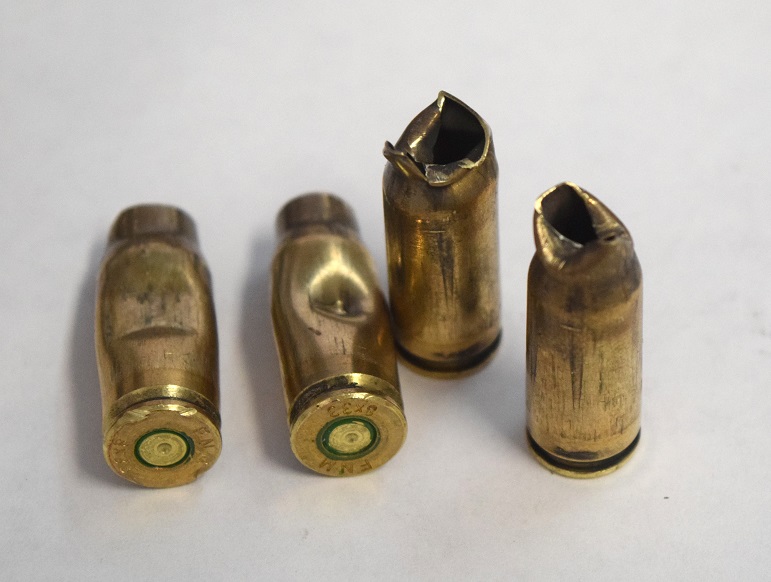
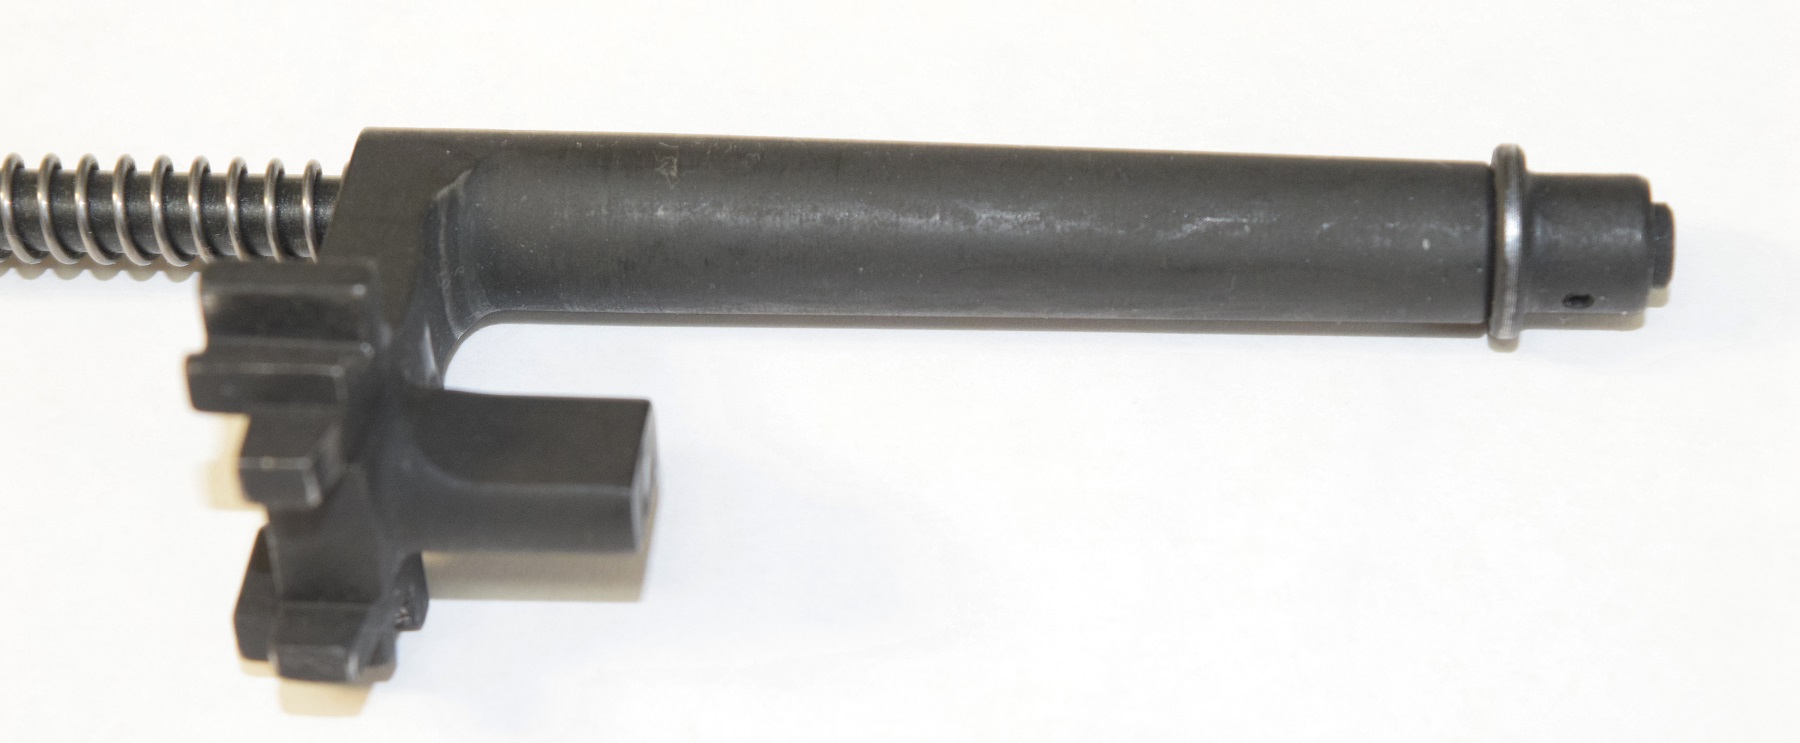
We then lengthened the ejector and re-tested the rifle. The rifle fire and ejected properly. These are the fired cases after the ejector was lengthened.
This final picture shows the fluting marks on the case.
So far the tests have been successful. Then we tested for proper engagement of the secondary sear. The manually testing we did showed good engagement and the disconnector operated properly. However during actual live fire testing the secondary sear did not catch properly.
This is a video of the tests.
We should have the secondary sear problem corrected and then we will test proper magazine feed and proof the rifle
It was brought to my attention,by one of my favorite blogs, that I was a little lacking on my cut away post of the FAL. I am sorry as I knew that some where I had a few more photos. It took a while to locate them but here they are to help anyone with an interested in the FAL/L1A1 rifle. This will be picture heavy so enjoy.
I hope this helps. If you have a chance please go to http://www.thefirearmblog.com/blog/ as it is one of my favorite go to sites.
Part of what was accomplished this last weekend was going through old photo’s that I have taken over the last 40 years and started converting them to digital format. These are pictures of cannons, tanks, aircraft and of course small arms. Some are just a basic picture and some are very detailed photo’s of individual weapons. I have decided to do a once a week archive post. A great deal of these pictures I have no idea what there are, just that the individual item interested me. Most of these were taken with either a cheap 35 mm camera or my better 35mm camera, so if think my digital pictures are bad, well these will probably be worse. The thing is that most of these museums have since boxed up these items and they are no longer out for viewing some even destroyed. Even some of the private items have been sold and lost to the rest of us.
This first picture was taken over 38 years ago in Charleston, South Carolina at the battery. This is a picture perfect location with some of the nicest people that you will ever meet. In fact I met my wife in Charleston 35 years ago and we walked this park on a number of occasions.
This is a Hotchkiss revolving cannon. I don’t know if it is still there or not, but if it is you should take a visit there.
 Here is a close up of the receiver left side.
 The right side.
 A close up of the right side
 Mr Knight was nice enough to let me look at and photograph them, however I doubt he will let me have one. As I really want one of these in my collection I have taken it upon my self to reverse engineer it to make me one. This is what I worked on this weekend between everything else.

 More to come