This is truly the Golden Age of Gun Information. First there are all the great sites on the internet dealing with gun collecting.
Like Forgotten weapons, located here:
http://www.forgottenweapons.com/
also Historical Firearms,located here:
http://www.historicalfirearms.info/
As well as C&Rsenal,located here:
http://candrsenal.com/rifle-italian-carcano-m1891/
Then there are specialty sites like this one dealing with the Carcano rifle.
http://personal.stevens.edu/~gliberat/carcano/
And The Italian Carcano rifle site
http://milpas.cc/rifles/ZFiles/Italian%20Rifles/The%20ITALIAN%20CARCANO%20RIFLE/The%20ITALIAN%20CARCANO%20RIFLE.htm
Carcano home page
http://the-puzzle-palace.com/files/carcano.html
And there are great new books that have just come out or coming out.
I remember when the only information was “small arms of the world” or “Janes infantry weapons” Then Collector grade came on to the seen and things really started to change for the better.
Still information was lacking on the weapons that people had little interest in. Even now that has changed. Take for instance the Carcano rifle. There was nothing written about it forever. Now look at the information available.
My first book that I found on the Carcano was the paper back book by Richard(Dick) Hobbs. I bought mine from Dick over 30 years ago. It was a gold mine of information that was not any where else. There are just a few black and white pictures. The majority of the pictorial references are line drawings.
 Next while overseas I happen to come across an Italian book on this same weapon. The original engineering drawings in the book are hard to read,yet the information available is priceless.
 I don’t read Italian but the pictures and information in this book is invaluable.
Then two separate books have come out in the last couple of years. This book not only covers the Carcano rifle but it is one of the few references to early semi auto rifles from Italy. There is also information of handguns and sub machine guns. https://www.amazon.com/Italian-Small-First-Second-World/dp/0764345834/ref=sr_1_1?s=books&ie=UTF8&qid=1465625103&sr=1-1&keywords=italian+small+arms
This book has some really great original photos of the Carcano rifle in use as well interesting accessories.
 http://ironlegions.weebly.com/book-on-carcano-rifles-italys-battle-rifle.html
Now a new book has come out that I just received. I am going to tell you right now that this book is GREAT!
The color pictures are really very good and some of the information in this book I have never seen anywhere else. Take for example the post I made a while back about the engraved and gold plated presentation rifle. This book has 5 pages dealing with this rifle only.

https://www.amazon.com/Model-1891-Carcano-Rifle-Developmental/dp/0764350811/ref=sr_1_3?ie=UTF8&qid=1465624852&sr=8-3&keywords=The+Carcano
With a price tag of less then 40.00 on Amazon you will not find a better deal anywhere.
This is truly the Golden age of gun information.
 and a new one installed.
 I completed the first test print and actual part print on Sunday. There were a few set backs but nothing serious.
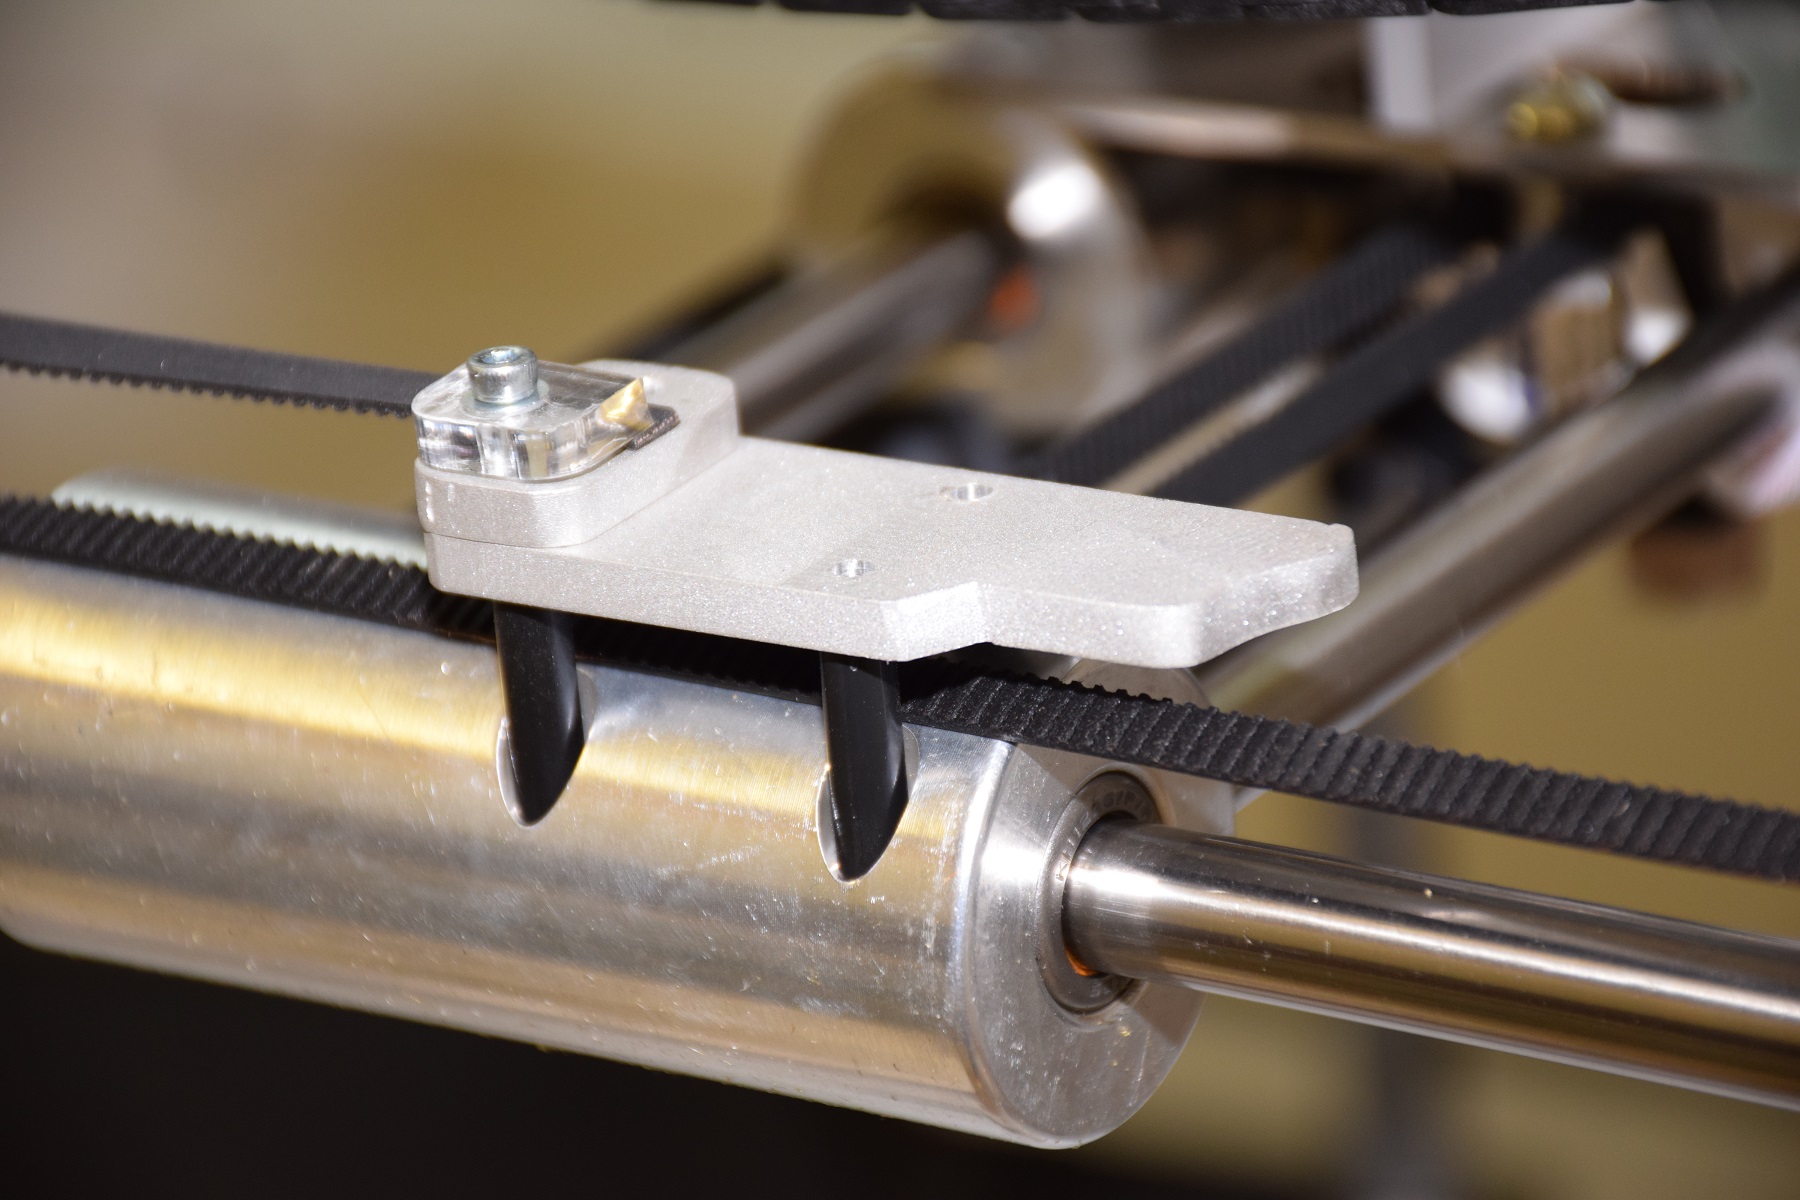
 Once this problem was corrected the next issue was the nozzle placement over the printer tip wipe. It was not going back far enough. A quick search on the internet as well as looking at the cube x courses, along with Orin’s help, and a solution was found and implemented.