Today we are going to stamp and machine the trigger guard. We start with a sheared piece of 2 mil sheet steel. Initially we tried 1 mil but found that it was to easily deformed. Next was 1.5 mil and still did not look correct. So 2 mil gave us the correct look without too much weight gain and was still workable. First, a short video of the process, and then we will look at each step with some photos…
Here are the pieces of starting material, cut to proper size:

After shearing the piece is de-burred, lubed and stamped in the forming die.
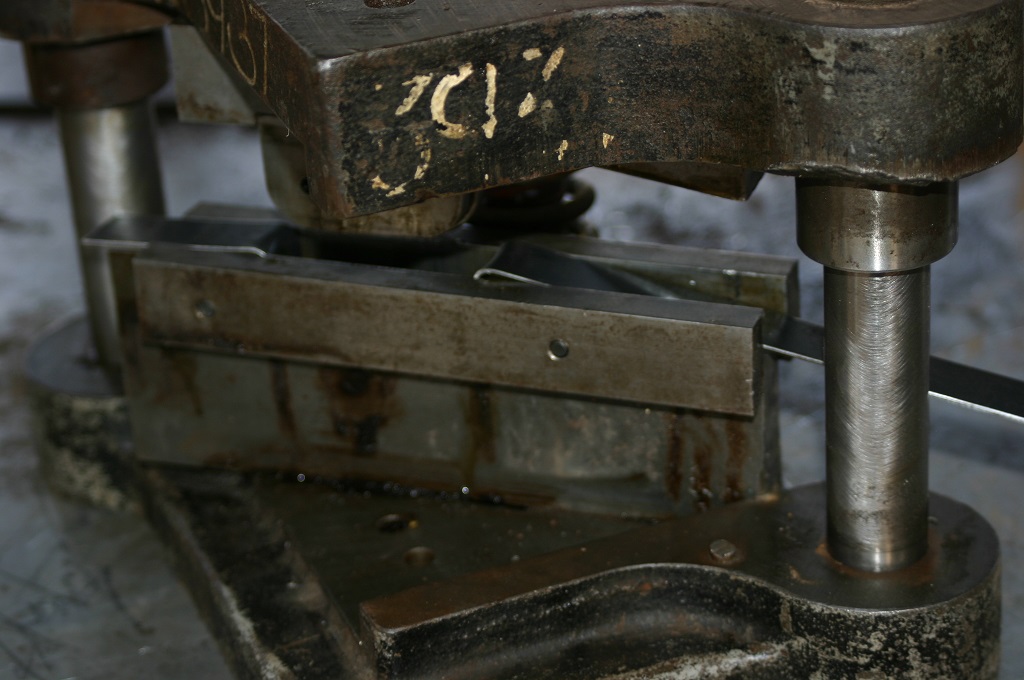
This is a look at the inside of the die.


 This is the look of the trigger guard after stamping.
 The interesting design feature of this dies is that I can us different lengths of stock to make different lengths of trigger guards. This allows the same stamping die to be used for different rifle projects.

After stamping the trigger dies are set up in the fixture for machining and drilling.


Now the final look of the part.

Now all the trigger guards are completed.

In addition to being the trigger guard it is also the support for the bottom of the stock.


Hope you enjoyed this post and stay tuned for more on the VG1-5 build.
I sure hope that the extra trigger guards mean that you folks will offer this weapon up for sale even if limited production. Harry
That is the current plan. 60 of them are being made.
How do I get on the list for one? Do you want a despot and what is the projected sell price. Thanks a lot for all of the hard work. Harry
No deposit. When I complete them I will post that info with the price. It is just easier for me that way.
60 VG 1-5 , are you going to make a owners manual for those ?
I’ll work on the manual
Thanks, Ian and Chuck for documenting this project. As usual, top notch video, narration, and still photos.
:)Wish I were still there to help some more!
Love the work you and Chuck are doing Ian. My Son (Ian as well, coincidentally), love forgotten weapons and in range. We are both lovers of old world style firearms.
Great job, I love that you can create something like that.